Photo by simon2579 via iStock
Do you love jewelry boxes? They make great gifts for bridesmaids, mothers, and even yourself! But most jewelry boxes cost hundreds of dollars. And they aren’t cheap either!
There’s a way to make jewelry boxes for less than $10. In fact, you can make them for free using recycled materials from around the house.
I’ve created a simple tutorial showing how to make jewelry boxes with just a few items from around the house, and it’s even kid-friendly. It takes only 15 minutes to complete and costs almost nothing.
See below for a YouTube video by SayanaCrafts showing how you can make your own DIY jewelry box at home:
Table of Contents
- Materials Needed for a DIY Jewelry Box
- Making the Box and Lid
- Covering Your DIY Jewelry Box with Fabric
- Adding Inner Layers
- Adding a Border to your DIY Jewelry Box
- Finishing Touches
Materials Needed for a DIY Jewelry Box
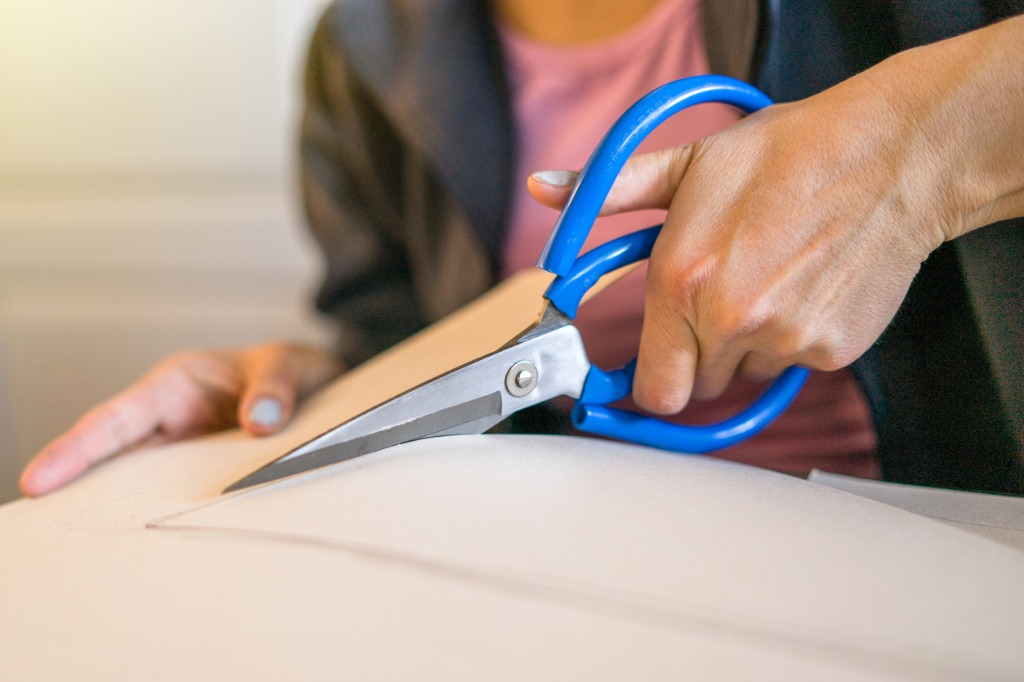
Photo by Miljan Živković via iStock
For this project, all you need is the following:
- Cardboard
- Scissors
- Tape
- Glue
- Colored paper
- Fabric for lining the box
- Decorative materials for borders
Making the Box and Lid

Photo by Olga Niekrasova via iStock
To make the box and the sides, you need to cut a large piece of cardboard into six parts. These six pieces can be divided into three sets of two equal pieces and are arranged as follows:
- 2 x Big pieces ( for the base and the lid)
- 2 x Long side pieces
- 2 x Short side pieces
Use a thick form of cardboard for best results, as the flimsy cardboard may bend and buckle over time, leaving your jewelry box in ruin.
You can make the box and lid whatever size you want. For example, you can make a tiny little box for holding just a pair of earrings, or you can build a larger box for all your jewels. The choice is yours; just remember that the larger the box, the sturdier the cardboard used needs to be.
Once you’ve cut the box and lid pieces, you’ll need to assemble them into the box. Again, you can use glue or tape to get this done. Make sure that the sides and base are properly aligned and that the lid fits over the assembled box.
If your box is not very sturdy after assembling, try using some drinking straws or chopsticks to add structural support to the inside or outside edges and corners of the box. You can paint the structural support before adding it for the best results.
Covering Your DIY Jewelry Box with Fabric (Optional)
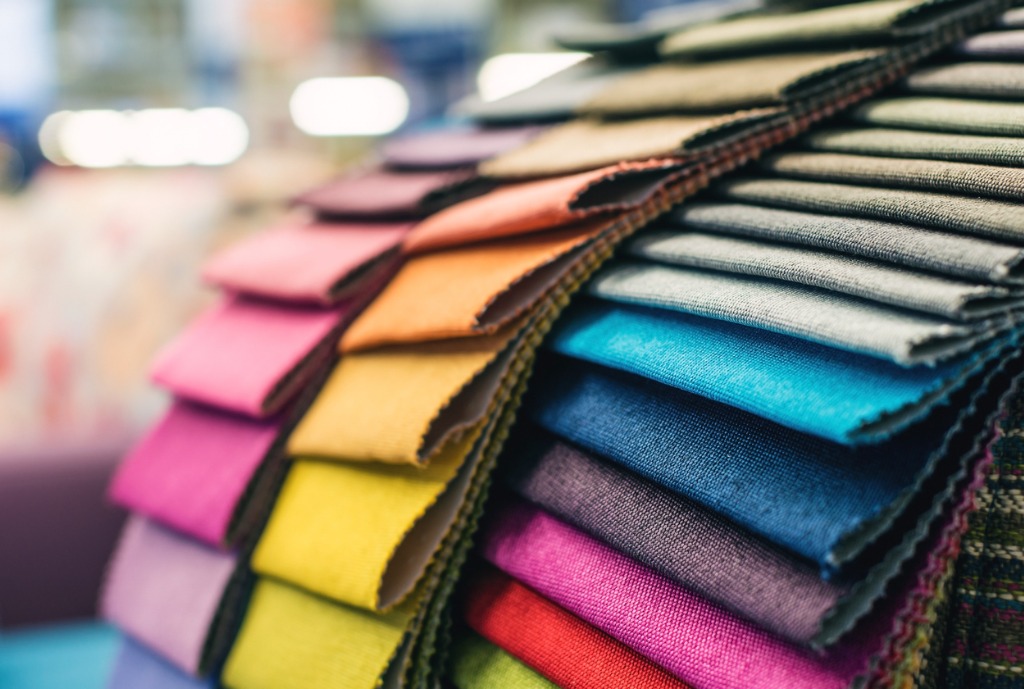
Photo by Berezko via iStock
To bring some life to your jewelry box creation, you can add some fabric to the exterior of the box. This can give your creation a classy finish and, more importantly, make sure it doesn’t look like a cardboard box full of cereal.
You can use any fabric that looks good and will be somewhat durable, so it does not quickly degrade or fall apart. You can attach the material in a few different ways. You can use glue or staples to hold the fabric in place.
Don’t worry about the staples showing on the outside. You can cover these with the borders later on in the process.
Alternatively, you could stitch the fabric onto the cardboard box using a needle and thread, although this seems like more work than it’s worth.
Take your time when picking the fabric for the box. This will be visible on the outside, so make sure it’s something you like.
Adding Inner Layers
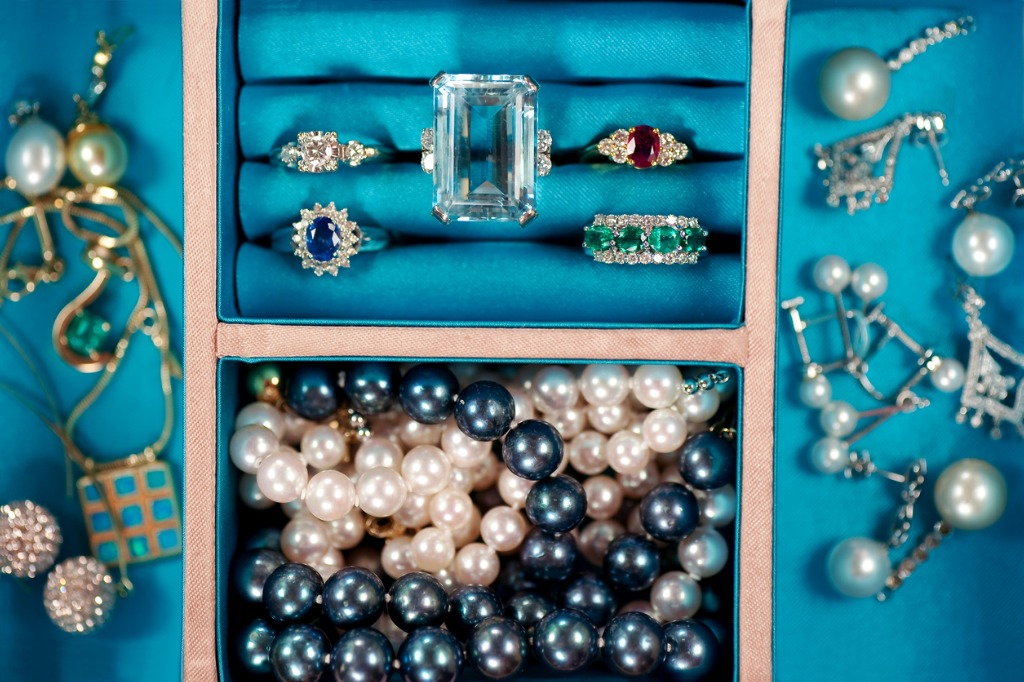
Photo by aspenrock via iStock
Adding some inner layers to the box covers the cardboard inside and makes it much more glamorous.
The inner layers of the box should be made from decorative materials such as soft fabrics, velvet, felt, leather, etc.
These items can be glued or sewn together to create an interior layer for the box.
You can also install different sections within the box, especially if it’s a larger one. Use pieces of cardboard to act as borders between sections inside.
This can allow you to arrange and organize your jewelry into appropriate sections, like cheap and expensive earrings on one side and rings on the other.
Adding a Border to Your DIY Jewelry Box
After you have added the inner layers to the box, you can add borders around the outer edge of the box. These can be made out of fabric, paper, cardboard, wood, etc.
You can either sew or glue the border to the box. If you use glue, make sure that you apply it only where the two materials meet. Otherwise, the glue might leak through.
If you have attached the fabric on the outside with staples, make sure the borders line up to conceal them. Otherwise, they may show through and hurt the finished look.
Finishing Touches
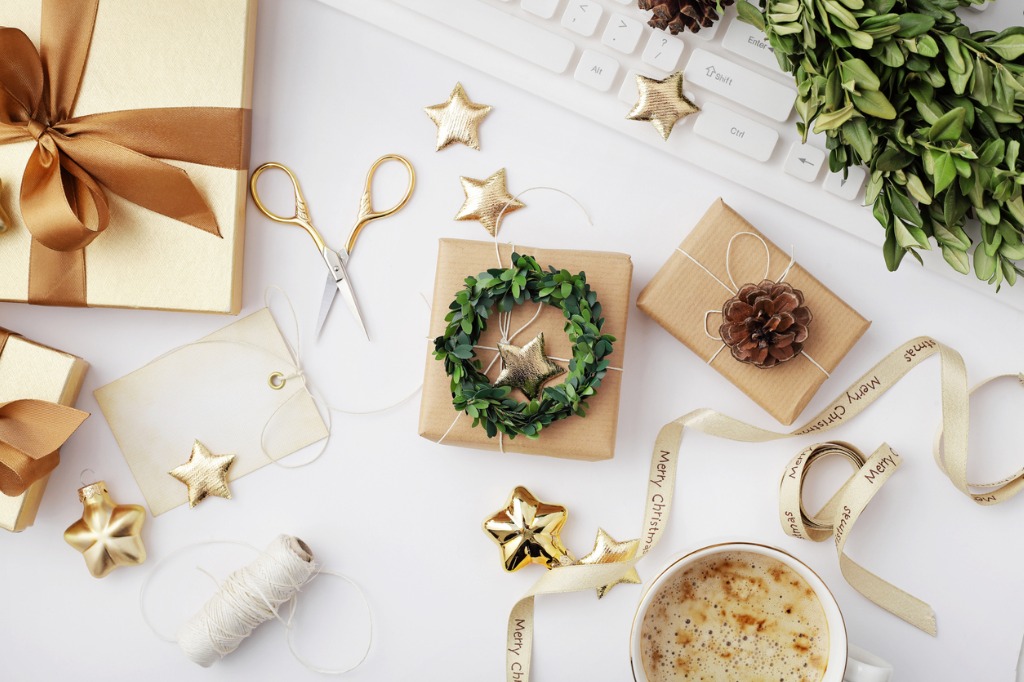
Photo by KMNPhoto via iStock
Once you have completed all the steps above, you can start decorating your DIY jewelry box. The key here is keeping things as straightforward as possible. Don’t go too overboard with decorations because it will just distract from the overall beauty of the box.
You should also consider making a festive DIY jewelry box that you could give as a present to a loved one (or yourself). It would be great to get a gift that is personalized and unique.
Final Thoughts
In conclusion, if you have any old jewelry boxes lying around, why not use them to store your favorite earrings, necklaces, bracelets, etc.? They look pretty cool sitting on top of your dresser or vanity table, and they also serve as handy storage containers when you’re traveling.
Plus, a DIY jewelry box is super cheap to make! All you need is a piece of wood (or cardboard) and some craft glue. Here’s how to make one:
- Cut a rectangle from a piece of wood or cardboard
- Glue the two sides together
- Sand down the edges
- Paint the box
- Insides, borders, and finishing touches
- Voila!
Learn More: