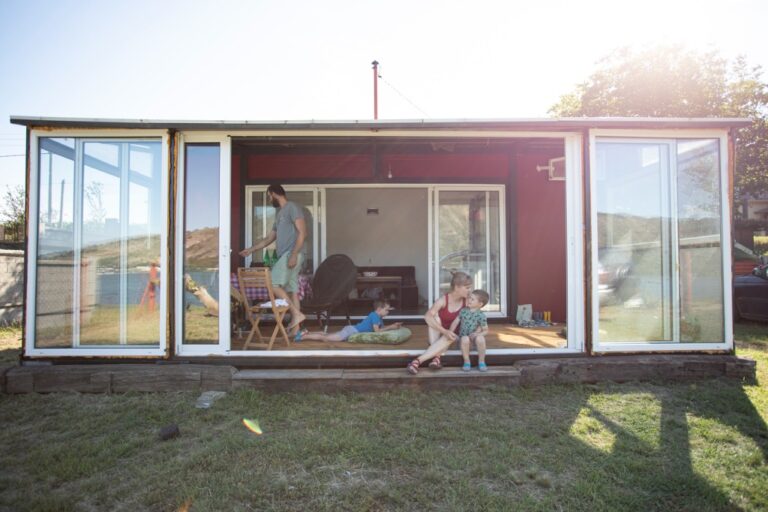
Photo by mmpile via iStock
Shipping containers have proven that they can be used for many things. For example, they can be used as a storage unit. However, many people are unaware that shipping containers can be used to build a unique home.
You can build a DIY shipping container home yourself, provided you know what you are doing. This is a simple guide on how you can build your new home from one shipping container. Follow the steps below to get started!
Step 1: Get Permits and Plan Out Your DIY Home
The first thing to do before starting your shipping container home project is to get all the necessary permits and approvals. You will need to fill out applications for building permits and zoning charges with local authorities.
In most cases, it’s best to seek advice from an architect or engineer so that you have a realistic plan for your budget. They will be able to estimate how much you will need to spend depending on the type of home you want to build. This can impact your type of permit.
Make it a point to find out if there are any restrictions on the materials you are allowed to use. For instance, if you want to put solar panels up, ensure you know the local regulations.
Step 2: Purchase a Container to Serve as Your DIY Home
Next, you will need to buy a suitable-sized shipping container to turn into a home. There are a number of reliable suppliers, so you should be able to shop around and find the right container for your purpose. Also, ensure they are made of good steel and meet your preferred measurements.
Step 3: Prepare Your Lot
To prepare the land for a DIY home, the first step is to remove all existing structures and vegetation, including trees.
The ground supports for a single shipping container can be made of concrete or wood. You’ll need to consider both what the structure needs and what you want when deciding.
The level of support required will likely change depending on the land you’re basing it on, so check with an expert before moving forward.
Even though it’s wise to talk to a professional first, it’s not strictly necessary if you do your research.
Step 4: Place the Container
After preparing the land, you will need to place the shipping container on top of the prepared foundation. To ensure the container stays upright, you can drill holes and insert metal rods through them to secure the containers using nuts and bolts.
Consider hiring a crane to place your DIY home. Shipping containers are heavy, so a crane can help maneuver them into place more easily. This will speed up the process and reduce the amount of manpower required too.
Step 5: Cut Openings
If you’re purchasing a basic, four-walls and no windows kind of shipping container for your DIY home, the next step is to plan all the openings you want for windows and doors.
In order to put windows and doors in shipping containers, the metal must be taken out of the walls; a plasma cutter or a jigsaw can be used for this purpose. This can be dangerous, so hiring a professional will be a safe and convenient option.
Step 6: Install Windows and Doors in Your DIY Home
Windows and doors provide light, ventilation, and security. This is particularly relevant when utilizing small spaces like your shipping container.
If you’re planning to make the most of your shipping container home in the winter or if it will be your permanent home, you should consider installing double-glazed windows.
Double-glazed windows reduce heat loss by up to 50 percent, so they are essential during those winter months in a colder state.
Windows also allow natural light to enter the interior of the container. A good rule of thumb is to install windows every 10 feet along the length of the wall.
Step 7: Install Electricity and Plumbing
When you’re ready to install electricity and plumbing in your DIY home, you’ll need to decide whether you want to do it yourself or hire someone.
A professional will be able to advise you on the power source you have access to and how best to use it. This could be helpful if you are setting up in a remote location.
With electrical wiring, it must follow both local building codes and National Electrical Standards. Wiring a shipping container home can be complicated. Make sure to hire an electrician if you do not know how to safely install electrics.
Next is the plumbing. You will need to install a bathroom and a kitchen sink, at minimum, into your container.
A local plumber will be able to get the job done relatively quickly. They will also be able to tell you how much water pressure you need in your DIY home, which is an important factor to consider in a small home.

Photo by onurdongel via iStock
Step 8: Insulation and Temperature Control
You’ll need insulation to keep the temperature inside your DIY home comfortable. Insulation comes in many different forms: fiberglass batts, spray foam, blown cellulose, and mineral wool.
Fiberglass batts are the cheapest option but tend to break down over time. Spray foam may cost more than other types of insulation, but it lasts longer. Mineral wool is the most durable, but it’s also the most expensive.
Temperature control is the final thing you’ll need to think about. In cold climates, you’ll need to insulate the floor and ceiling of the container. In hot climates, you’ll need solid air flow, perhaps even air-conditioning.
Step 9: Landscaping and Decorating
Landscaping the area outside of your shipping container DIY home is the final touch. There are lots of ways to make a yard look nice. For example, you could try planting grass, shrubs, or whatever else you like.
Another way to decorate your shipping container home is to paint the exterior walls. Making the outdoor space welcoming is an important factor to consider, as with most small homes, you will likely spend a lot of your time around it.
Step 10: Inspection of Your DIY Home
Once you’ve completed all the steps above, inspect your container to ensure it meets all the building codes. After checking, you have to call an inspector, an engineer, or a structural expert to have a final examination of your home. When they are done checking, and everything is in order, you should be able to move into your shipping container home.
There you have it! By following these 10 steps, you will turn an ordinary shipping container into an extraordinary home.