Photo by Grigorev_Vladimir via iStock
Are you searching for plans or instructions on how to build a nightstand? Then you’re in luck.
In this article, you’ll learn how to build a DIY nightstand so you can easily create a stunning and modern piece of furniture that can transform your entire bedroom.
The best thing about building your nightstand from scratch is the freedom of making it as simple or intricate as you want.
Nightstands are also great for adding extra storage space, which can be especially helpful for working with small spaces.
The video tutorial below, created by Kelly Concepts, can teach you the steps to building a nightstand.
This nightstand has a simple yet beautiful design, with an added shelf for convenience.
To help, I’ve summarized the steps below so you can create a beautiful DIY nightstand you can be proud of.
Table of Contents:
- Gather Your Materials
- Cut Your Lumber
- Remove the ‘Crumb Catcher’
- Stain Wood
- Attach the Leg Pieces Together
- Assemble the Tabletop and Bottom Shelf
- Attach All Pieces and Complete the Nightstand
- Enjoy Your New DIY Nightstand
How to Build a DIY Nightstand: Gather Your Materials
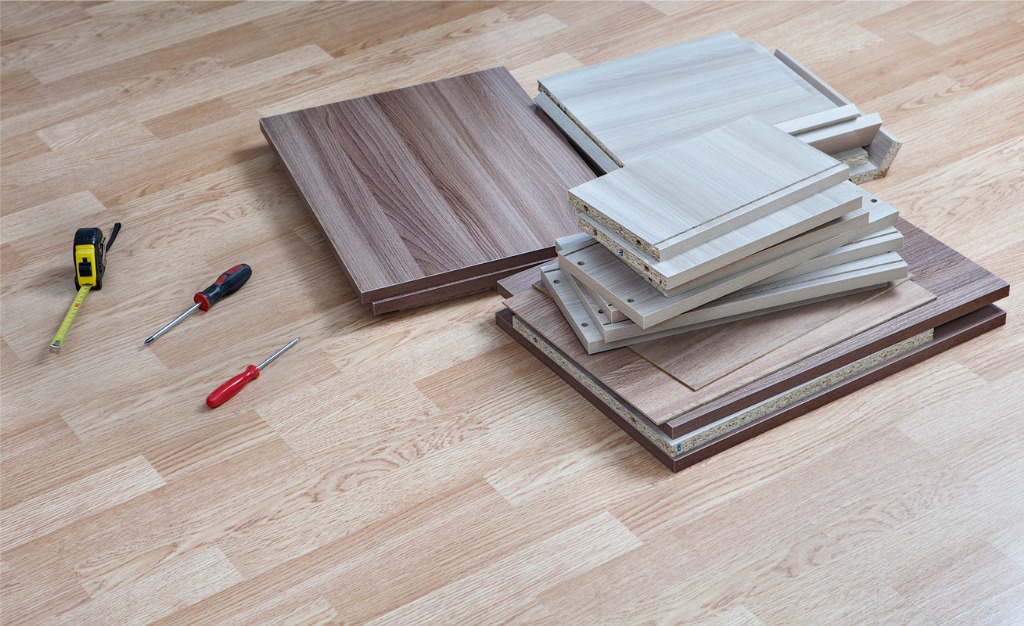
Photo by Grigorev_Vladimir via iStock
Before we get into the specifics, check that you have everything you need to complete the project. For the wood, you can use whatever material you prefer.
If you want a higher quality wood, opt for oak or walnut. However, pine, poplar, and common board are less expensive and just as good.
For this nightstand, the materials and tools you’ll need are:
- (3) 2×8 pieces of wood @ 8 feet long
- (1) 2×6 piece of wood @ 8 feet long
- Kreg jig
- Miter saw
- Electric sander
- Drill
- Clamps
- Speed square
- Tape measure
- Right-angle ruler
- Wood glue
- 2-inch screws
- 2-inch wooden dowels
- Pre-stain
- Dark walnut stain
- Mallet
- Microfiber cloth
- Mini ruler
- Pencil
- Safety glasses
Cut Your Lumber
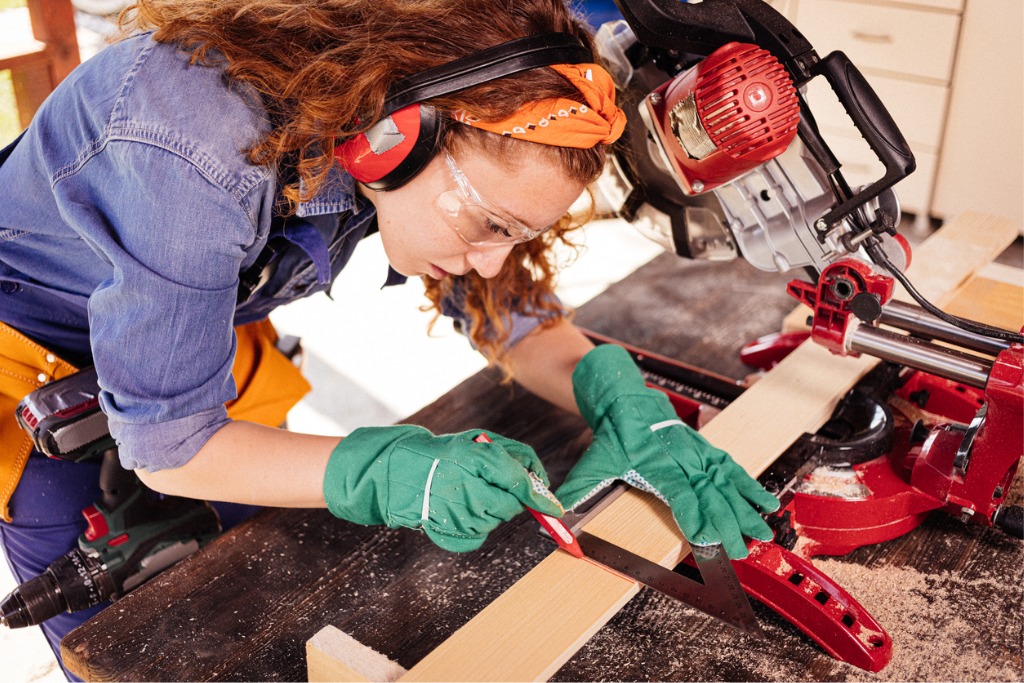
Photo by Nikola Ilic via iStock
Once you have all your materials and tools ready, the next step is to put on your safety glasses and cut the wood to the sizes needed to assemble the nightstand.
Before cutting, use a tape measure and pencil to mark the spot where you will make the cut. Next, use your miter saw to make the cuts using the following measurements:
- (4) 2×8 @ 24″ (for nightstand legs)
- (2) 2×8 @ 18″ (for nightstand table top)
- (2) 2×6 @ 15″ (for nightstand shelf)
How to Build a DIY Nightstand: Remove the “Crumb Catcher”
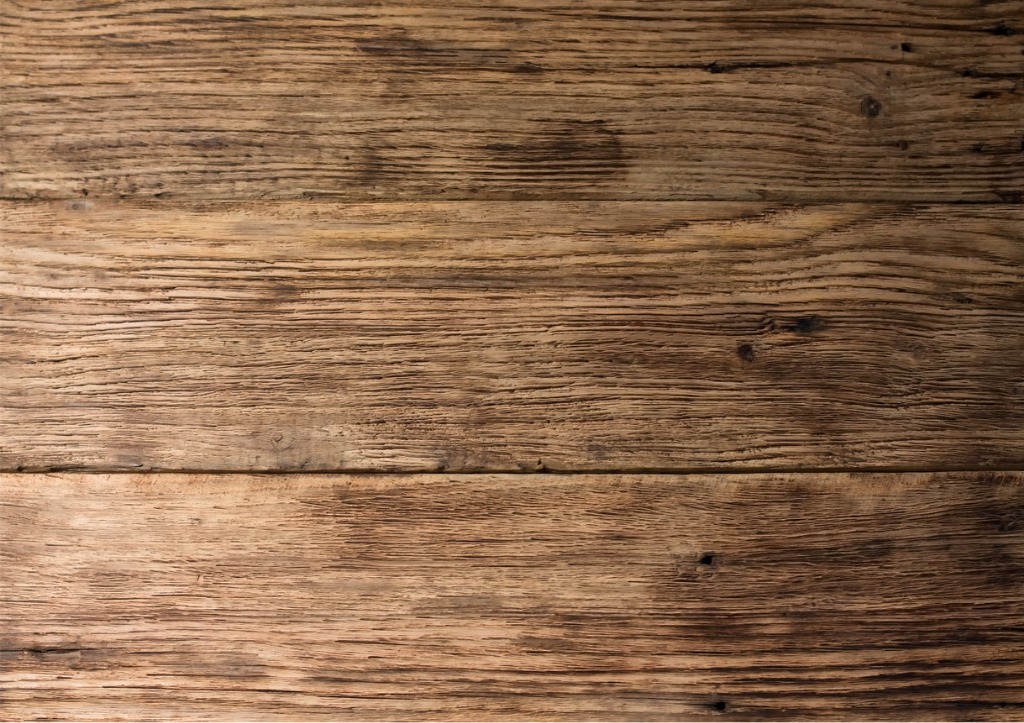
Photo by Yommy8008 via iStock
The “crumb catcher” is the little groove created when you attach two pieces of wood. This groove traps dust and is difficult to clean.
For a more seamless look, you’ll need to use your saw to rip 1/4 inch off each side on every board (2×6 boards are optional since you will use them for the bottom shelf).
Next, use an electric sander to smooth out the boards.
Stain the Wood
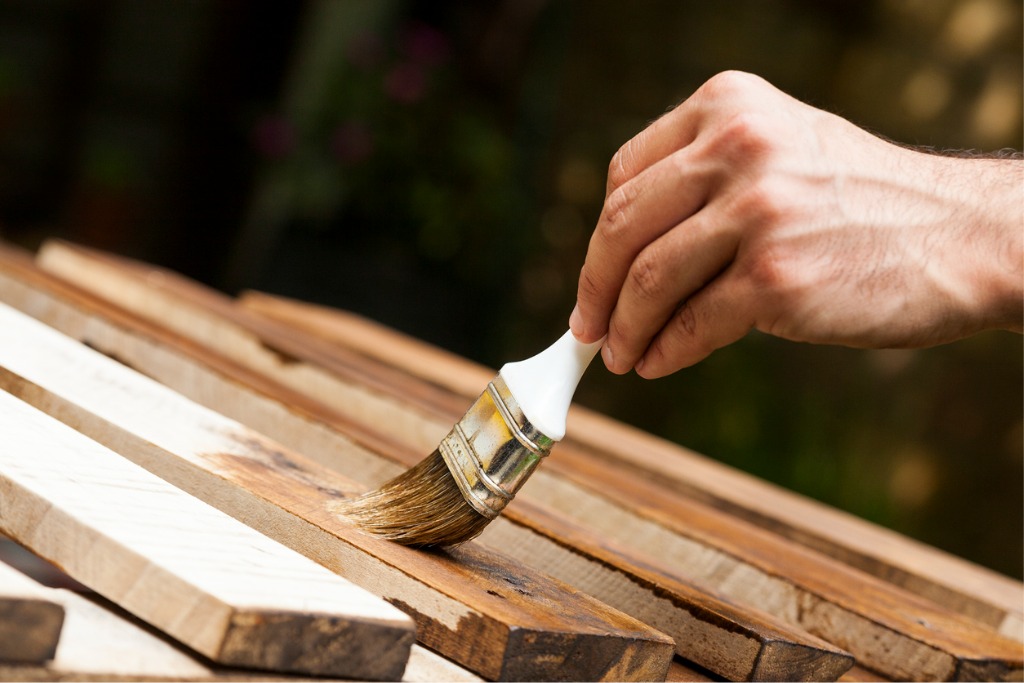
Photo by danchooalex via iStock
Before assembling your nightstand, you’ll want to stain your wood to your desired color. If you liked the dark walnut stain used in the video, you could find the exact product in the link provided in the materials list.
To begin the staining process, apply a single coat of pre-stain and let it sit for 5-15 minutes. Once the time passes, remove any excess pre-stain before using the wood stain.
You should apply the wood stain within two hours of the pre-stain. The number of coats will depend on how dense your wood is because you’ll need to use as much stain as the wood can absorb.
In most circumstances, two coatings are required. Some types of wood, particularly denser ones, need one.
You can apply the stain using a lint-free cloth such as microfiber. Dip the cloth directly in the stain and apply a thin layer. Then, wipe off any excess stain after the coat is applied.
You can apply the second coat after 4 hours; however, the wood stain will have to cure for about 24-72 hours before you’re able to start assembling your nightstand.
How to Build a DIY Nightstand: Attach Leg Pieces Together
Once the stain has dried and cured, the next step is to attach the leg pieces.
To begin, place two 24″ pieces flush together along the narrow length of the wood. Then use your speed square to make a pencil mark 2 inches from the edge on both pieces.
Drill a 1-inch hole at the pencil marking, and repeat on the other piece. This hole will fit the 2-inch wooden dowel that will be used to attach both pieces.
It’s essential to use a drill bit the same size as the dowel or even slightly smaller. This will ensure the dowel will fit snugly within the drilled holes.
The Kreg pocket hole jig includes an adjustable spacer for the drill bit for accurate drill depth.
Once the two holes are drilled, apply wood glue to the edge of both wood pieces and inside the drill holes. Then, place a wooden dowel between the holes, using a mallet to ensure the dowel is in all the way. You should have half the dowel protruding. The protruding end of the dowel will fit inside the other drill hole.
Attach the pieces by placing the protruding end of the dowel inside the drill hole of the other wood piece, and use the mallet to secure both pieces together.
Use a clamp to hold the freshly glued pieces together.
Next, with the help of your right-angle ruler, draw a horizontal line 7 inches from the edge and along the width of the leg piece. Then draw another line 1/2 an inch from the edge on the opposite side.
Using your pocket hole jig, drill two holes at a diagonal slant along the lines you drew. Drill one hole on each end, approximately 1 inch from where the two wood pieces meet.
Then place a screw in each hole and wipe away any excess glue with a damp microfiber cloth.
Repeat the process on the other two 24″ pieces of wood.
Assemble the Table Top and Bottom Shelf
The process will be similar to attaching the leg pieces; however, you won’t need to install dowels. Use the pocket hole jig to drill two diagonal holes on one wood piece.
Both ends will have one hole in an adjacent corner. The holes will sit one inch from the edge.
Next, attach both pieces of wood with glue, secure them with a clamp, and place a screw inside each hole.
Wipe off any excess glue and repeat the process using the 2×6 wood pieces to assemble the bottom shelf.
How to Build a DIY Nightstand: Attach All Pieces to Complete Your Nightstand
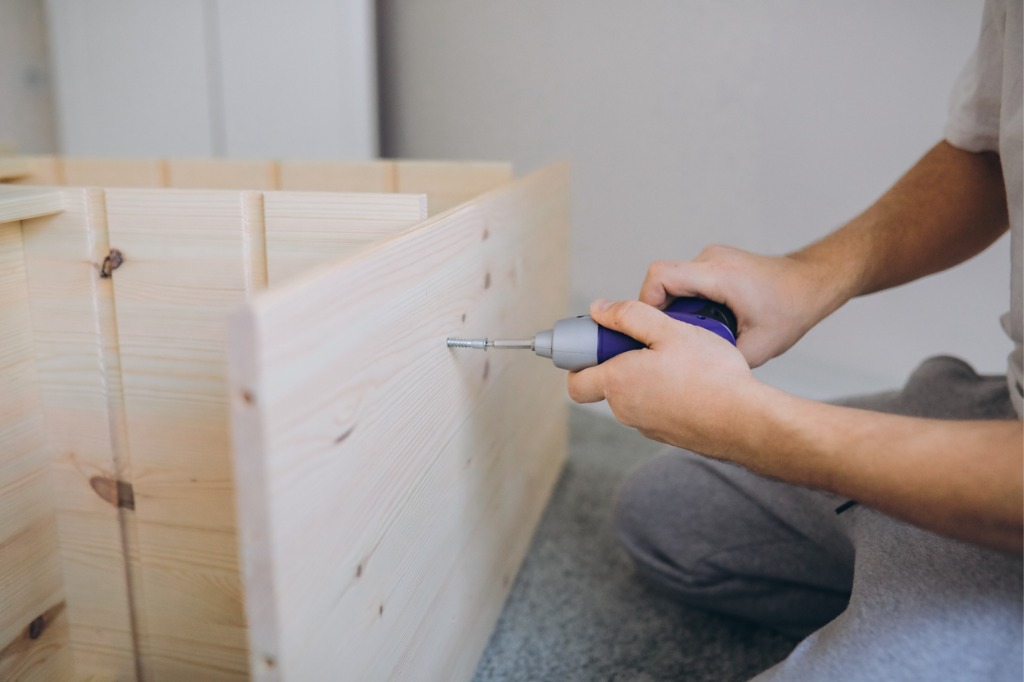
Photo by ozgurcankaya via iStock
You’re almost done. All that’s left is putting everything together.
For this step, you will begin using your pocket hole jig to drill three diagonal holes on one end of the bottom shelf.
These holes will be spread evenly along the edge.
You will do the same for both leg pieces; however, you will only need to drill two diagonal holes. The holes will be placed on the end containing the hole closest to the edge.
Next, add wood glue to each end of the tabletop’s bottom side. When attaching the leg pieces, ensure the holes are facing the inside of the table and the holes closest to the edge are adjacent to the tabletop.
Attach the leg piece to the tabletop by drilling screws into the holes.
The final piece to install is the shelf. When you place the shelf inside the nightstand, ensure the holes on the shelf are facing down, and the shelf is 7- inches from the bottom.
Drill screws within the holes to attach the shelf to the nightstand. You may need a scrap piece of wood to support when connecting the shelf to the nightstand.
Enjoy Your New DIY Nightstand
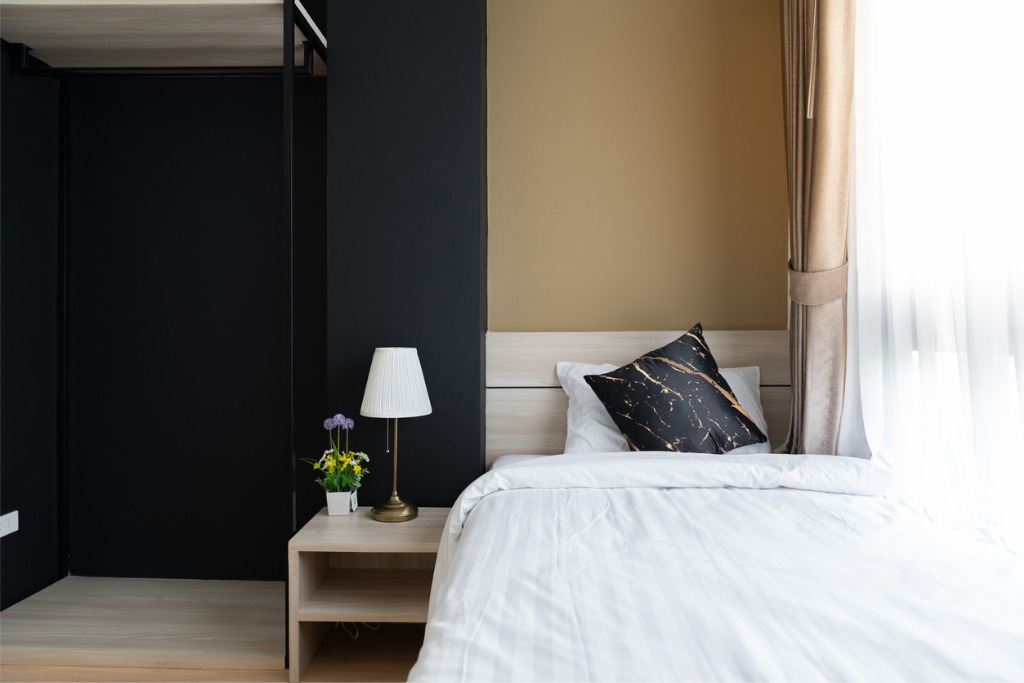
Photo by Nuttapol Sangthongchay via iStock
The last and final step is to enjoy your new furniture piece. Learning how to build a DIY nightstand is a fun project that will give you a new piece of furniture in your home without breaking the bank.
Plus, if you have any scrap wood left over from another project, you can use it to create a unique piece of furniture like this one.
When you’re just beginning to learn how to build DIY woodworking projects, it’s best to start with simpler designs. Once you get comfortable working with power tools, you can progress onto more complicated furniture pieces, including those with built-in drawers, doors, and drawer hardware.
Learn More: