Photo by Yevhenii Podshyvalov via iStock
Is your faucet leaking? Before you call a plumber, think about learning to replace a faucet yourself. We can show you how to replace different faucets around the home with a handy guide.
Of course, you should learn about the type of faucets you want before starting the project. Each type will have pros and cons.
We’ve summarized everything below. Then go ahead and check out the complete guide to replacing different faucets around the home.
Table of Contents
- Four Types of Faucets
- Prepping Your Workspace
- Removing the Old Faucet
- Drilling New Holes
- Installing Cover Plates
- Connecting the Water Supply
Four Types of Faucets
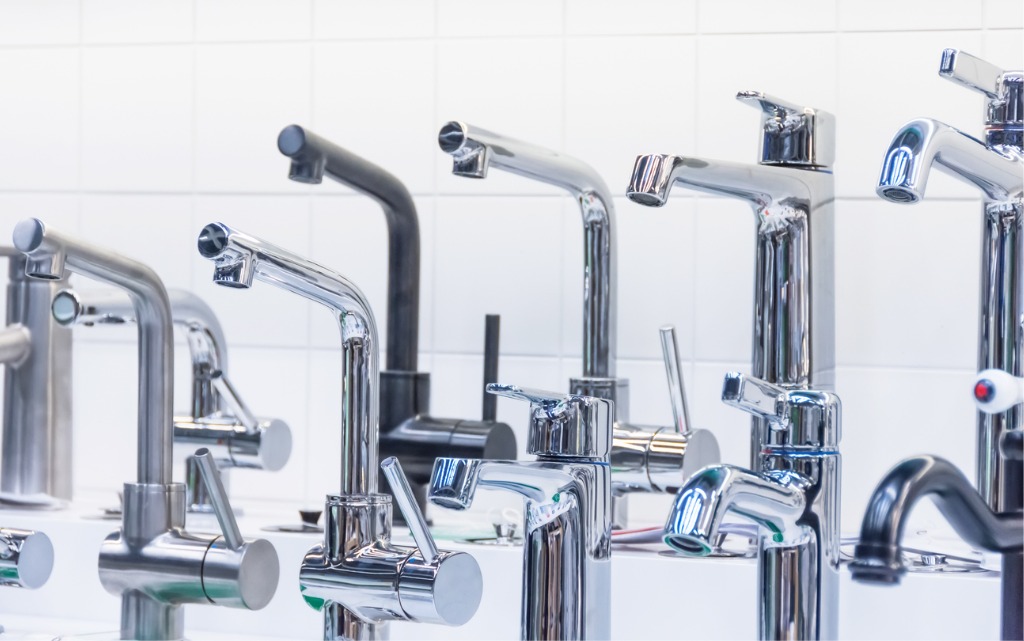
Photo by aapsky via iStock
Choosing a faucet can be tricky. Although the one in your kitchen may look like the ones in the bathroom, they’re usually different on the inside.
If you’re thinking of changing the one you have, choose the same type or learn more about what types you want to change.
There are four basic faucets: ball, disc, cartridge, and compression.
1) Ball faucets
A ball faucet uses a ball valve mechanism to control the water flow. It’s the first washerless kitchen faucet with a single handle that holds a plastic or metal ball inside the ball faucet.
This ball has chambers, O-rings, and spring-loaded seals. The ball/lever assembly controls the water flow and mixes the water temperature.
2) Disc faucets
Disc faucets are the newest faucet innovation. It has a single lever on a wide cylindrical body.
The disc faucet’s pressure balance cartridge combines hot and cold water. Two ceramic discs raise and lower to control water flow while the handle rotation controls temperature.
This faucet type is highly reliable and rarely needs repairs. But it costs more too.
3) Cartridge faucets
Cartridge and compression faucets are similar but work differently. Cartridge faucets are smoother than compression faucets when it comes to the twisting axis.
A half-turn turns the faucet on and off without pressure or effort. Thus, cartridge faucets have lever-style knobs that are easy to hold and turn. Due to their cartridge architecture, they’re low-maintenance and reliable.
4) Compression faucets
Compression faucets can be found in older houses. The hot and cold water handles are separate on this type of faucet. So they must be tightened to stop the flow of water. With the help of a compression stem (a screw with a washer on the end), pressure is put on a valve seat.
The modern updates are still frequently used in utility sinks in newer houses. These faucets are not expensive, but they often leak and must be fixed more often.
Get some critical tips for updating your faucet in the video above by LRN2DIY.
How to Replace a Faucet: Prepping Your Workspace

Photo by AndreyPopov via iStock
Now that you know all the types of faucets there are, and you’ve chosen one, you should prep your workspace. This includes turning off the water valves. Look under your sink and twist the valve that controls the water supply lines to ‘Off.’
If the valves are stuck or rusted, you can attempt to loosen them up with locking pliers. Then, gently turn it to the ‘Off’ position’. But make sure to switch the main water valve first to avoid flooding.
Since you’re also working a lot under the sink, you should be comfortable. Make sure that the space around the sink is free of clutter.
Then use a thin sheet of plywood that’s narrow enough to fit your cabinet door but wide enough to prop your head and back. This will support your body as you work.
How to Replace a Faucet: Removing the Old Faucet
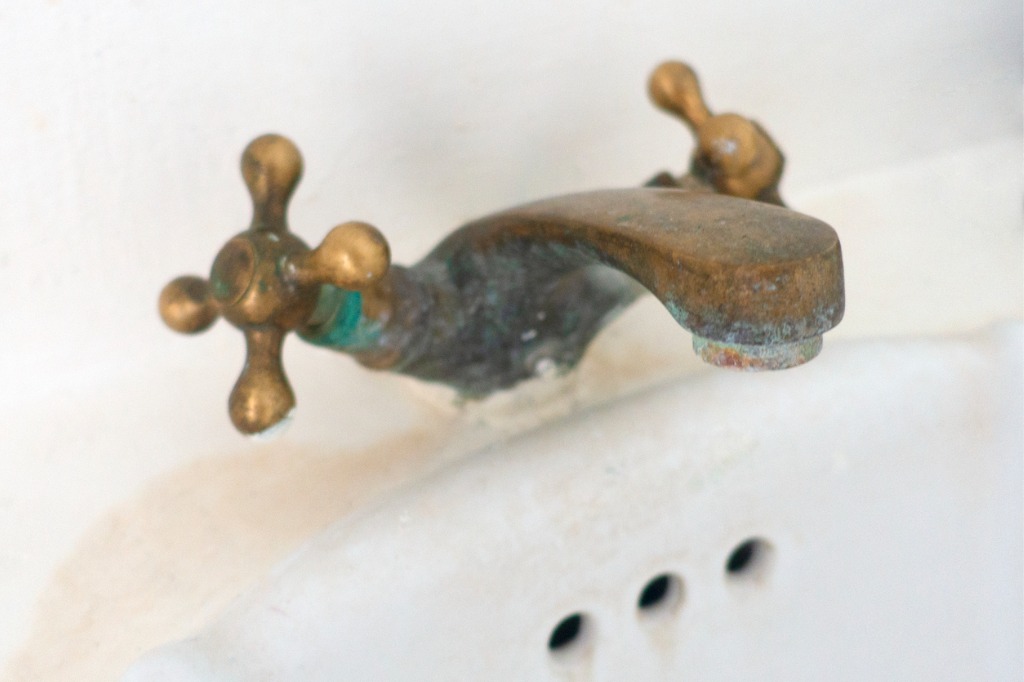
Photo by Dontstop via iStock
This step can be tricky. Technically, you can loosen the nuts beneath the sink and push the faucet out of its holes to remove it.
But it gets dark under the sink, where the faucet is attached, so you better keep a wrench handy to loosen the bolts. Use a work light to illuminate your workspace.
If the nuts are rusted and refuse to budge, clean the corrosion with a brush and spray penetration oil.
Sometimes after doing all of that, they still won’t turn. At this point, you can either attempt to cut them off with a saw or call a plumber, which many DIY-ers are known to do.
How to Replace a Faucet: Drilling New Holes

Photo by kitzcorner via iStock
Check the number and distance between the sink’s holes. This is the industry standard for measuring sinkholes, called measuring “on center (OC).”
If the new faucet changes the holes or adds a handle, you need to drill additional holes. You can bore extra holes in the sink (or the countertop behind, depending on your current faucet) to accommodate the new one.
If you’re not confident in your drilling abilities, or if your countertop is made of granite or quartz and you want to avoid damaging them, get a countertop contractor with the appropriate equipment. They can bore new holes cleanly without damaging the materials.
How to Replace a Faucet: Installing Cover Plates
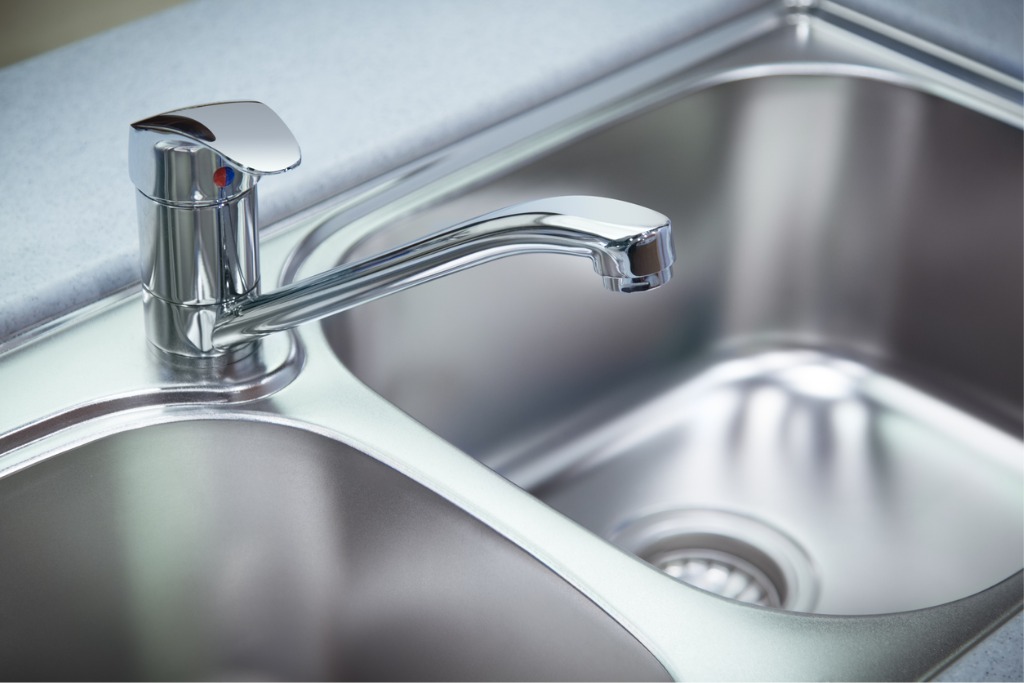
Photo by rodho via iStock
A cover plate, also known as an escutcheon plate, is a plumbing supply that conceals the unattractive hole in the wall where the pipes come through. They can be close to a shower arm or underneath the sink.
You need to place a cover plate if you’re replacing, for example, a three-hole faucet for a one-hole faucet. Make sure the plate is watertight by following the manufacturer’s directions.
Covering the holes with a provided rubber gasket might be necessary before adding the plate. For the finish, you should use a plumber’s putty to caulk the plate if needed.
How to Replace a Faucet: Connecting the Water Supply

Photo by interstid via iStock
Next, you should connect the water supply line to the faucet. First, feed the faucet line through the hole after being adjusted to the proper position.
Install the faucet with the washers and nuts under the counter. Then double-check the faucet’s placement from above before tightening the nuts until the faucet is firmly in place.
After that, you can connect the hot and cold water valves under the sink to the supply lines.
Finally, check how the new faucet works. Turn the water on slowly and see if there are any leaks. If there are, make adjustments by tightening the nuts, and then check again. And then you’re done!
Learn More: