How to Glue Wood: The Complete Guide for DIYers
Quick Verdict: Knowing how to glue wood correctly produces joints stronger than the surrounding wood fiber, with properly cured PVA holding roughly 33% more force than an equivalent pocket-screw connection. For most indoor projects, Titebond Original (PVA) at $4–$7 per 8 oz bottle is the best starting point: 4–6 minutes of open time, clamp removal after 30–60 minutes, and full strength at 24 hours. Titebond III steps in for outdoor and waterproof applications, while two-part epoxy handles structural repairs and gap-filling. Surface prep, correct clamping pressure, and patience during the cure window separate a permanent joint from one failing at the worst moment.
Last updated: April 2026 | 9 min read
In This Guide
- Why Learning How to Glue Wood Produces Stronger Joints
- Key Facts at a Glance
- Types of Wood Glue Compared
- How to Glue Wood in 5 Steps
- Wood Glue Drying Time by Type and Brand
- Clamping Techniques for Strong Joints
- Special Gluing Situations
- Wood Glue vs. Screws: Which Is Stronger?
- Pros and Cons of Wood Glue
- Common Mistakes to Avoid
- Final Verdict
- Frequently Asked Questions
Why Learning How to Glue Wood Produces Stronger Joints
Learning how to glue wood is one of the highest-leverage skills in any DIYer’s toolkit, because a correctly executed glue joint is measurably stronger than the wood around it. In controlled tests, a box joint assembled with PVA withstood 208 lbs of load before the wood fiber itself gave way, while the glue line stayed intact. For a hands-on project such as building a chair from plywood, this kind of joint strength determines whether your finished piece lasts a decade or fails after a month. The mechanics behind this are straightforward: liquid wood glue penetrates the open wood fibers, then cures into a polymer matrix locking those fibers together at a molecular level.
Wood glue works across a wide range of project types, from furniture assembly and cabinet construction to outdoor decking repairs, raised garden bed construction, and musical instrument restoration. Each glue type trades different variables, including open time, moisture resistance, and flexibility, so choosing the right one before you start saves time and prevents frustration. A basic bottle of PVA costs $4–$7 and covers dozens of joints, while specialized options like two-part epoxy run $8–$20 per use but fill gaps no PVA formula handles well.
For most people walking into a project for the first time, the process feels straightforward: spread some glue and clamp it together. In practice, though, surface cleanliness, temperature, clamping pressure, and the distinction between open time, clamp time, and cure time all affect the result. After working through enough glue-ups to have ruined a few and nailed many more, the single biggest lesson is this: the prep work before the glue goes on matters as much as the glue itself.
This guide covers every glue type with data, walks through the five-step gluing process, explains drying and cure phases in practical terms, and flags the mistakes causing joints to fail. Whether you work with soft pine or dense hardwoods like teak, the principles stay consistent.
Key Facts at a Glance
| Topic | Key Data |
|---|---|
| Strongest joint type | Box joint with PVA glue (208 lb max load) |
| Best beginner wood glue | Titebond Original (PVA), $4–$7 per 8 oz |
| Typical clamp time | 30–60 minutes for PVA; 1–2 hours for polyurethane |
| Full cure time | 24 hours for most types; 24+ hours for epoxy |
| Ideal gluing temperature | 65–75°F; most PVA formulas fail below 50–55°F |
| Waterproof wood glue option | Titebond III (Type I ANSI/HPVA rated) |
| Glue vs. screws strength | Glued joint holds ~33% more force than pocket screws |
| Price range | $4 (PVA) to $15 (specialty hide glue) per 8 oz |
| Food-safe option | Titebond II and III (FDA compliant when cured) |
Types of Wood Glue Compared
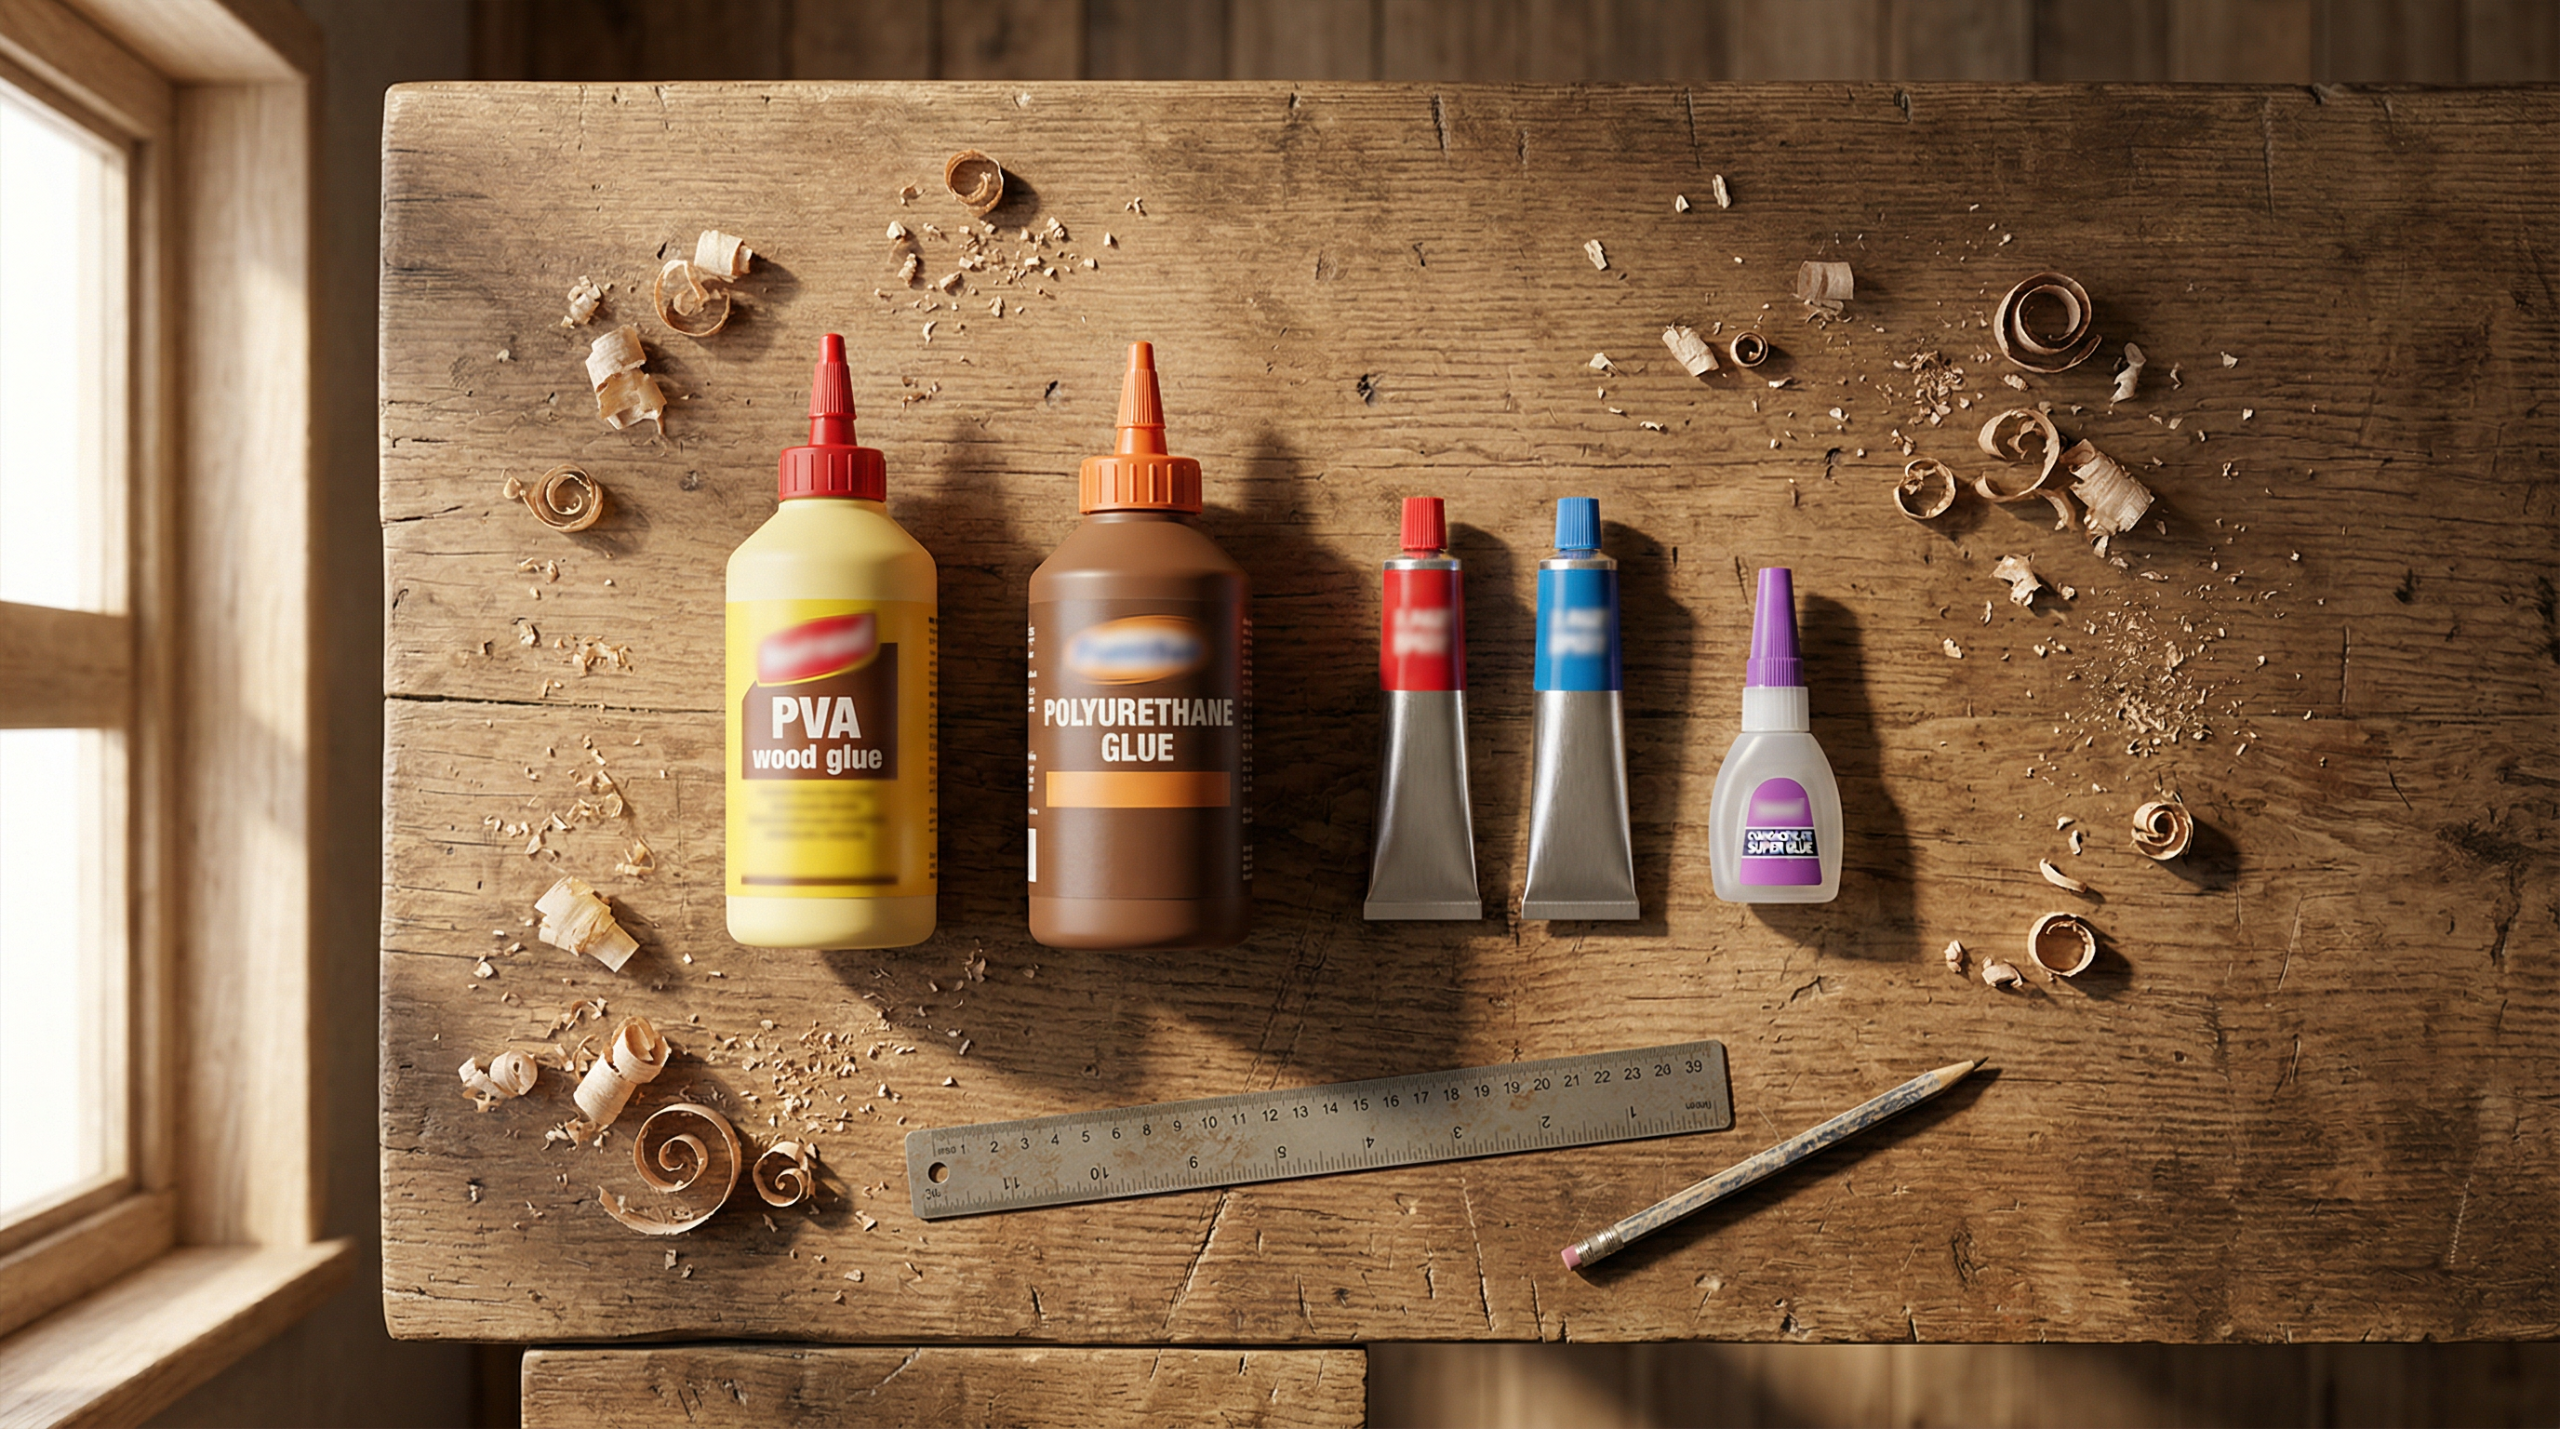
Understanding the types of wood glue available tells you which adhesive fits a given project before you open a single bottle. Each formula has a specific strength profile, moisture resistance level, and working window, so the wrong choice on an outdoor bench or a veneer repair leads to joint failure months later.
PVA (Yellow/White Glue)
PVA glue is the standard for indoor furniture, cabinets, and general carpentry. Titebond Original, the most widely recognized yellow PVA, gives you 4–6 minutes of open time before the bond starts forming. Clamp removal after 30–60 minutes is safe for most assemblies, though full strength takes 24 hours. A bottle costs $4–$7 for 8 oz and offers enough coverage for dozens of joints. The main limitation is moisture: standard PVA has no water resistance, so keep it away from anything exposed to rain or repeated wetting. For slightly more demanding environments, Titebond II (water-resistant, Type II rated) and Titebond III (Type I rated, fully waterproof) address this gap without changing the basic workflow.
Polyurethane Glue
Polyurethane glue, best known through Gorilla Glue’s original brown formula, offers 100% waterproof performance and bonds wood to non-porous materials like metal and stone. The open time of 20–30 minutes is genuinely useful for complex assemblies. However, the foam expansion during cure is a significant drawback. Many woodworkers assume the foam filling a gap adds strength; it does not. The foamed material is weak and cellular, so a gap-filling polyurethane joint is substantially weaker than a tight-fitting PVA joint. For structural applications, two-part epoxy outperforms polyurethane on gap filling every time. Polyurethane costs $9–$15 per 8 oz and works best when bonding dissimilar materials where PVA simply will not adhere.
Epoxy (2-Part)
Two-part epoxy combines a resin and a hardener to form a rigid, gap-filling bond with excellent moisture resistance. Open time varies from 5 minutes (quick-set formulas) to 60 minutes (slow-cure versions), and clamp time runs from 1 to 12 hours depending on the formula. At $8–$20 per use, epoxy costs more per joint than PVA, though the gap-filling capability justifies the price for loose mortise-and-tenon repairs or structural rebuilds. The cured joint is rigid rather than slightly flexible, which suits hardwood furniture but causes problems in applications where wood movement from seasonal humidity changes stresses the joint.
Hide Glue
Hide glue, made from animal collagen, dominated woodworking for centuries and remains the standard for antique furniture repair and musical instrument construction. Liquid hide glue (such as the Titebond formula) has an open time of roughly 10 minutes and an extended clamp time of 6–12 hours, requiring careful planning. The defining characteristic of hide glue is reversibility: heat and moisture soften the joint, allowing disassembly without destroying parts. When an antique chair repair demands future disassembly, hide glue is the right call. At $8–$12 per 8 oz for liquid hide glue, it adds complexity without strength advantages over PVA for general modern projects.
CA Glue (Super Glue)
CA (cyanoacrylate) glue bonds in seconds and cures in under a minute with no clamping required in many situations. At $5–$15 per 2 oz bottle, it costs more per fluid ounce than PVA but excels at quick fixes and the CA-plus-PVA no-clamp technique described in the clamping section below. Good moisture resistance and an 8–24 hour full cure make it practical for small repairs. The trade-off is brittleness under impact: a drop or heavy knock stresses a CA joint harder than a PVA joint of equal size. Use CA where fast set time matters more than long-term flex tolerance.
Before selecting between brands, check our sandpaper grit chart guide for surface preparation recommendations pairing with each adhesive type, since surface roughness affects how well glue penetrates wood fibers.
| Type | Best Use | Open Time | Clamp Time | Full Cure | Water Resistance | Price |
|---|---|---|---|---|---|---|
| PVA – Titebond Original | Indoor furniture, cabinets | 4–6 min | 30–60 min | 24 hrs | None | $4–$7/8oz |
| PVA – Titebond II | Indoor + occasional outdoor | 3–5 min | 30–60 min | 24 hrs | Type II | $5–$9/8oz |
| PVA – Titebond III | Exterior, outdoor furniture | 8–10 min | 30–60 min | 24 hrs | Type I (waterproof) | $8–$15/8oz |
| Polyurethane (Gorilla Glue) | Mixed materials, loose joints | 20–30 min | 1–2 hrs | 24 hrs | 100% waterproof | $9–$15/8oz |
| Epoxy (2-part) | Structural repairs, gap filling | 5–60 min | 1–12 hrs | 24+ hrs | Excellent | $8–$20/use |
| Hide Glue (liquid) | Antique repair, instruments | 10 min | 6–12 hrs | 24 hrs | Poor (reversible) | $8–$12/8oz |
| CA Glue (Super Glue) | Quick fixes, no-clamp trick | <1 min | Instant | 8–24 hrs | Good | $5–$15/2oz |
How to Glue Wood in 5 Steps: The Complete Process
The process of how to glue wood follows a consistent five-step sequence regardless of glue type. Skipping or shortcutting any step reduces joint strength, sometimes by more than half.
Step 1: Prepare the Surface
Start with surfaces free of dust, oil, and old finish, and verify they are flat. A light pass with 80–120 grit sandpaper opens the wood fibers for better adhesion, though over-sanding past 180 grit closes fibers on dense hardwoods and reduces penetration. After sanding, wipe off all dust with a dry cloth. For oily or dense species such as teak, ipe, or rosewood, wipe the gluing surfaces with acetone and allow 15–20 minutes of dry time before applying glue. The natural oils in these woods actively repel water-based adhesives, and skipping the acetone wipe often produces a bond peeling apart at the first stress load.
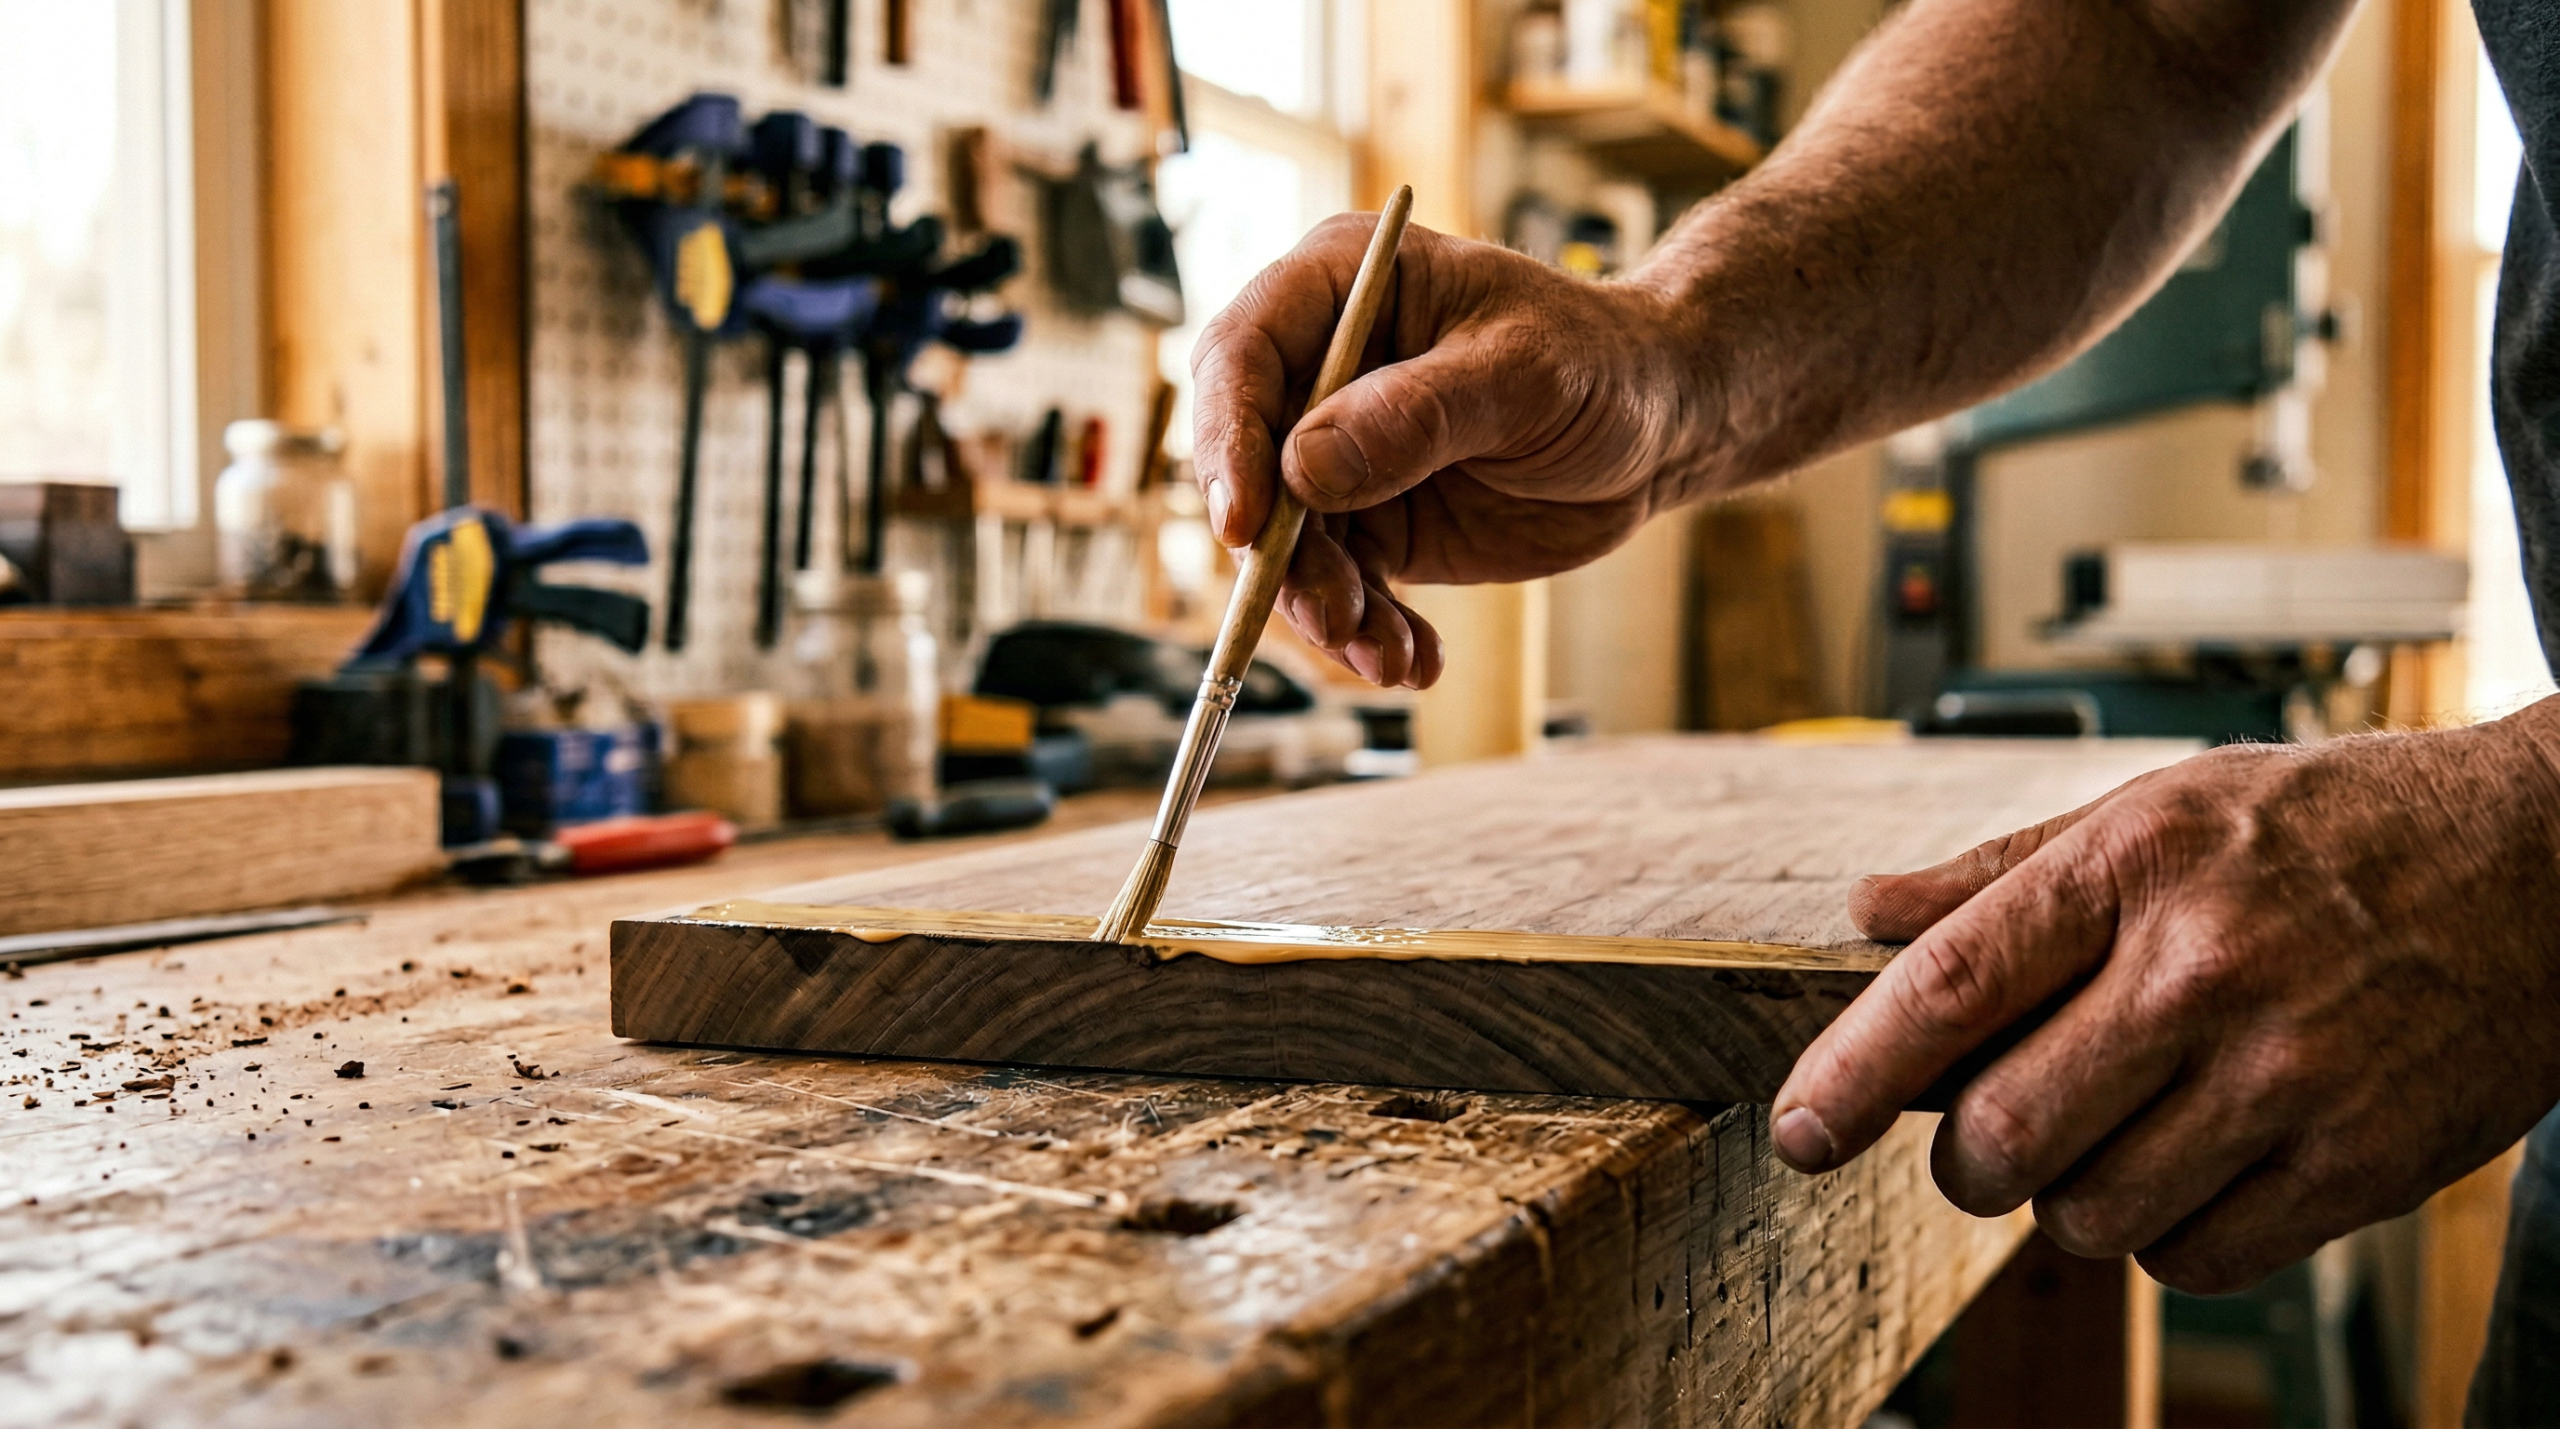
Step 2: Apply the Glue
Apply an even, thin coat to both mating surfaces rather than a thick layer on one side only. Spread it consistently using a brush, roller, or the bottle tip, covering the entire glue surface without pooling. For end grain, apply a diluted size coat first: mix your wood glue 1:1 with water and brush it onto the end grain, then allow 5–10 minutes for absorption before applying the full-strength glue on top. This pre-coat prevents the thirsty end grain from starving the joint by absorbing glue too fast, which otherwise leaves a dry, weak bond. For boards 4 inches wide or wider, apply glue to both faces.
Step 3: Join and Align
Bring the pieces together within the open time window listed for your glue type. Immediately check alignment with a square or straightedge, since repositioning after the initial tack begins is disruptive to the bond. For panel glue-ups, slide the boards slightly against each other to spread the glue evenly across the joint, then seat them in final position. Keep your clamps staged and ready before this step, because lost time during alignment eats directly into your open time budget.
Step 4: Clamp the Assembly
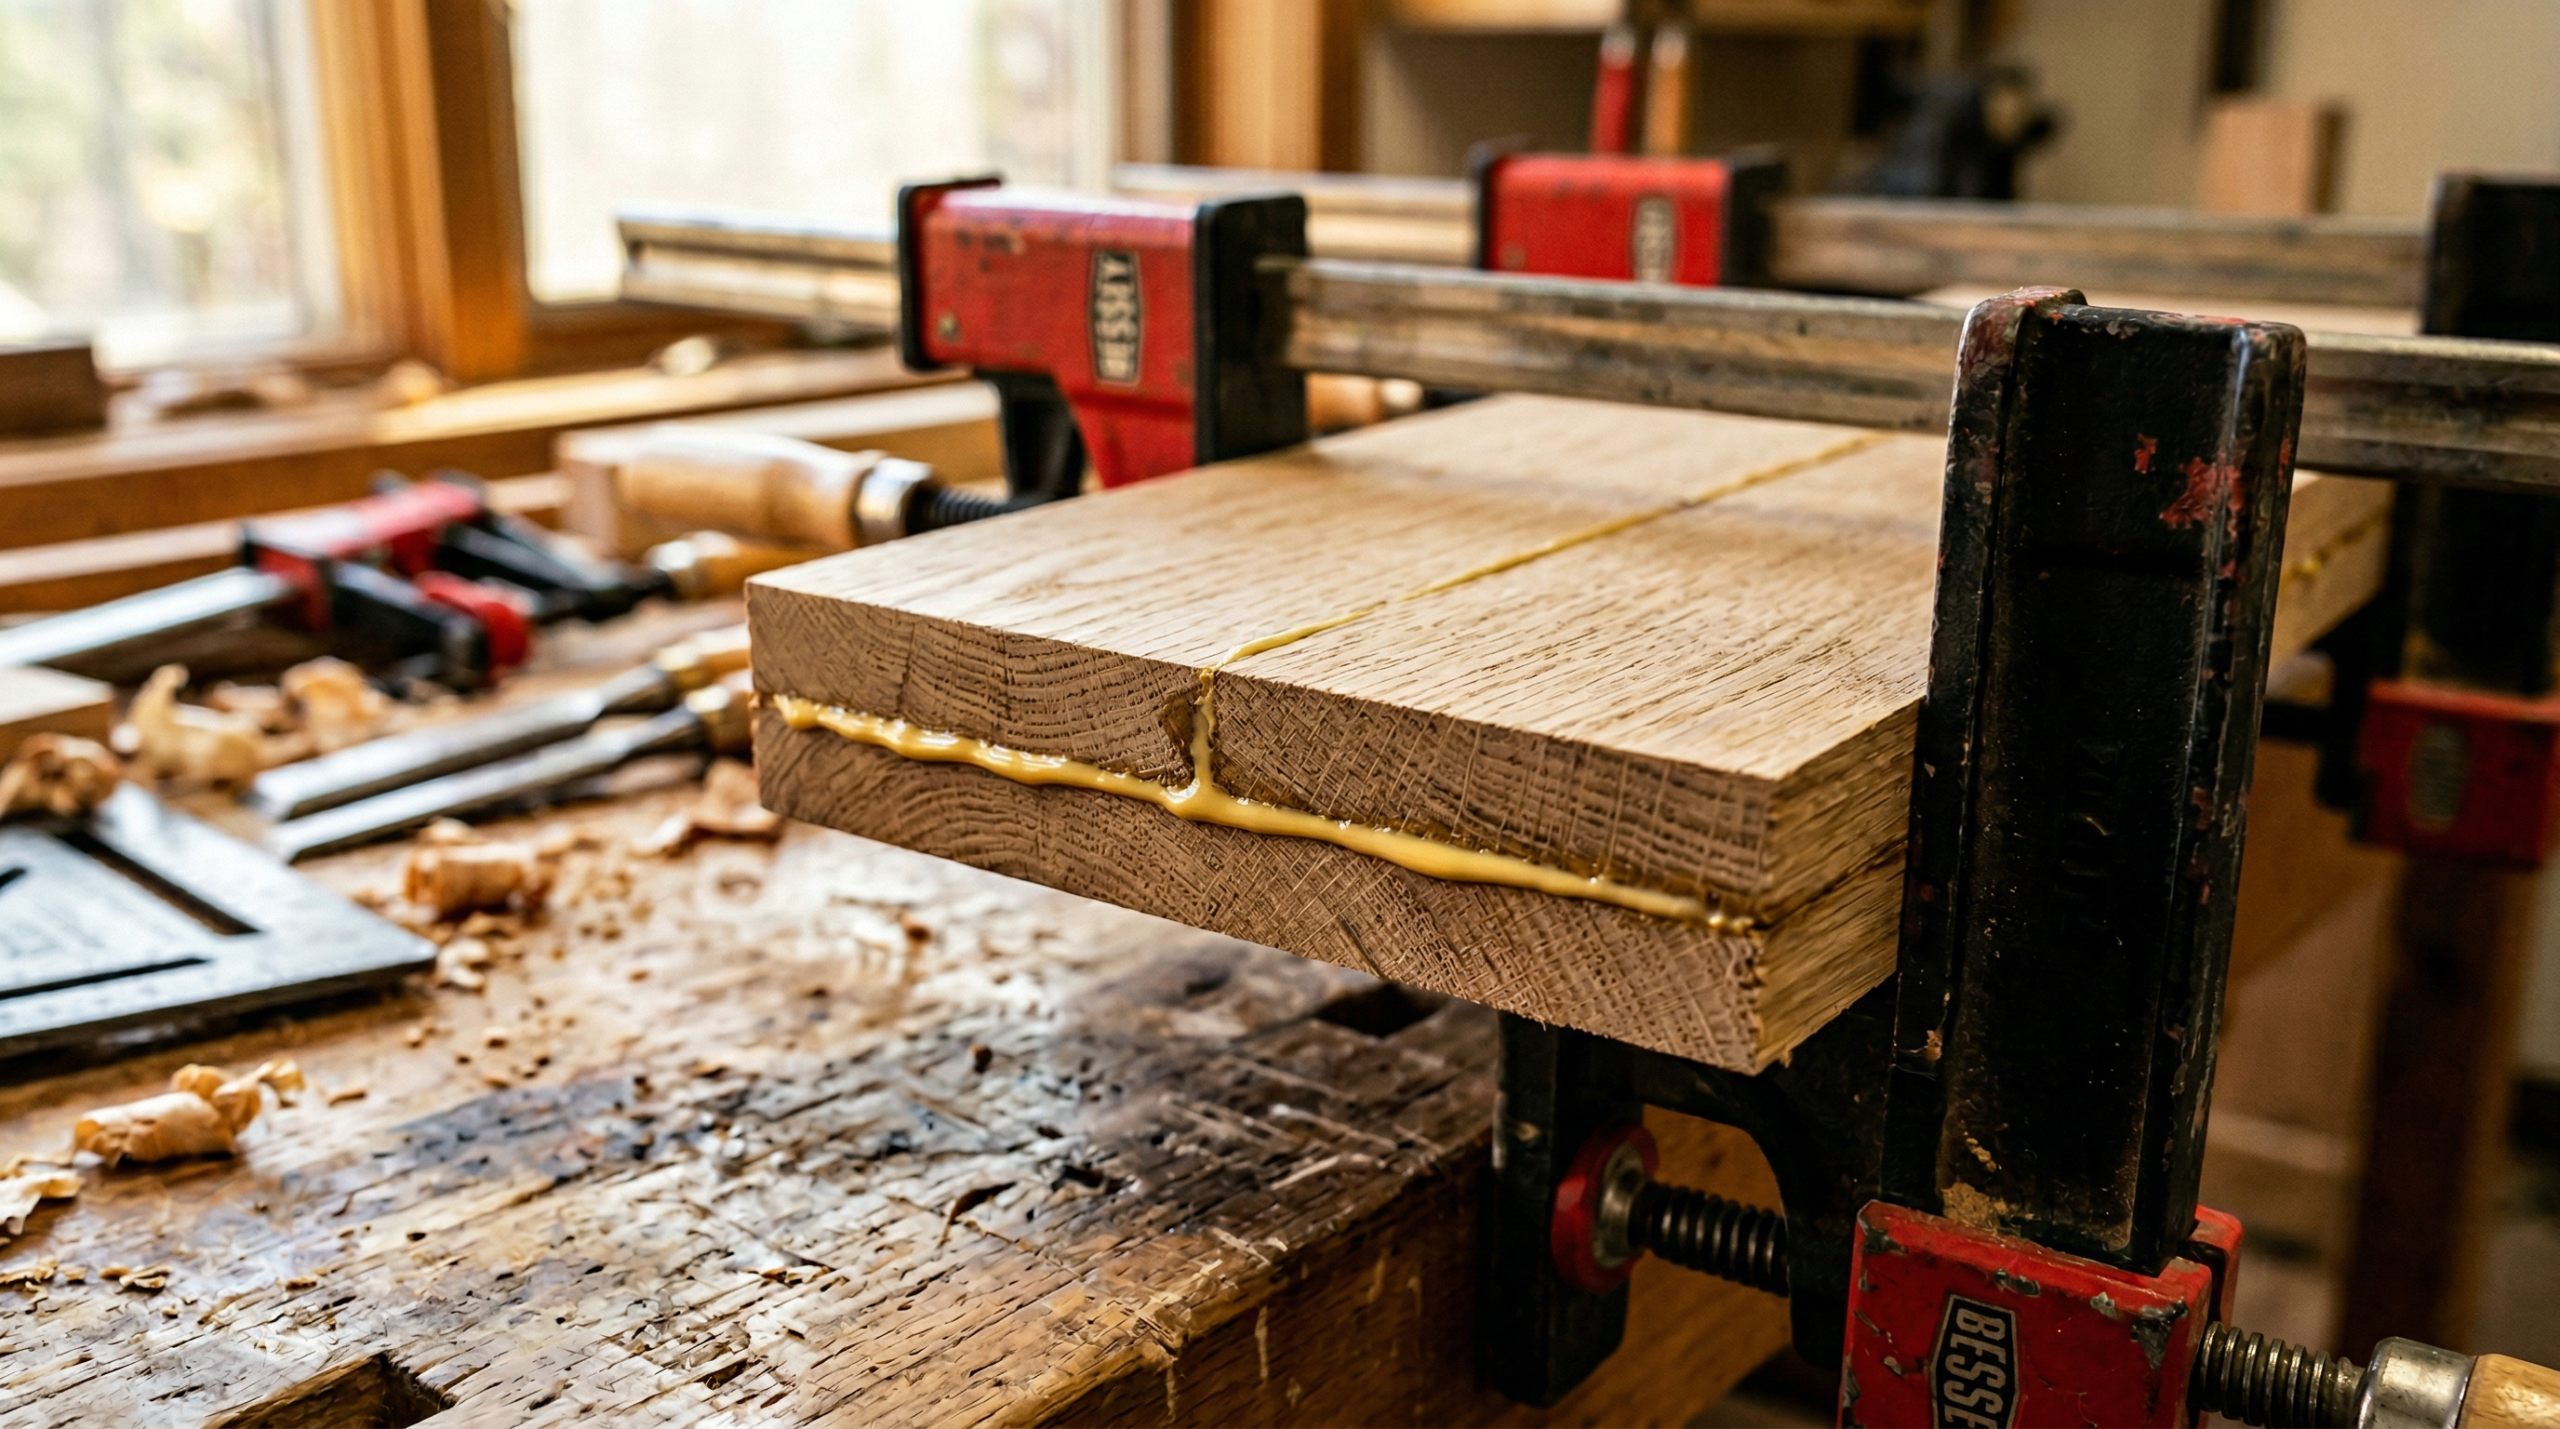
Apply firm, even clamping pressure across the joint. The target pressure varies by wood hardness: softwoods such as pine need 100–150 psi, medium-density woods like walnut need 125–175 psi, and hardwoods like oak and maple need 175–250 psi. In practice, watch for a thin, consistent bead of squeeze-out along the full length of the joint, which signals adequate pressure. No squeeze-out at all means the joint is starved. Excessive squeeze-out, while easy to clean up, indicates wasted glue and higher mess. Avoid over-tightening clamps on soft species, as concentrated clamping pressure leaves permanent dents in the wood surface.
Step 5: Clean Up and Cure
Remove squeeze-out at the leather-hard stage, roughly 20–30 minutes after clamping, when the glue has solidified but not fully hardened. At this point, a sharp chisel or scraper removes it cleanly without smearing glue into the surrounding wood grain. Removing wet squeeze-out with a damp cloth spreads glue into the wood surface, and dried glue in the surrounding zone blocks stain penetration later. After cleanup, leave clamps on for the full clamp time listed for your glue type, then allow a full 24 hours before stressing the joint. Strength builds at roughly 50% by 4–6 hours, 75% at 12 hours, and 90–100% at the 24-hour mark.
Wood Glue Drying Time by Type and Brand
Knowing how to glue wood properly requires understanding the three distinct drying phases, because most guides conflate them in ways causing real problems. Open time is the working window after application during which you reposition and align parts. Clamp time is how long the assembly must stay clamped before the joint holds without mechanical support. Cure time is the full period before the joint reaches maximum strength, and stressing it before this point, even lightly, compromises the final bond.
| Glue / Brand | Open Time | Clamp Time | Full Cure |
|---|---|---|---|
| Titebond Original | 4–6 min | 30–60 min | 24 hrs |
| Titebond II | 3–5 min | 30–60 min | 24 hrs |
| Titebond III | 8–10 min | 30–60 min | 24 hrs |
| Gorilla Glue (polyurethane) | 20–30 min | 1–2 hrs | 24 hrs |
| 5-minute epoxy | 5 min | 1 hr | 24+ hrs |
| Slow-cure epoxy | 60 min | 12 hrs | 24+ hrs |
| Hide Glue (liquid) | 10 min | 6–12 hrs | 24 hrs |
| CA Glue | <1 min | Instant | 8–24 hrs |
Temperature and humidity affect wood glue drying time more than most guides acknowledge. At the ideal range of 65–75°F with 30–50% relative humidity, the times above apply. In a cold garage below 50°F, PVA takes 2–3 times longer to reach clamp strength. Below 50°F, PVA-based glues frequently fail to cure at all, resulting in a joint with the consistency of dried latex rather than a true polymer bond. Titebond II requires temperatures above 55°F, while Titebond III tolerates conditions down to about 47°F. Similarly, high humidity above 70% slows cure and reduces final bond strength. If your shop runs cold in winter, bring both the glue and the wood indoors overnight before your glue-up session, and consider using a slow-cure epoxy, which is more tolerant of temperature variation than PVA.
Shelf life also affects final bond quality. PVA glue has a shelf life of 1–2 years when stored at room temperature with the cap sealed. Repeated freeze-thaw cycles, common when PVA sits in an unheated garage through winter, degrade the polymer structure over time. Titebond PVA formulas survive roughly five freeze-thaw cycles initially, but quality declines with each successive freeze as internal gels become harder to disperse. To test older glue, squeeze a small amount onto a scrap board and let it cure for 24 hours. If the dried film strings into threads rather than forming a uniform film, the glue has degraded and should be replaced.
Clamping Techniques for Strong Joints
Understanding how to glue wood means understanding clamping, because clamp technique converts adequate glue into a strong joint. Even the best wood glue produces a weak bond when applied with the wrong clamp setup, inconsistent pressure, or inadequate coverage.
Choosing the Right Clamps
Parallel-jaw clamps distribute pressure evenly across wide panels and work best for tabletop glue-ups and face-frame assemblies. Pipe clamps handle long spans on a budget, though they require cauls (straight scrap boards) to prevent bowing in the middle. Bar clamps are versatile for medium assemblies. Spring clamps and rubber bands provide enough pressure for CA glue joints or for holding thin edging in place. For a tight dovetail or mortise-and-tenon joint, a single bar clamp at each joint is generally sufficient, since the joinery geometry already provides alignment.
The Squeeze-Out Bead Test
A thin, continuous bead of squeeze-out along the full length of a joint confirms adequate glue coverage and clamping pressure. Aim for roughly 1–2 mm wide and consistent from end to end. A bead missing from sections of the joint indicates either insufficient glue application or uneven pressure, both of which produce a weak spot. No bead at all means the joint is starved: either too little glue or too much pressure squeezed everything out before the assembly closed. After seeing this pattern on a few early glue-ups, I started staging a dry run first, clamping the assembly without glue to verify pressure distribution before the clock started on open time.
How to Glue Wood Without Clamps (CA+PVA Trick)
For assemblies where clamping is impractical, the CA plus PVA method provides a strong, clamp-free bond. Apply PVA to one surface and spread it evenly. On the mating surface, apply 3–5 small drops of CA glue spaced evenly across the joint. Press the two surfaces together firmly for 30–60 seconds while the CA sets. The CA acts as an instant mechanical clamp, holding the joint in position while the PVA cures to full strength over 24 hours. A joint assembled this way combines PVA’s long-term strength with CA’s immediate set. This technique works especially well for small parts, awkward angles, and situations where you have only two hands available.
Special Gluing Situations
Several common project types require adjustments to the standard process when you need to glue wood in non-standard conditions. Each situation has a specific technique producing reliably better results than the default approach.
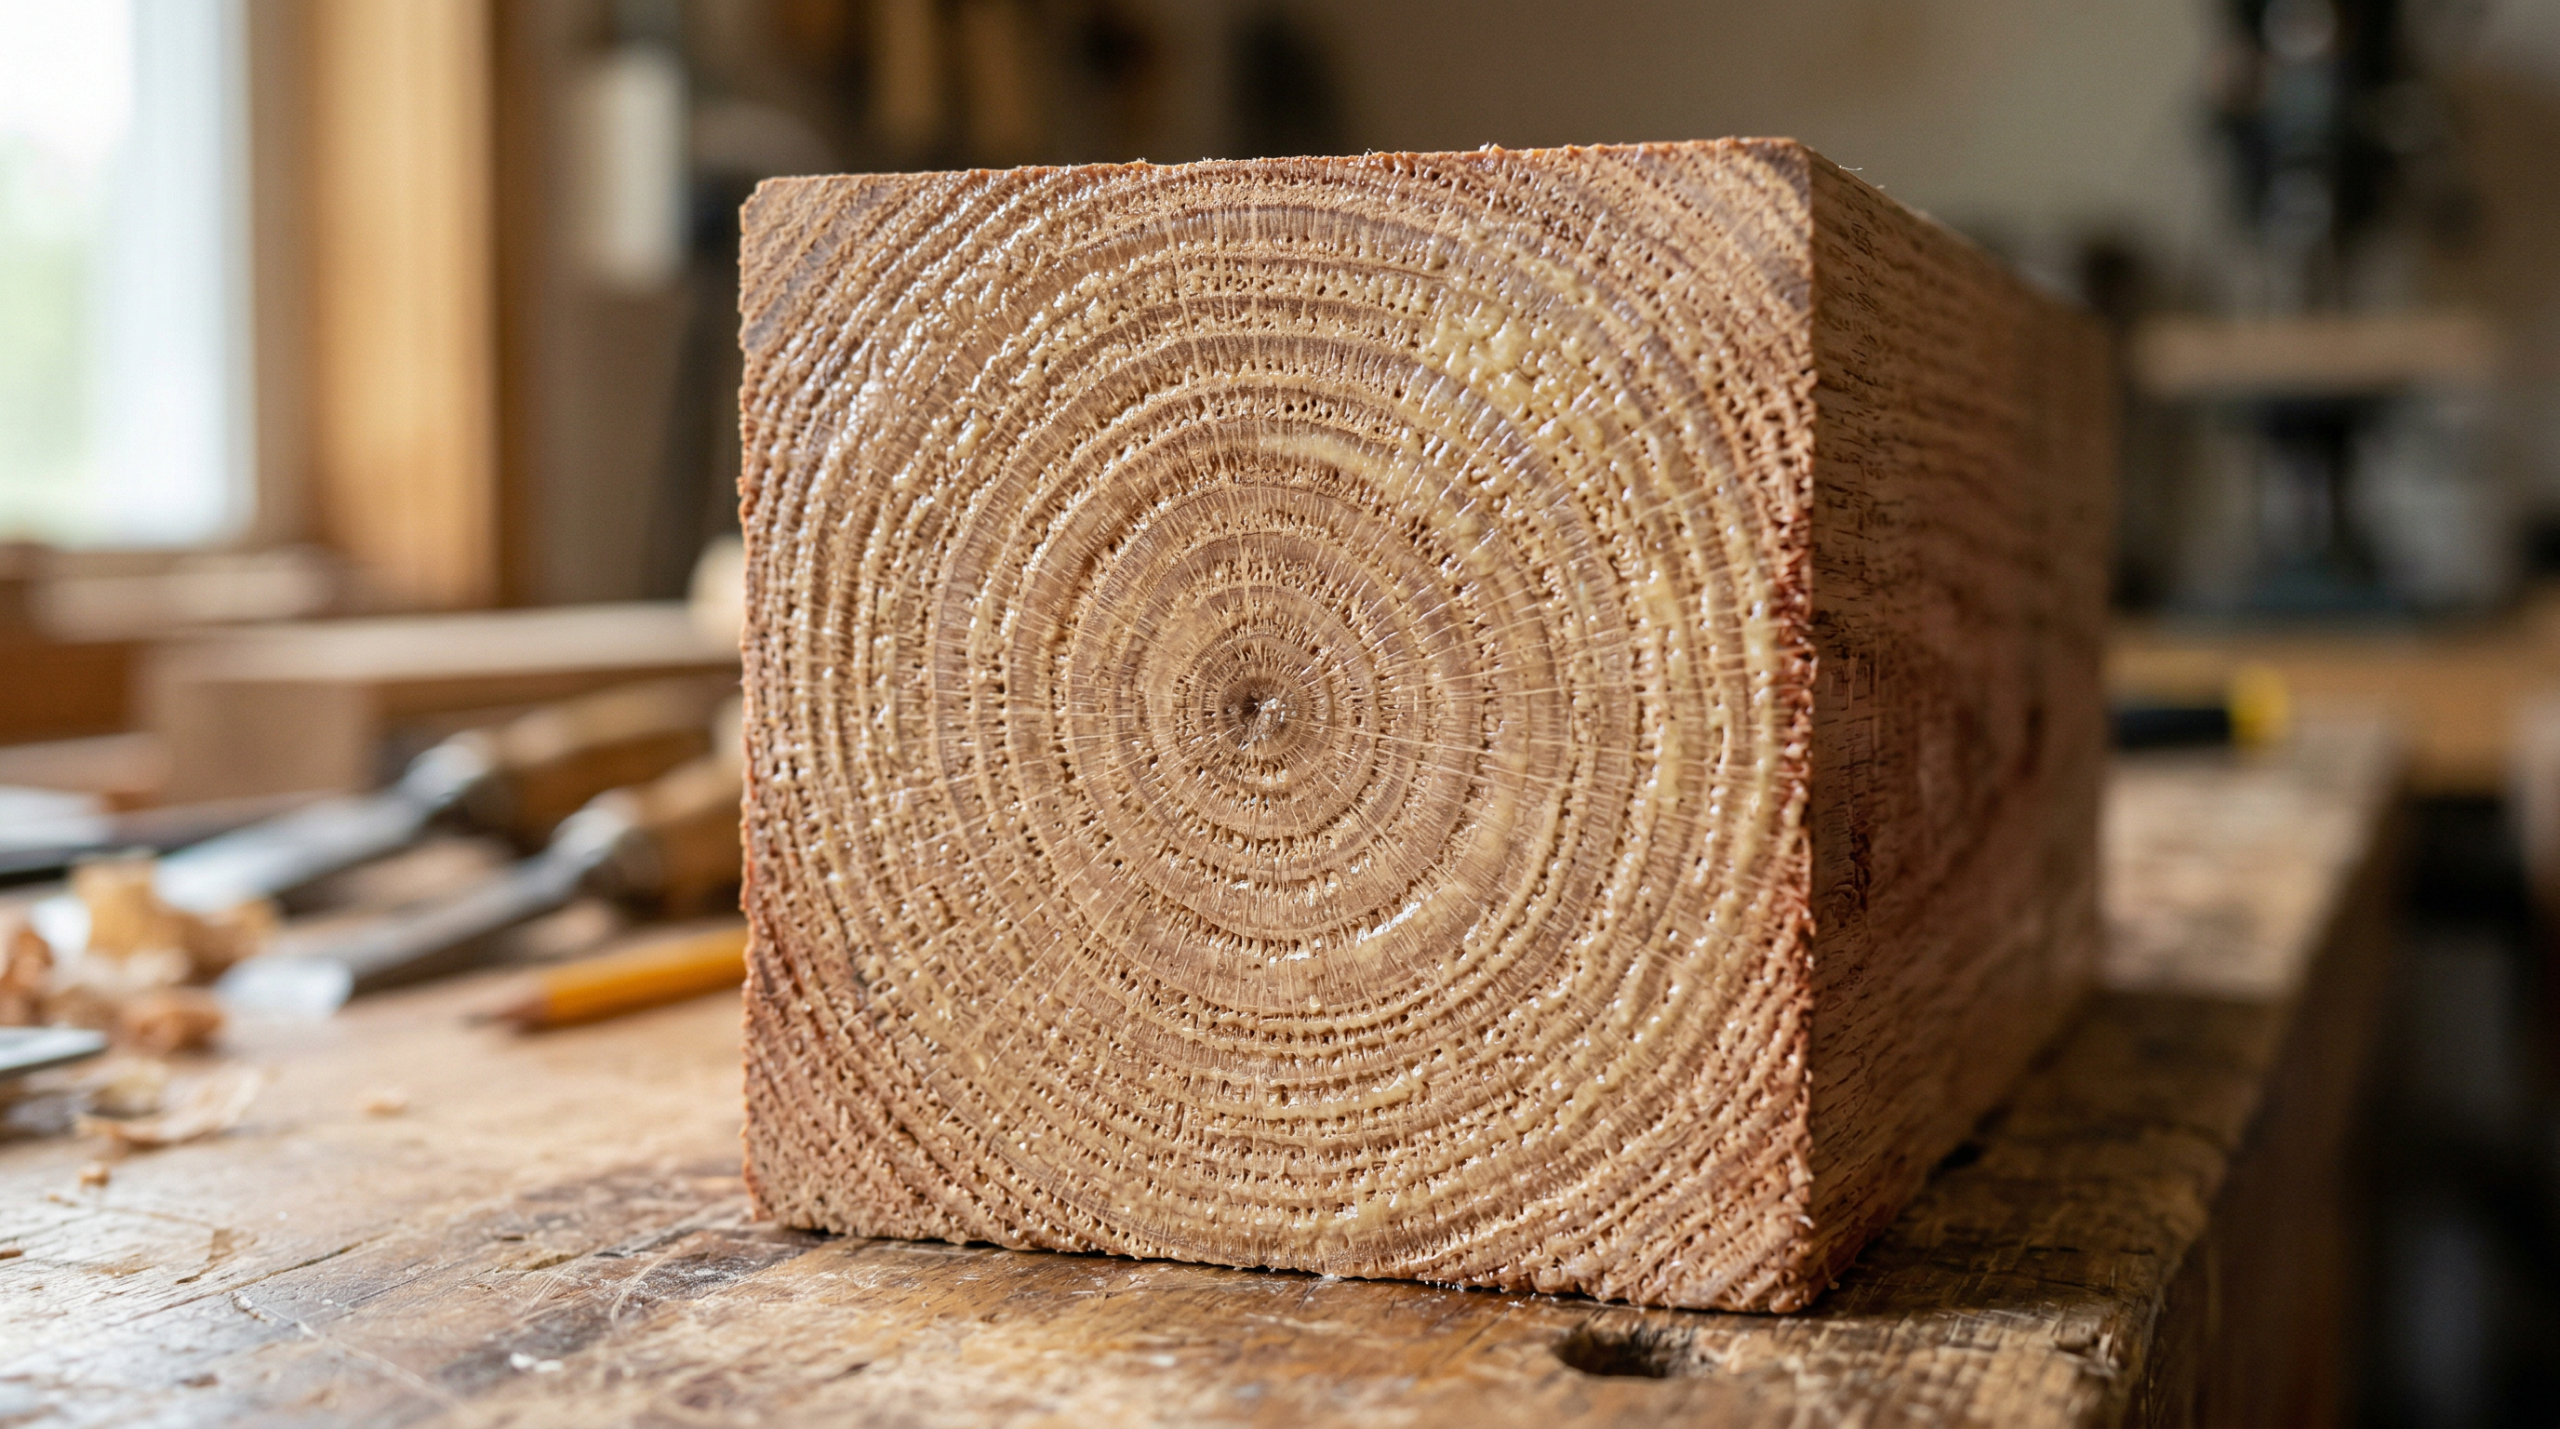
End Grain
End grain presents the most challenging gluing surface because the cut wood fibers act like open straws, absorbing liquid wood glue before it forms a surface bond. Apply a size coat first: mix PVA and water in a 1:1 ratio and brush it generously onto the end grain face. Allow 5–10 minutes for absorption, then apply a full-strength coat on top. This two-stage process saturates the fibers before the working glue goes on, preventing a starved joint. End grain joints are inherently weaker than face-grain or edge-grain joints under the best conditions, so reinforce end grain connections with mechanical fasteners, dowels, or biscuits whenever load-bearing strength matters.
Edge Gluing for Tabletops
A glued-up tabletop panel from multiple boards relies entirely on edge joints, so surface flatness and consistent clamping matter more here than in any other application. Joint the edges straight and square, leaving no visible light gap when two boards are held together. Apply glue to both mating edges, assemble with alternating clamp positions above and below the panel to prevent bowing, and use cauls across the width. Check for flat with a straightedge before the glue skins over. A well-executed edge glue-up on straight-grained boards is essentially permanent once cured.
Outdoor Projects (Waterproof Wood Glue)
Any project exposed to rain, dew, or repeated wetting requires a waterproof wood glue rated Type I under ANSI/HPVA standards. Titebond III meets this threshold. Polyurethane glues like Gorilla Glue are also fully waterproof and add the ability to bond wood to metal hardware or composite materials in the same assembly. The critical difference between “water-resistant” and “waterproof” matters: Titebond II is water-resistant (Type II rated) and handles occasional moisture, but repeated soaking and drying cycles weaken the bond over time. For a patio bench, planter box, or exterior trim piece, use Titebond III or polyurethane and accept no substitutes.
Oily or Dense Woods
Teak, ipe, padauk, cocobolo, and similar dense tropical species contain natural oils and silica interfering with PVA adhesion. Before gluing, wipe both gluing surfaces with a clean cloth dampened with acetone or denatured alcohol and allow 15–20 minutes of dry time. This removes the surface oil layer and allows the glue to bond to the actual wood fiber. Epoxy is more tolerant of oily woods than PVA in general, though even epoxy benefits from the acetone wipe on the densest species. Test any adhesive on scrap from the same board before committing to a final assembly.
Wood Glue vs. Screws: Which Is Stronger?
On an equivalent joint, properly cured wood glue is stronger than screws. Controlled testing shows a box joint with PVA glue reaches a maximum load of 208 lbs before failure, while the same joint assembled with pocket-hole screws holds 108 lbs. Across similar test geometries, a glued joint holds roughly 33% more force than a mechanical fastener connection of the same size. The reason comes down to contact area: glue distributes stress across the entire glue surface, while screws concentrate stress at discrete point loads where the fastener threads grip the wood.
Screws retain a practical advantage in situations where disassembly matters or where you need to skip the clamping setup entirely. On large assemblies, combining both methods, applying glue first, then driving screws to replace clamps while the glue cures, produces the strongest possible joint and eliminates most of the clamping hardware requirement.
The comparison shifts for end grain applications. An end grain glue joint is inherently weaker than a face-grain or long-grain joint, and in those situations screws or mechanical fasteners contribute meaningfully to the overall connection strength. For structural load-bearing applications, engineering practice calls for mechanical fasteners regardless of adhesive quality, because you cannot verify adhesive joint integrity after assembly.
Pros and Cons of Wood Glue
Pros
- Stronger than screws on equivalent joints (208 lbs vs. 108 lbs on a box joint)
- Distributes stress across the entire glue surface rather than at point loads
- Low cost: PVA at $4–$7 per 8 oz covers dozens of joints
- Invisible joint line when surfaces are prepped and fitted correctly
- Wide formula range covering interior, exterior, and waterproof applications
- No hardware required; reduces assembly complexity
- Food-safe options available (Titebond II and III are FDA compliant when fully cured)
- Works on end grain, edge grain, and face grain with appropriate technique
Cons
- 24-hour wait for full strength slows production work
- Temperature-sensitive: PVA fails below 50°F
- Squeeze-out blocks stain penetration if removed at the wrong time
- Standard PVA has no moisture resistance; wrong choice for outdoor use
- End grain joints inherently weaker; require additional mechanical support for loads
- Shelf life of 1–2 years; repeated freeze-thaw degrades PVA over time
Common Mistakes Ruining Wood Glue Joints
Learning how to glue wood correctly means avoiding these common failures, each one entirely preventable with the right information upfront.
Removing squeeze-out while it is still wet is among the most frequent errors in finish-critical work. A wet cloth wipes visible glue off the surface, but it also spreads a thin, nearly invisible layer into the surrounding wood grain. When stain goes on later, those areas resist penetration and show as blotchy, lighter patches. Wait for the leather-hard stage, about 20–30 minutes after assembly, and use a sharp chisel or card scraper for a clean removal. Sanding dried glue smears it into the grain rather than removing it.
Rushing the cure window is the second most common error. Many woodworkers remove clamps at 30–60 minutes and immediately stress the joint, since PVA feels solid at the 60-minute mark. However, the bond at this stage sits at roughly 50% of its final strength. Light handling is acceptable, but cutting, routing, or heavily loading the joint before 24 hours risks microfractures at the glue line. If your schedule requires faster turnaround, switch to a 5-minute epoxy rather than shortcutting PVA cure time.
Trusting polyurethane glue to fill a structural gap is a persistent misconception. The foam polyurethane glue produces during cure looks like it fills the void solidly. In practice, the foam is cellular and weak, with far lower shear strength than a tight-fitting PVA joint or a gap-filled epoxy joint. For any gap larger than 1/16 inch, two-part epoxy is the correct adhesive. Polyurethane belongs in its lane: bonding dissimilar materials and situations where clamping pressure is light.
Gluing in a cold shop produces more failed joints than almost any other single variable. Below 50°F, PVA cure slows dramatically, and Titebond II needs above 55°F to cure properly. At these temperatures, many PVA formulas leave a rubbery, incompletely cured film never reaching working strength. If your garage runs cold in winter, bring the wood and glue inside 12 hours before your glue-up, use a slow-cure epoxy formula, or wait for warmer conditions.
Applying glue to only one surface of a joint, rather than both mating surfaces, starves the dry face of adhesive and produces a weaker bond. Apply a consistent, thin coat to both faces every time. Similarly, applying too much glue does not strengthen a joint; excessive thickness slows cure and creates a glue layer rather than a penetrated fiber bond.
Final Verdict
For anyone working through how to glue wood on a first project or sharpening technique on a more complex build, the fundamentals consistently deliver: use PVA for indoor work, step up to a waterproof wood glue like Titebond III for anything going outside, and reserve two-part epoxy for repairs and gap-filling where nothing else performs adequately. Surface prep, correct glue selection, and patience during the 24-hour cure window account for more joint failures than any shortage of clamping hardware or premium adhesive.
The three cure phases matter in real projects. Open time determines how complex an assembly you take on in a single session. Clamp time determines when the hardware comes off. Cure time determines when you stress the joint. Conflating those three phases, particularly pulling clamps early and loading the joint before 24 hours, produces bonds holding initially and failing under use. After breaking more than a few joints by being impatient during the cure window, the 24-hour rule became non-negotiable on my bench.
The best wood glue for most people reading this is Titebond Original for dry indoor work, with Titebond III as the next step up for anything with outdoor exposure. Both formulas cost under $15 per bottle and perform at the professional level. CA glue earns a permanent spot in the shop for the no-clamp trick and quick fixes. Epoxy earns its place for structural repairs. Polyurethane works in its specific niche. None of them performs well when applied to dirty surfaces, used below 50°F, or rushed through the cure cycle.
Once you dial in the process described above, the results speak for themselves: a well-executed glue joint outlasts the wood around it. For your next build, whether you are gluing up a panel, repairing a chair leg, or assembling an outdoor planter, applying the right technique from the start means you finish with a joint you will never have to redo. After the glue-up cures, check out the guide on how to whitewash wood furniture for an approach to staining complementing a tight, glue-ready surface.
Frequently Asked Questions
How long does wood glue take to dry?
Drying splits into three phases. PVA glue has a 4–6 minute open time (working window), 30–60 minutes of clamp time before hardware removal is safe, and a full 24 hours for complete cure. Strength builds to roughly 50% at 4–6 hours and 90–100% at 24 hours. Polyurethane glue needs 1–2 hours of clamping and 24 hours for full cure. Two-part epoxy ranges from 1 hour (quick-set) to 12 hours of clamp time, with 24+ hours for full cure depending on the formula.
Is wood glue stronger than screws?
On an equivalent joint, yes. A box joint assembled with PVA glue holds up to 208 lbs before failure, while the same joint with pocket-hole screws holds 108 lbs. Glued joints hold roughly 33% more force than mechanical fasteners because they distribute stress across the entire glue surface rather than at discrete fastener points. The advantage reverses for end grain joints, where glue alone is weaker and mechanical fasteners contribute more meaningfully to the connection.
What is the best wood glue for beginners?
Titebond Original (yellow PVA) is the best starting point. It costs $4–$7 per 8 oz bottle, has a forgiving 4–6 minute open time, cleans up with water before curing, and produces a joint stronger than the surrounding wood fiber when applied correctly. Titebond II adds water resistance for about $1–$3 more per bottle and covers a wider range of projects without requiring a different workflow.
How do you glue end grain wood?
Apply a diluted size coat first: mix PVA and water 1:1 and brush it onto the end grain, then wait 5–10 minutes for the fibers to absorb it before applying full-strength glue on top. This two-step process prevents the open fibers from starving the joint by absorbing all the working glue before a surface bond forms. Even with proper technique, end grain joints are weaker than edge or face joints, so add dowels, biscuits, or mechanical fasteners for load-bearing connections.
Do you need clamps for wood glue?
For most PVA and polyurethane applications, clamps are necessary to hold the joint under pressure during the cure window. When clamping is impractical, use the CA plus PVA method: apply PVA to one face and 3–5 drops of CA glue to the mating face, then press together for 30–60 seconds. The CA sets immediately and acts as a mechanical clamp while the PVA cures to full strength over 24 hours. This method works well for awkward angles and small assemblies.
What is the difference between Titebond I, II, and III?
Titebond Original (I) is a standard yellow PVA with no water resistance, best for indoor furniture and cabinets. The step up to Titebond II adds Type II water resistance (ANSI/HPVA rated), handling occasional moisture exposure for indoor projects near sinks or in humid environments. For fully waterproof performance, Titebond III meets the Type I (waterproof) standard and suits exterior furniture, outdoor structures, and applications with direct water contact. All three cost $4–$15 per 8 oz and share the same basic workflow.
Is wood glue food safe?
Titebond II and Titebond III are both FDA compliant for indirect food contact when fully cured, making them the appropriate choices for cutting boards, wooden bowls, and kitchen furniture. Standard Titebond Original has not received the same FDA clearance. Always verify the label on the specific bottle you purchase, since formulations differ by lot. No wood glue is considered food safe in its wet, uncured state.
Why is my wood glue not holding?
The four most common causes are: gluing below 50°F (PVA stops curing properly), using degraded glue from a bottle exposed to freeze-thaw cycles, applying glue to oily or dirty surfaces, and stressing the joint before the 24-hour cure is complete. To diagnose degraded glue, squeeze a small amount onto scrap and cure it for 24 hours; if it strings rather than forming a clear film, replace the bottle. For oily wood species, wipe surfaces with acetone and allow 15–20 minutes of dry time before applying glue.

Leave a Reply