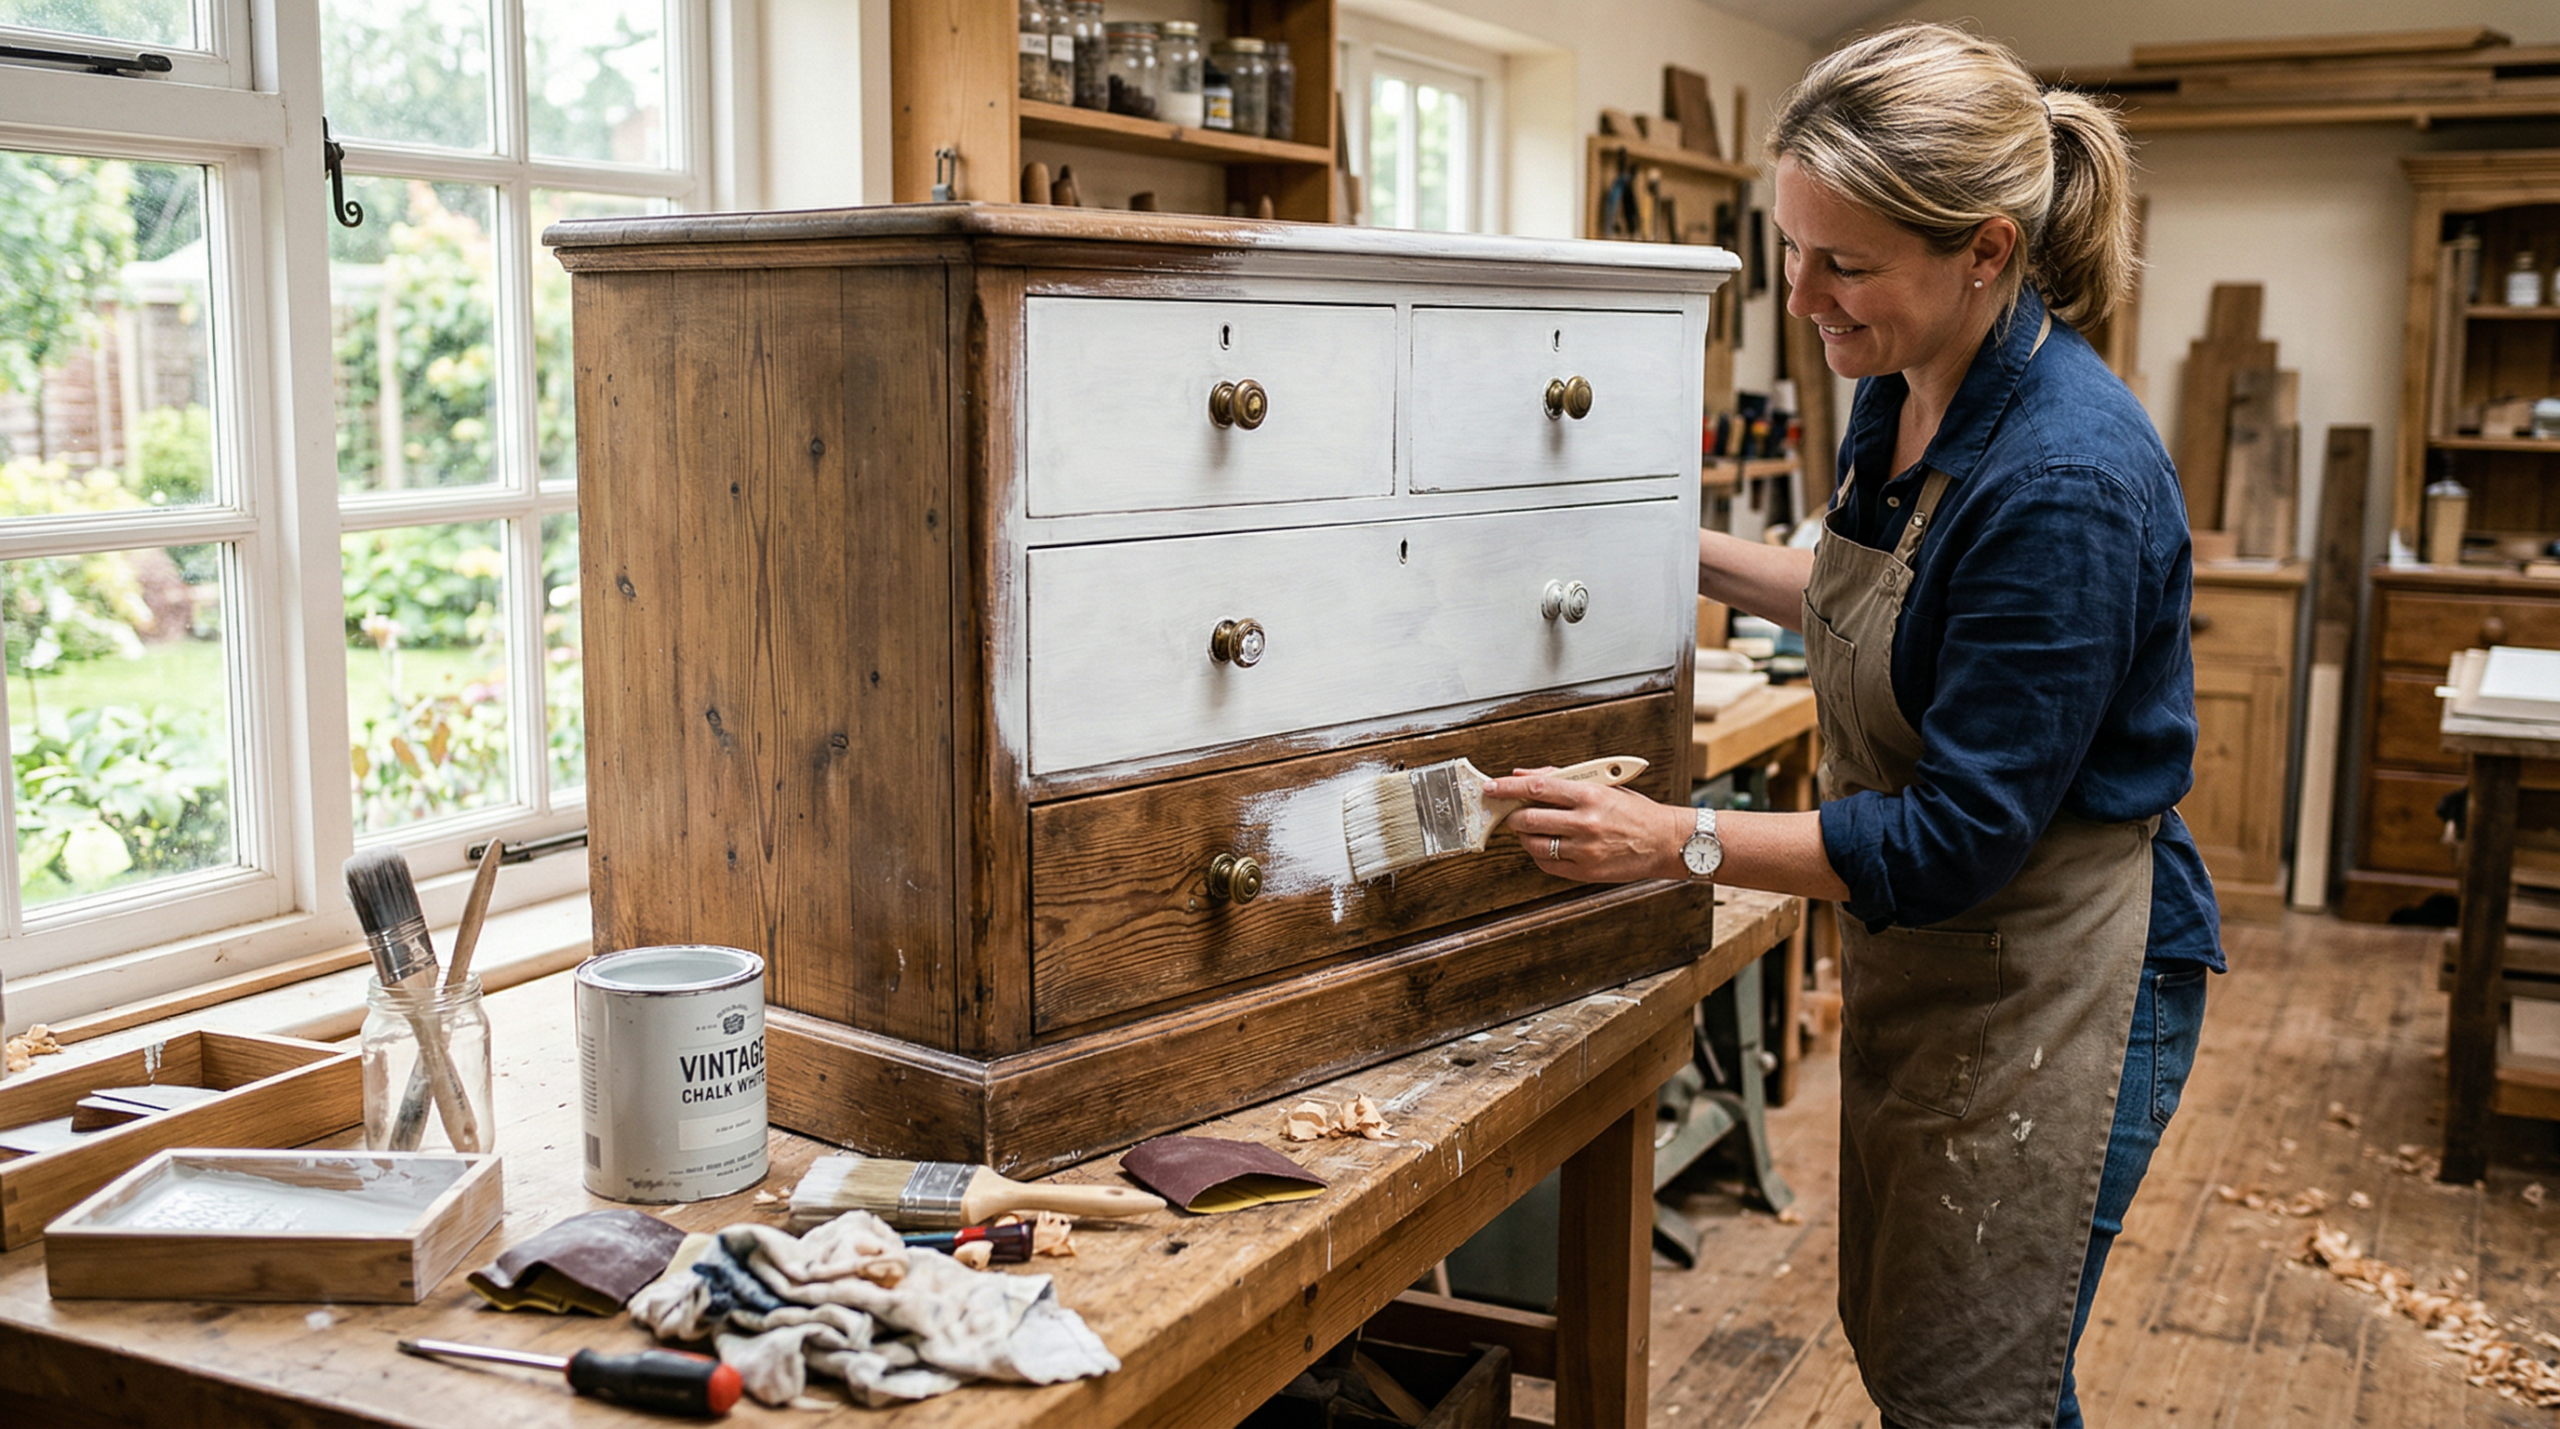
Whitewashing an old dresser or dining table costs between $15 and $25 in supplies. A comparable new piece of furniture runs $200 or more. Knowing how to whitewash wood furniture means you skip the shopping trip and end up with something intentional-looking, not tired. This guide covers three specific techniques, a decision guide for matching the technique to your furniture type, and a full walkthrough for whitewashing over dark stain, which is the step most other tutorials skip entirely.
Table of Contents
- What You Need
- Technique 1: Water and Paint Method
- Technique 2: Wax Resist Method
- Technique 3: Dry Brush Method
- Which Technique for Which Furniture Type
- How to Whitewash Over Dark Stain
- Common Mistakes and How to Avoid Them
- FAQ
What You Need
The total supply cost for a whitewash dresser project lands between $15 and $25, depending on whether you already own a brush and sandpaper. White latex paint is the core ingredient for two of the three techniques. For the wax resist method, you also need paste wax (the same product sold for furniture finishing). The dry brush method requires only paint and a stiff-bristle brush.
Here is the full materials list with approximate costs:
- White latex paint, flat or matte finish, 1 quart: $10-$14
- Water (for dilution): free
- Paste wax (for Technique 2): $6-$8
- Sandpaper, 120-grit and 220-grit: $4-$6
- Stiff-bristle brush or chip brush, 2-3 inch: $3-$5
- Lint-free rags: $2-$4
- Tack cloth: $1-$2
- Clear matte topcoat (optional, for sealing): $8-$12
Prep every piece the same way regardless of technique: sand with 120-grit to remove any existing finish or sheen, follow with 220-grit for smoothness, then wipe down with a tack cloth. Skipping the sanding step is the single most common reason whitewash peels within weeks.
Technique 1: Water and Paint Method (Easiest)
The water and paint method works best on unfinished or lightly finished pine, poplar, and other softwoods. The wood grain on these species is open enough to absorb the thinned paint, which produces the characteristic translucent whitewash effect. This whitewashing technique takes about 30 minutes of active work on a standard dresser.
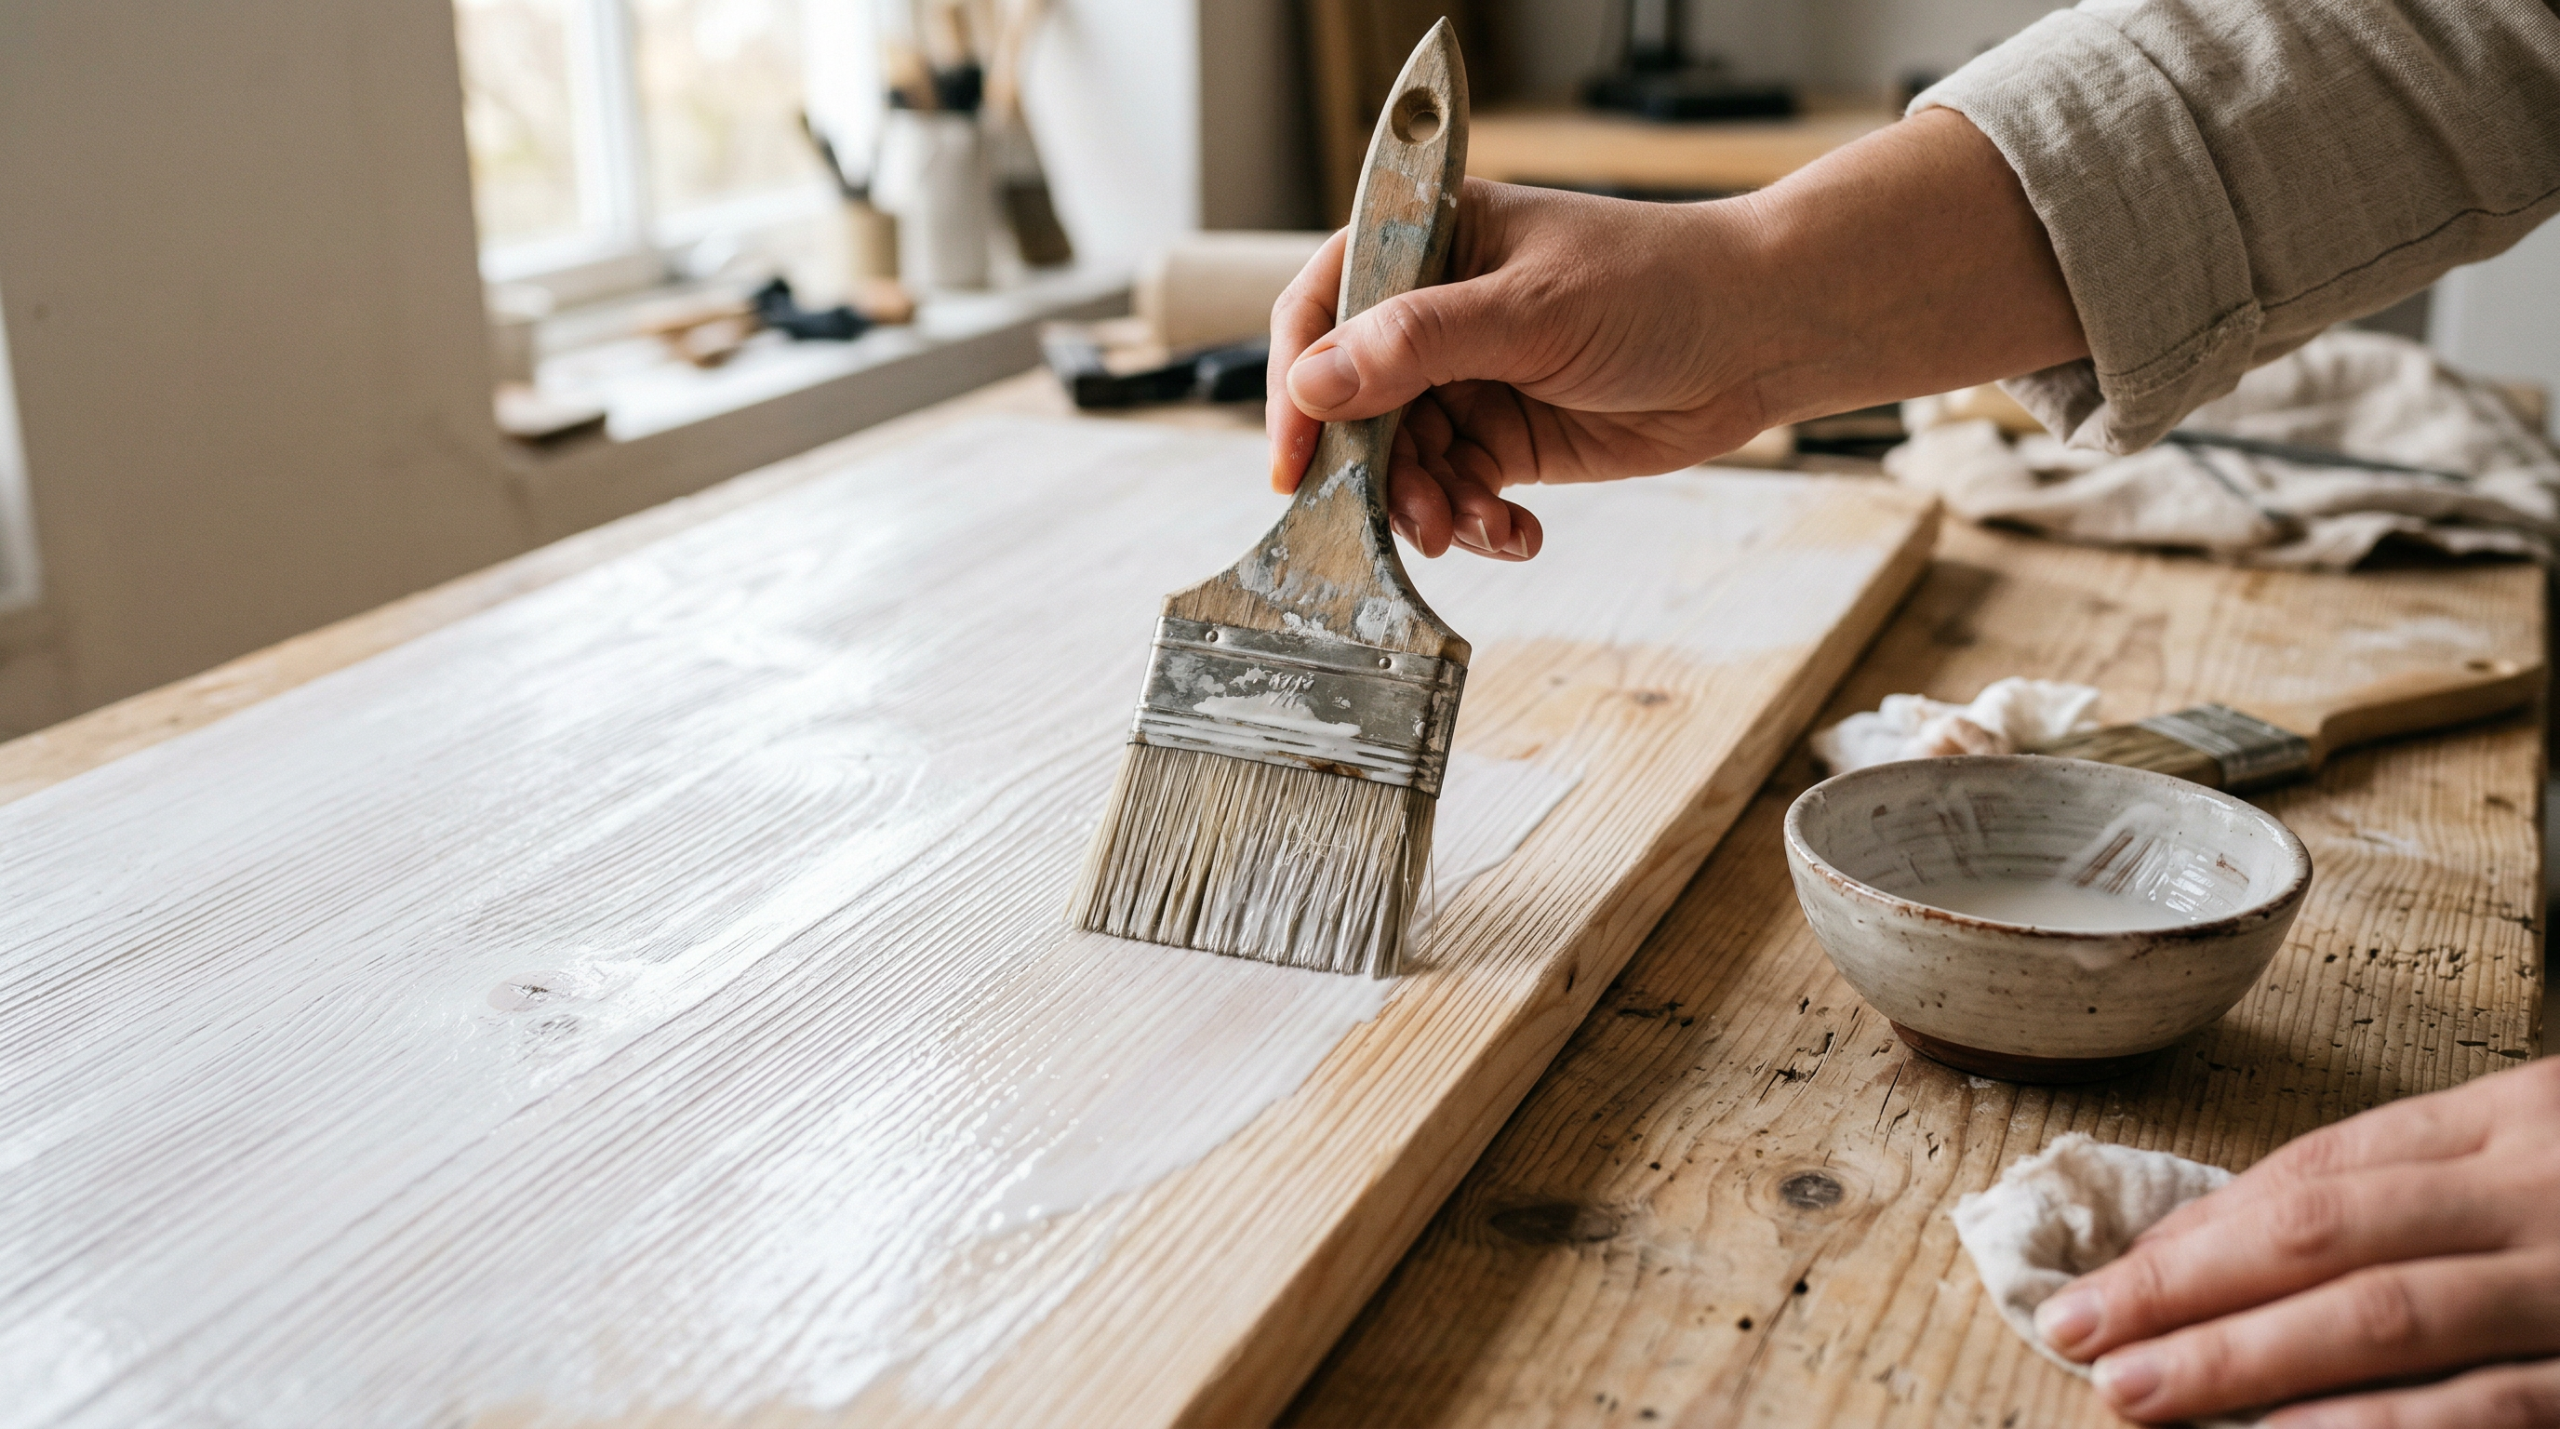
Mix one part white latex paint with one part water in a disposable cup. Stir thoroughly, then test the mixture on an inconspicuous area such as the back of a drawer. The mixture should spread easily and allow the wood grain to show through after drying. For a heavier coverage, adjust to a 2:1 paint-to-water ratio.
Apply the diluted paint with a brush in the direction of the grain. Work in sections of about 12 inches at a time. After 30 to 60 seconds, wipe back the paint with a lint-free rag, again following the grain. The longer you wait before wiping, the more opaque the final result. Repeat for a second coat after the first dries completely, typically 2 hours. Two coats produce a consistent, furniture-ready finish on pine without hiding the wood entirely.
Seal the finished piece with one coat of clear matte topcoat if the furniture sees heavy daily use, such as a dining table or dresser top.
Technique 2: Wax Resist Method (Best for Carved or Detailed Furniture)
The wax resist method is the right choice for furniture with carved details, turned legs, or decorative molding. Those areas are difficult to wipe consistently with rags, and the wax handles the variation for you. Budget 45 to 60 minutes of active work for an ornate piece using this whitewash wood DIY approach.
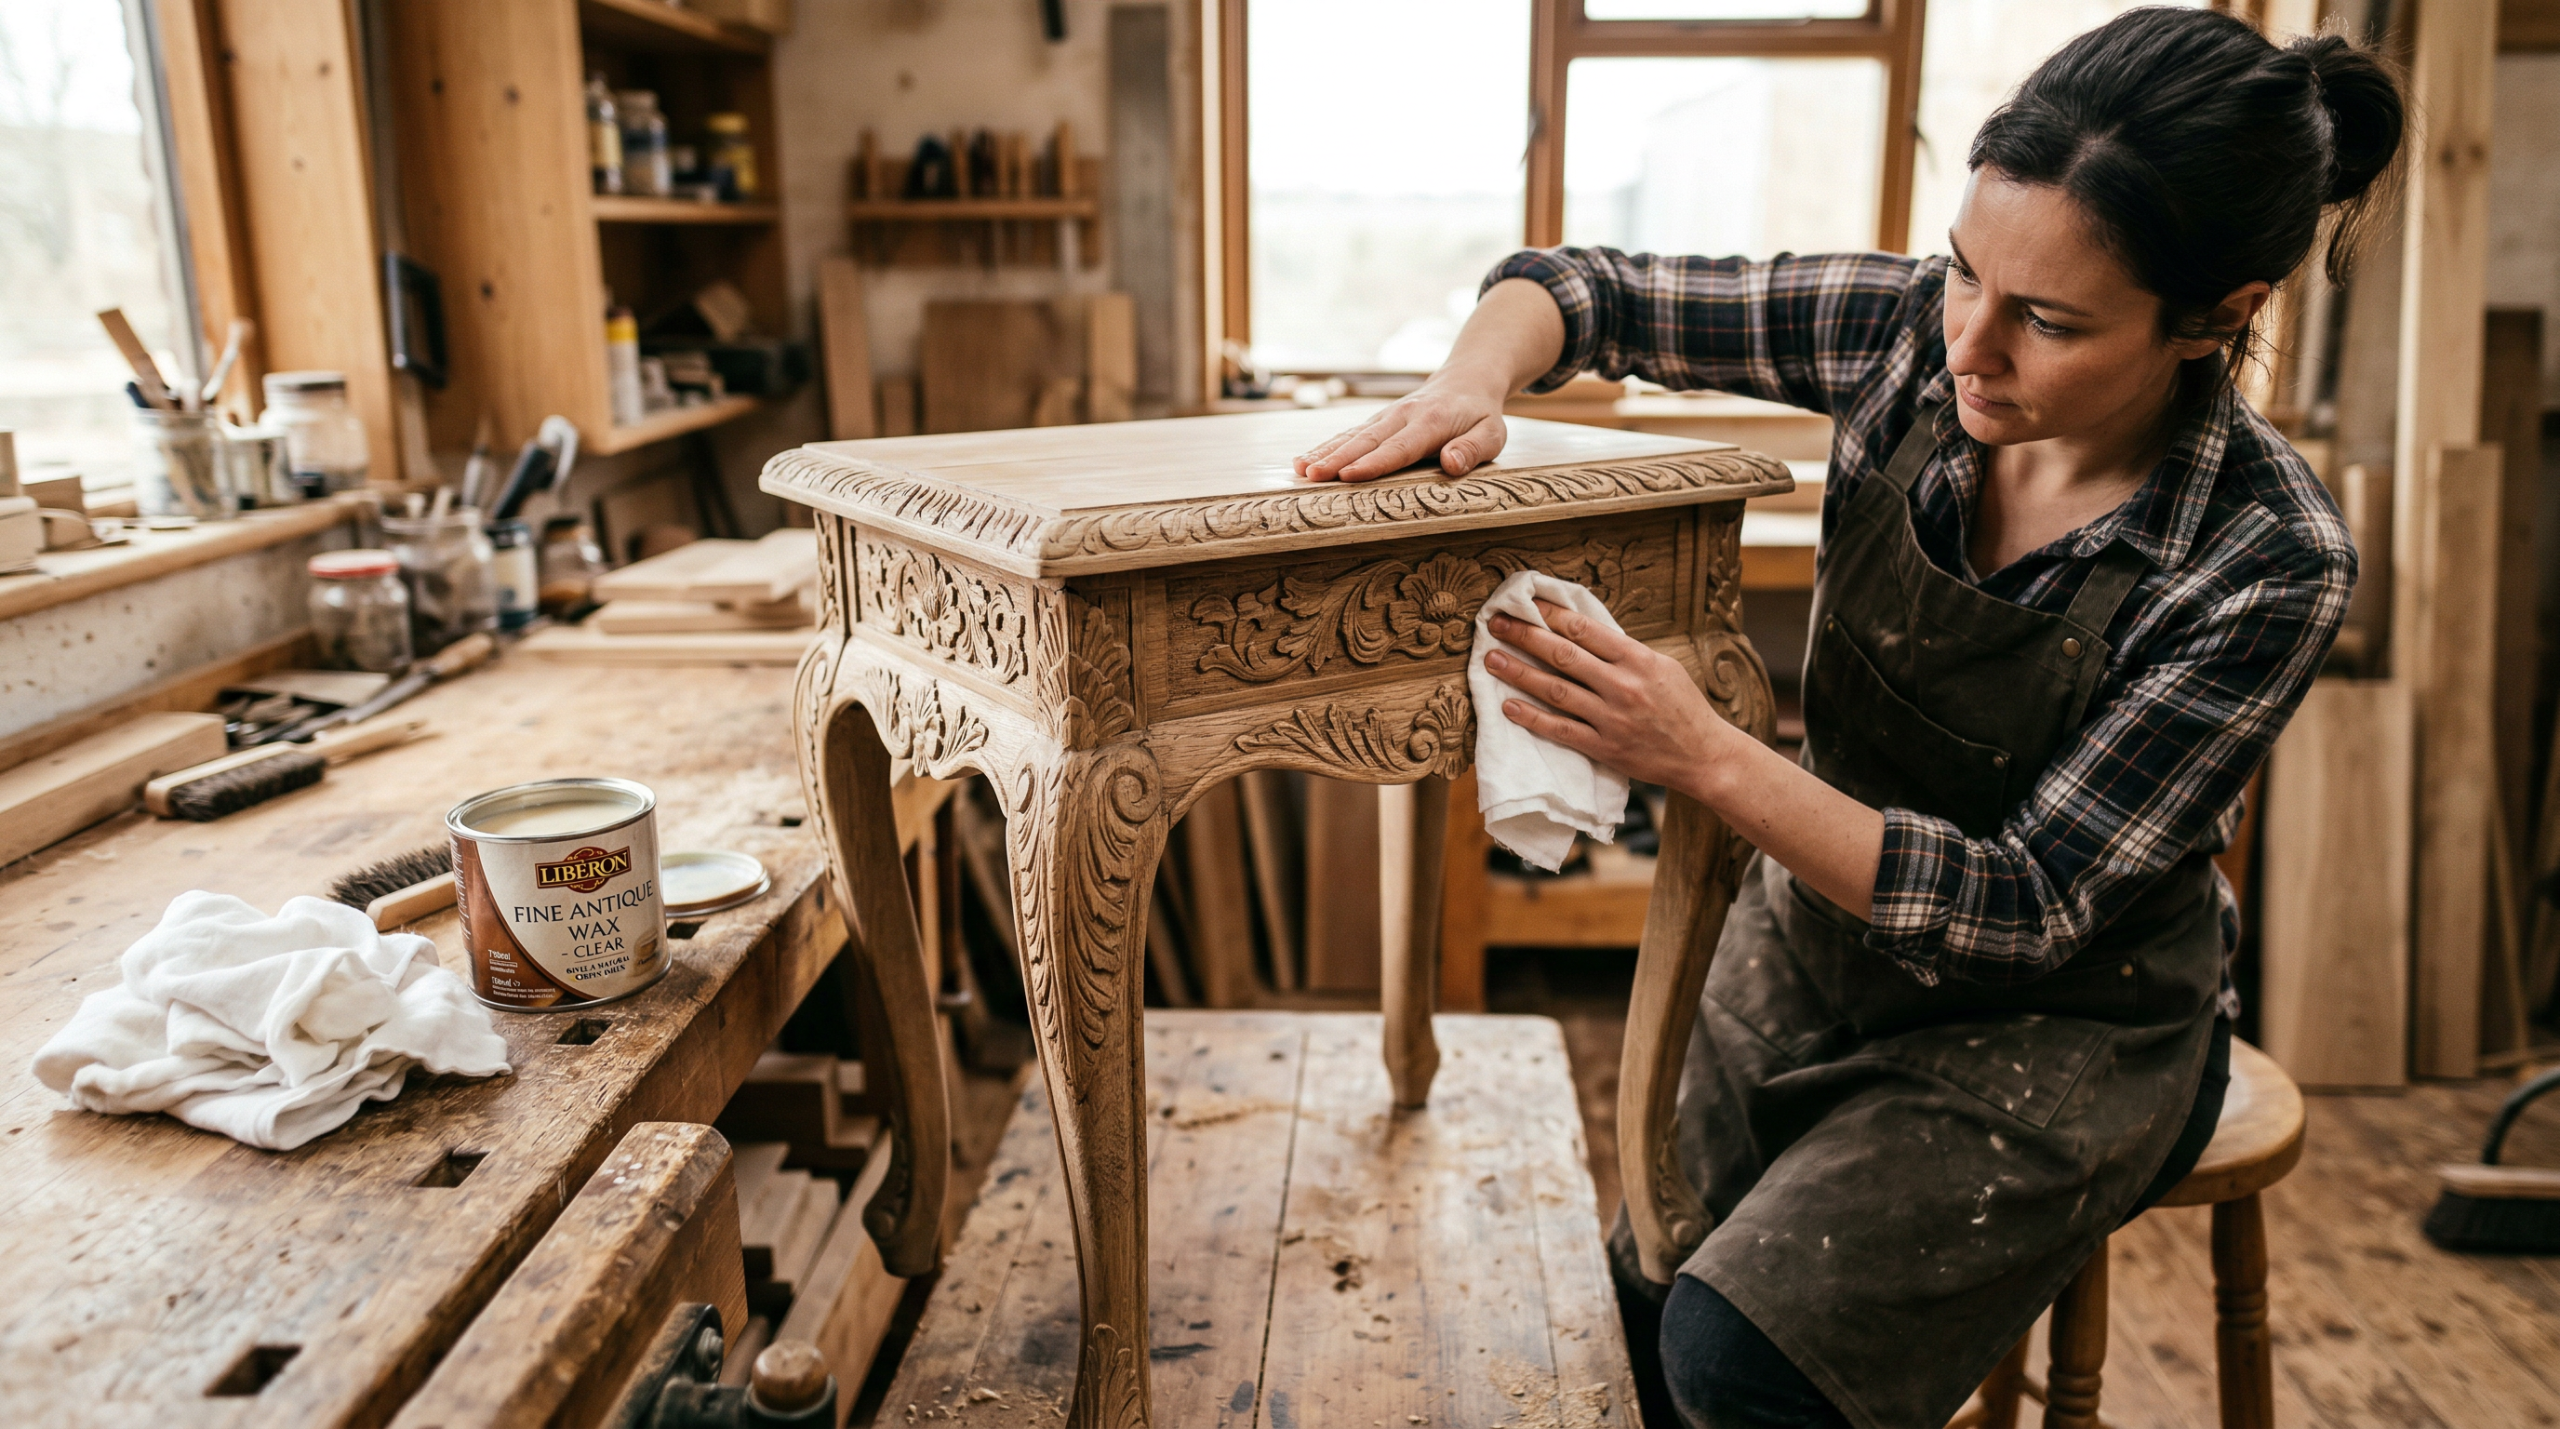
Apply paste wax to the areas where you want the natural wood color to remain or peek through, specifically edges, raised carvings, and corners. Use your finger or a small brush for control. Let the wax sit for 5 minutes, then apply undiluted or lightly thinned white latex paint over the entire surface with a chip brush. Work fast and do not overbrush.
After the paint dries for 1 hour, use 220-grit sandpaper to lightly buff the piece. The waxed areas release the paint and reveal the wood beneath, while the unwaxed flat surfaces retain the white. The result is a naturally distressed look concentrated exactly where wear would occur on an older piece. Wipe away dust with a tack cloth, then apply a fresh coat of paste wax over the entire piece to protect the finish.
Avoid using this technique on pine because the soft wood absorbs wax too deeply, making it difficult to control where the paint releases.
Technique 3: Dry Brush Method (Best for Heavy Grain)
Oak, ash, and hickory have a pronounced, open grain pattern. Diluted paint floods the grain and turns muddy. The dry brush method deposits paint on the surface ridges without flooding the valleys, which keeps the grain visible and crisp. This technique is also the fastest of the three, requiring about 20 minutes of active work per coat on a standard oak dresser.
Load a stiff-bristle brush with a small amount of undiluted white latex paint. Wipe most of the paint off on a paper towel until almost none transfers. Brush across the wood surface in long, light strokes following the grain direction. The bristles leave thin streaks of white on the raised grain ridges while the recessed valleys stay dark.
Build the effect in two or three passes rather than one heavy coat. Each pass adds density without obscuring the grain. Let each pass dry for 15 minutes before adding the next. Stop when the coverage looks intentional, typically after two passes on oak. Three passes produce a heavier, more opaque finish suitable for furniture with a modern farmhouse look. Seal with a matte topcoat for any table surface.
Which Technique for Which Furniture Type
Matching the whitewashing technique to the furniture type is the difference between a durable finish and an uneven one. The table below provides a direct decision guide based on wood species, furniture form, and desired outcome.
| Furniture Type | Wood Species | Best Technique | Reason |
|---|---|---|---|
| Unfinished pine dresser | Pine, poplar | Water and Paint | Softwood absorbs diluted paint evenly |
| Carved console table | Any | Wax Resist | Wax controls paint release on details |
| Oak dining table | Oak, ash, hickory | Dry Brush | Preserves pronounced open grain pattern |
| Turned-leg side chair | Maple, beech | Wax Resist | Highlights turned profiles naturally |
| Flat-panel bookcase | Plywood, MDF | Water and Paint | Smooth surfaces need diluted application |
| Reclaimed wood bench | Mixed, weathered | Dry Brush | Enhances existing texture and character |
For furniture with mixed components, such as a dresser with carved hardware escutcheons and flat drawer faces, apply the wax resist technique to the carved sections and the water and paint method to the flat panels.
How to Whitewash Over Dark Stain
Whitewashing over a dark stain requires one additional step most tutorials skip: scuff sanding with 120-grit paper to break the surface gloss and give the paint something to grip. Without this step, the white paint sits on top of the old finish, dries unevenly, and peels within months.
After scuff sanding, wipe the piece clean with a tack cloth and apply a bonding primer rated for use over stained wood. One thin coat is enough. Allow the primer to dry for the time specified on the label, typically 1 hour. The primer seals the dark stain so it does not bleed through the white topcoat, which is a common problem with walnut and mahogany stains specifically.
Once the primer is dry, apply your chosen whitewash technique over the primed surface. Because the primer creates a uniform base, the water and paint method works well even over previously dark pieces. Expect the white to appear slightly cooler in tone over dark stain than it would over raw wood; this is a normal result of the primer layer and not a mixing error.
For a lime wash furniture effect over dark stain, thin the white paint to a 3:1 water-to-paint ratio and apply three coats instead of two, allowing full drying between each. The extra coats compensate for the reduced absorption through the primer and build the translucent layering typical of lime wash finishes. Seal with matte topcoat when finished.
Common Mistakes and How to Avoid Them
Skipping sanding before whitewashing is responsible for the majority of peeling and uneven finishes. The surface must be scuffed, even on smooth-looking furniture, because any remaining sheen prevents paint adhesion. Sand with 120-grit first, then 220-grit before applying any paint.
Using the wrong paint sheen causes flat, chalky results on pieces where a soft luster is expected. Flat and matte latex paints are correct for whitewashing. Satin or semi-gloss paints produce a plasticky surface because they resist wiping back cleanly during application.
Overloading the brush with the water and paint mixture leads to runs and pooling in corners. Work with a lightly loaded brush, apply thin coats, and wipe back before the paint skins over. If the paint dries before you wipe it, dampen a rag with water and the surface will soften enough to work again within 30 seconds.
Applying whitewash in direct sunlight or high heat causes the diluted paint to dry in under 20 seconds, which is too fast to wipe back evenly. Work indoors or in a shaded space at temperatures between 60 and 80 degrees Fahrenheit for reliable open time.
Skipping the topcoat on high-use pieces results in white residue transferring to clothing and objects placed on the surface. One coat of clear matte topcoat eliminates this problem entirely. Apply it after the final whitewash coat is fully dry, at least 24 hours after the last application.
FAQ
How long does whitewash last on furniture?
A sealed whitewash finish lasts 5 to 10 years on furniture under normal use. The topcoat is what determines durability, not the whitewash layer itself. Reapply topcoat every 2 to 3 years on surfaces like dining tables to maintain full protection.
Do you need to seal whitewashed furniture?
Sealing is required for any furniture surface in regular contact with hands and objects, including tabletops, chair arms, and dresser tops. Unsealed whitewash rubs off and transfers to anything it touches. Use a clear matte water-based topcoat for best results; oil-based topcoats yellow over white paint.
What is the difference between whitewash and lime wash furniture?
Traditional lime wash uses slaked lime mixed with water and produces a mineral finish with more depth and variation than latex paint whitewash. For furniture, most DIYers use latex paint because lime wash is harder to control on wood and raises grain more aggressively. The visual result is similar when latex is applied at a high dilution ratio.
Is it possible to whitewash furniture without sanding?
No-sand whitewash works only on raw, unfinished wood. Any piece with an existing finish, stain, or paint layer requires at least a scuff sand with 120-grit to ensure adhesion. Skipping sanding on finished pieces reliably results in peeling within 2 to 4 weeks.
How do you whitewash a dresser with dark hardware?
Remove all hardware before whitewashing so paint does not coat the knobs or pulls. Tape off the holes with painter’s tape if needed. Either paint the hardware separately in a complementary finish or reinstall the original hardware after whitewashing; dark metal hardware pairs well with whitewashed wood and creates intentional contrast.
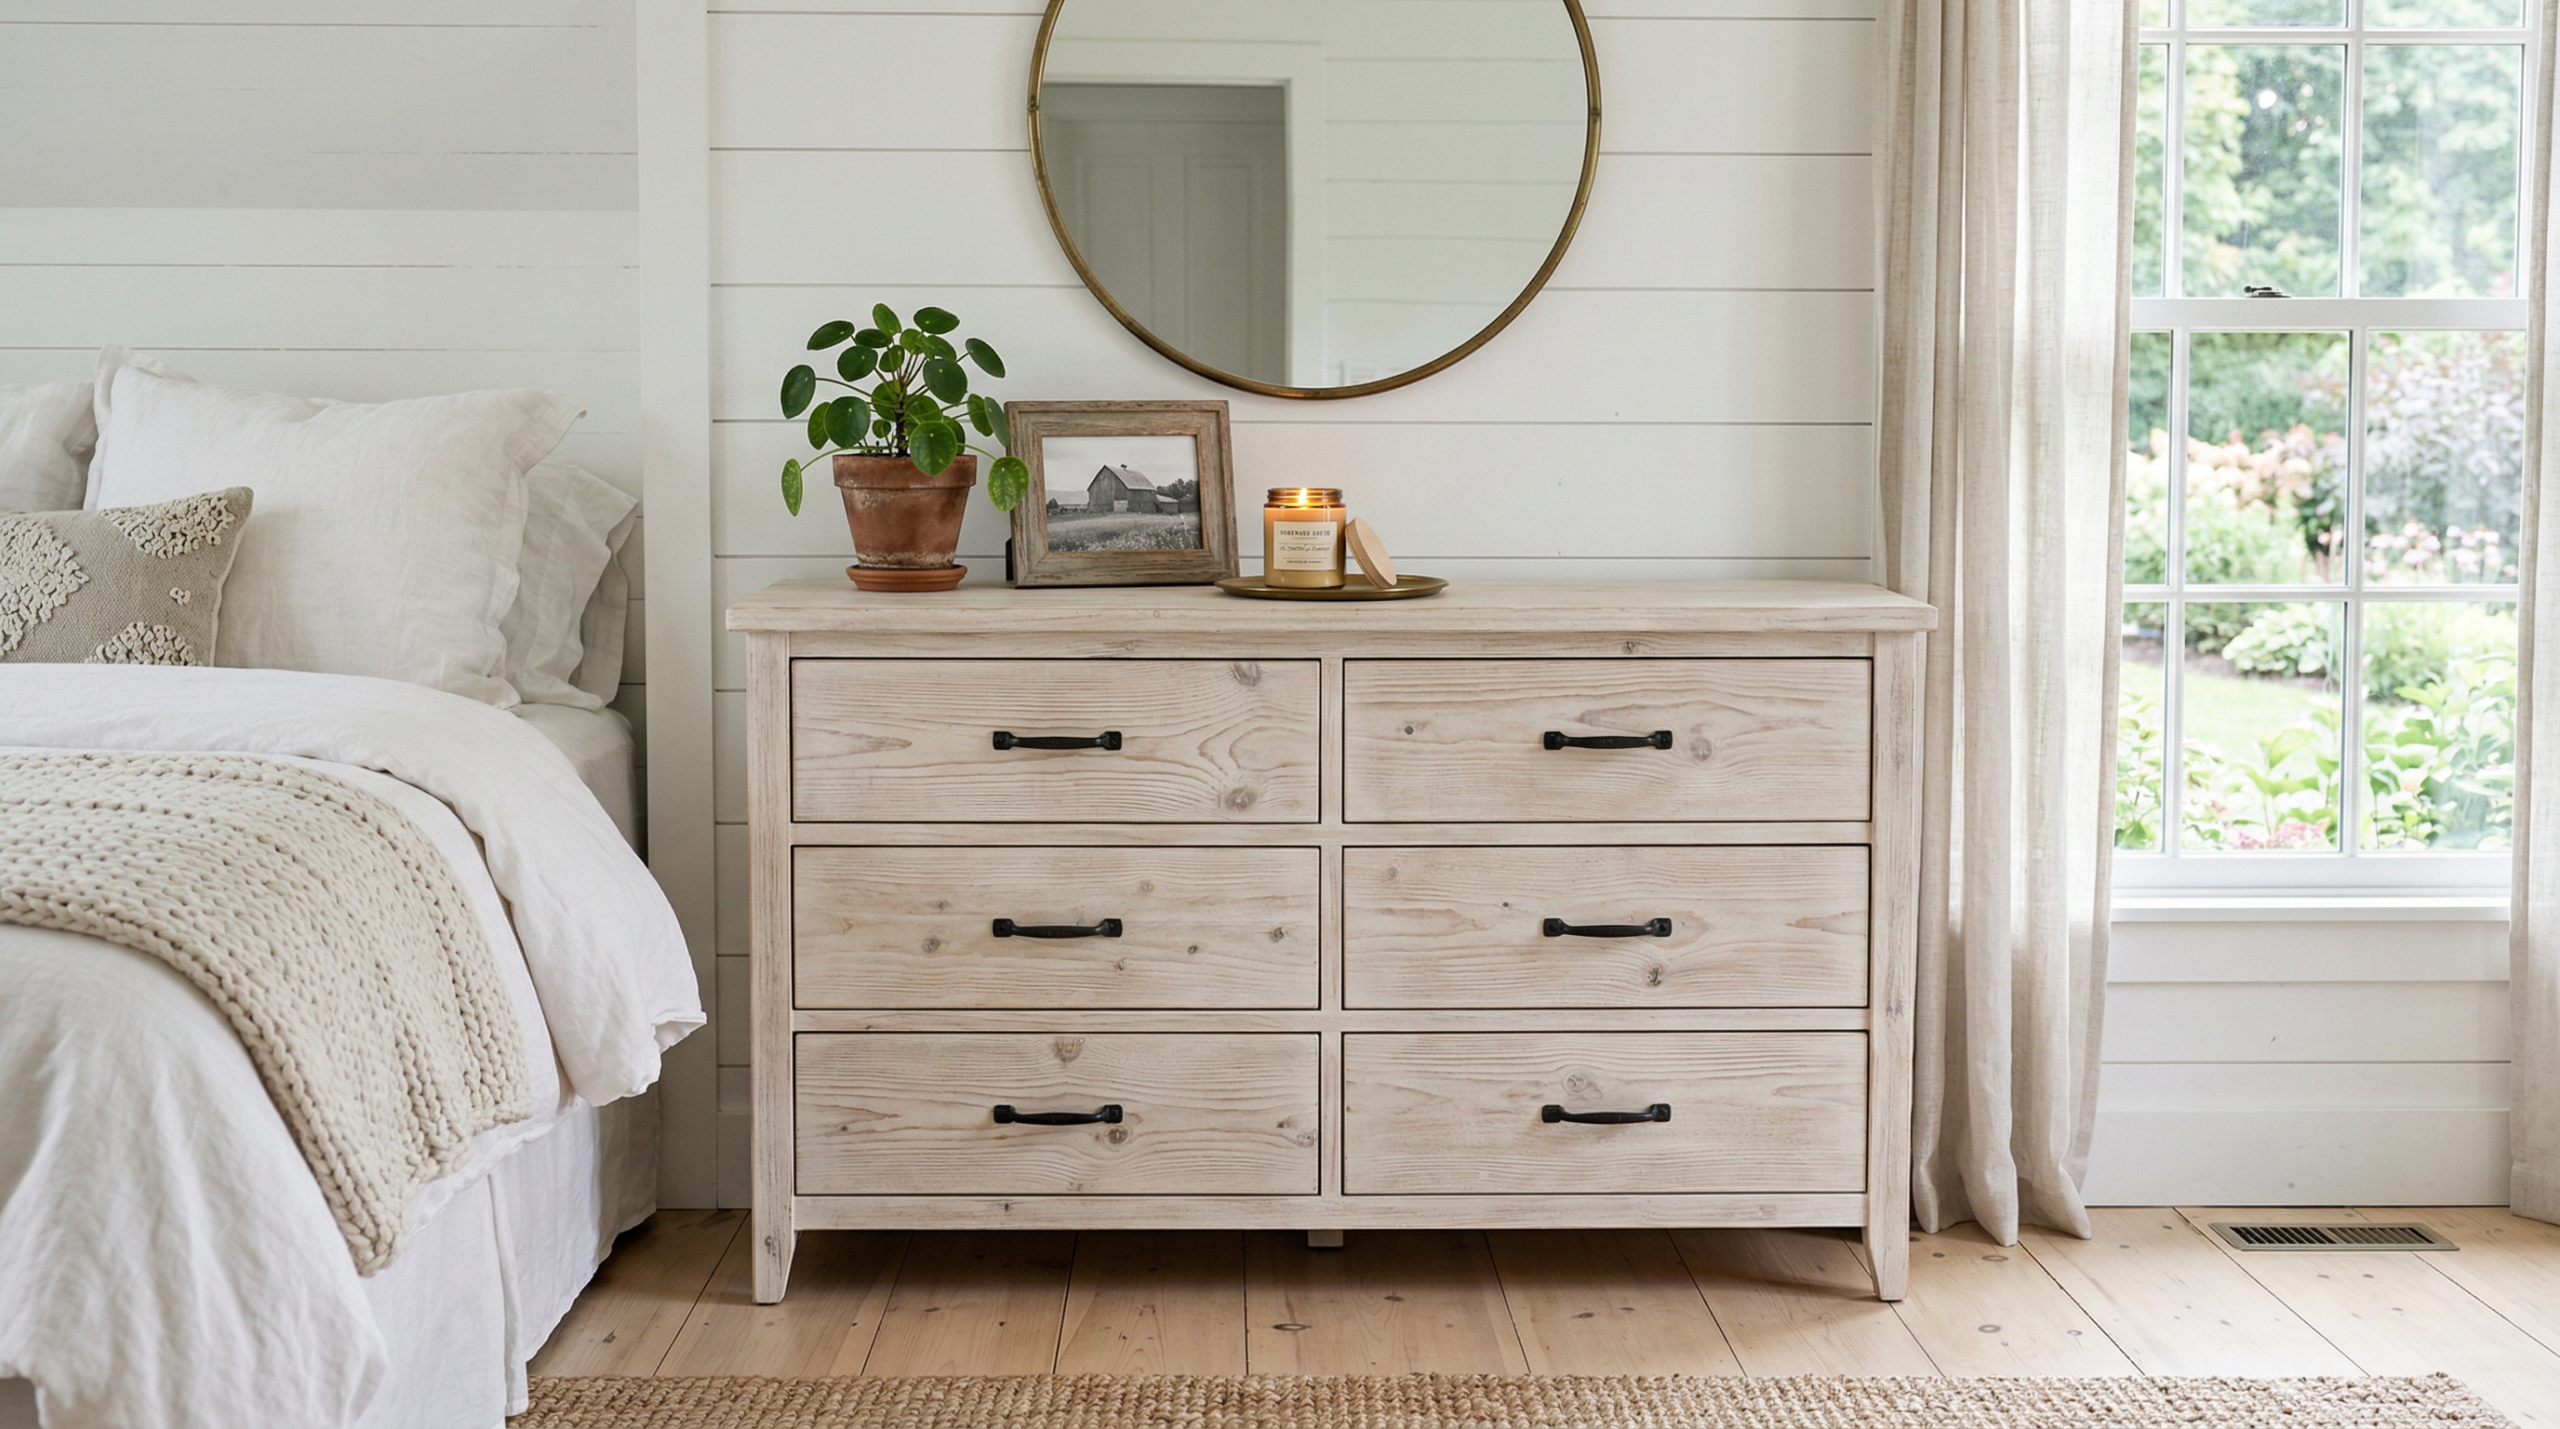
Whitewashing a dresser, dining table, or chair gives a dated piece a completely different presence for under $25 in supplies. The water and paint method works for most beginners on pine and softwood. The wax resist method handles carved and detailed furniture where consistent wiping is difficult. The dry brush method is the correct choice for oak and other hardwoods with heavy grain. Match the technique to the piece, sand thoroughly before you start, and seal the final result on any surface with regular contact. The total project time for a six-drawer dresser, including drying time between coats, is about half a day.

Leave a Reply