Quick Verdict: Fixing peeling paint yourself saves 60 to 85 percent versus hiring a professional, according to 2026 HomeGuide cost data. A typical repair runs $20 to $75 in DIY supplies compared to $300 to $1,500 for pro repair. The biggest risk is repainting over a surface not prepped properly, so patience on the scrape and prime beats speed every time.
Last updated: April 2026 | 11 min read
In This Guide
Why Paint Peels in the First Place
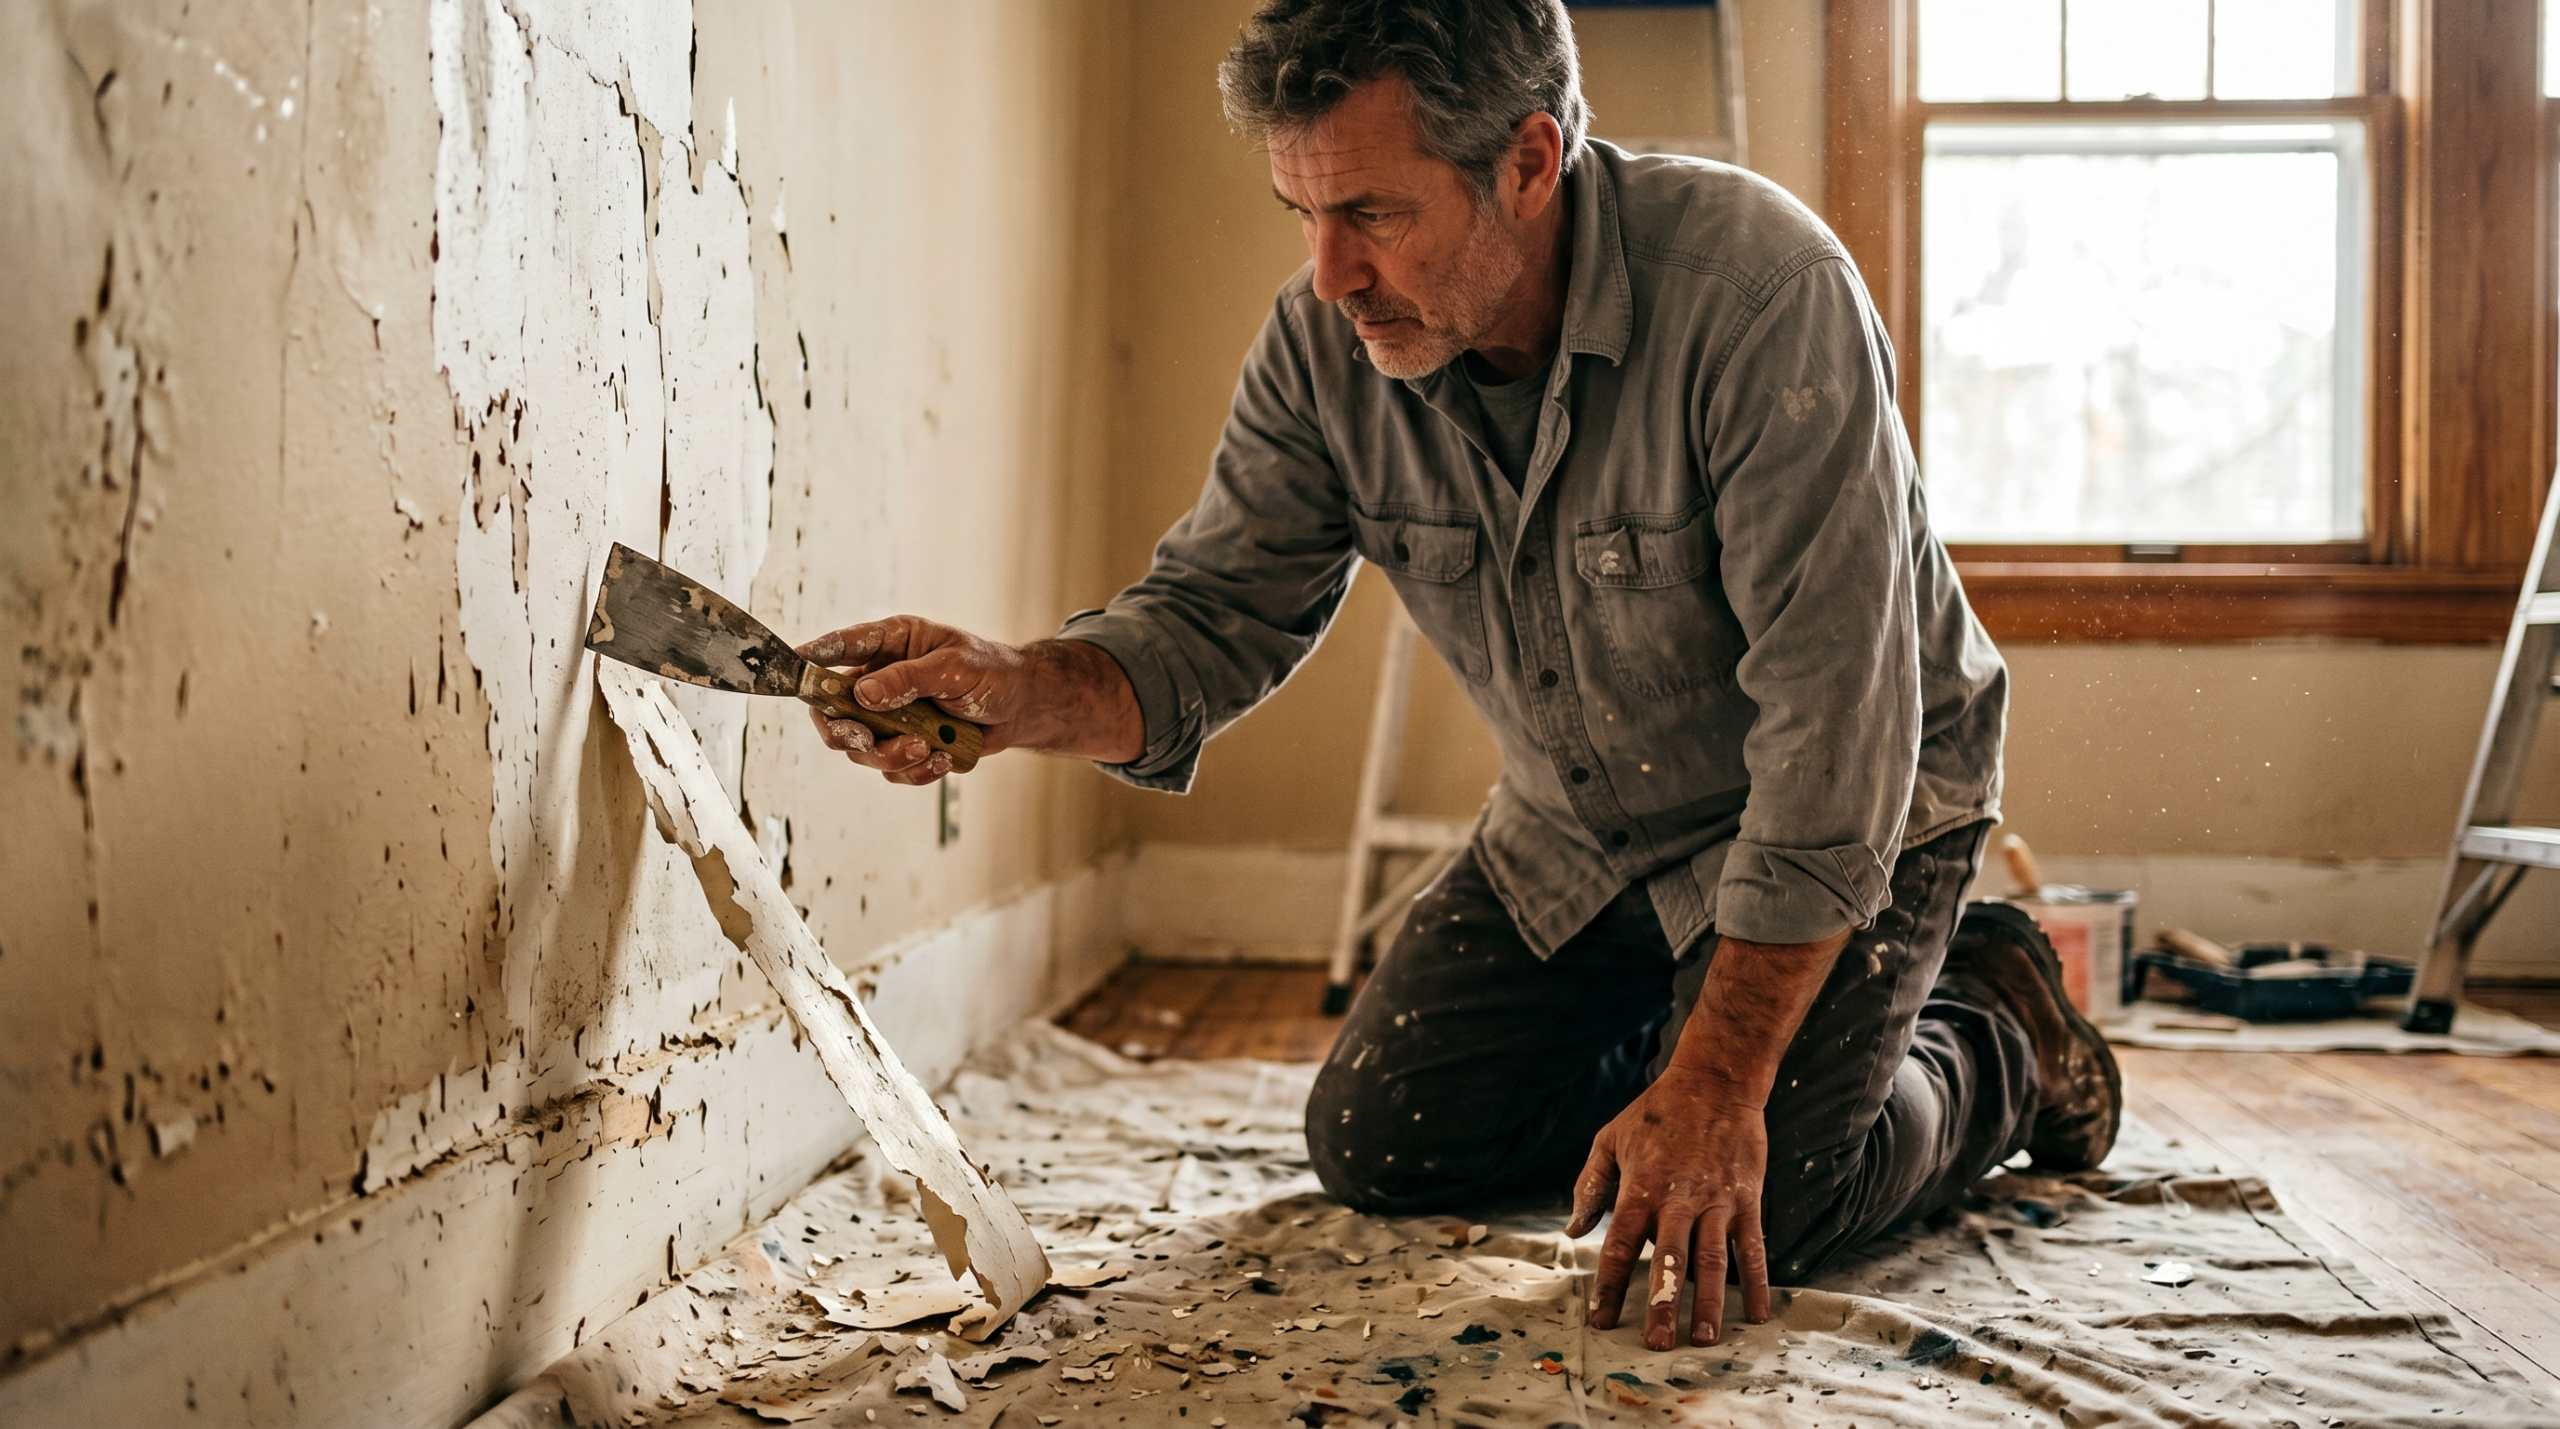
I have spent 7 years in the construction trades, from framing and remodeling to custom timber frame builds, with 30 plus years of woodworking and painting before and after. In all those years, the single defect homeowners panic over the most is peeling paint. However, once you understand the three root causes, the fear drops away fast. Paint peels for one of three reasons: moisture behind the film, poor surface prep during the original paint job, or incompatible paint chemistry stacked in layers.
Moisture drives roughly 80 percent of peeling cases according to the American Coatings Association. Water seeps through drywall from a leaky pipe, pushes outward through exterior siding due to poor vapor barriers, or steams up a bathroom wall every time someone showers. Once water reaches the back side of a paint film, the bond breaks and the paint lifts.
Poor prep is the second culprit. A previous painter skipped cleaning, sanding, or priming. Paint then sat on grease, dust, or a glossy surface with nothing to grip. The film stayed intact for a year or two, then gravity won. The third cause hits older homes hardest: latex paint applied directly over old oil-based paint will not bond because the two chemistries reject each other. I see this failure mode regularly in 1950s homes where a previous owner grabbed a gallon of modern latex and rolled it over original oil trim. Within 18 months, the fresh coat delaminates in sheets.
This guide walks you through every step a pro takes, from diagnosis to final touch up. Next, you will learn how to tell lead paint from modern paint before you scrape, because pre-1978 homes demand containment steps modern homes do not. Finally, you will see the exact product pairings I keep stocked in my own shop for handling peeling paint in any situation.
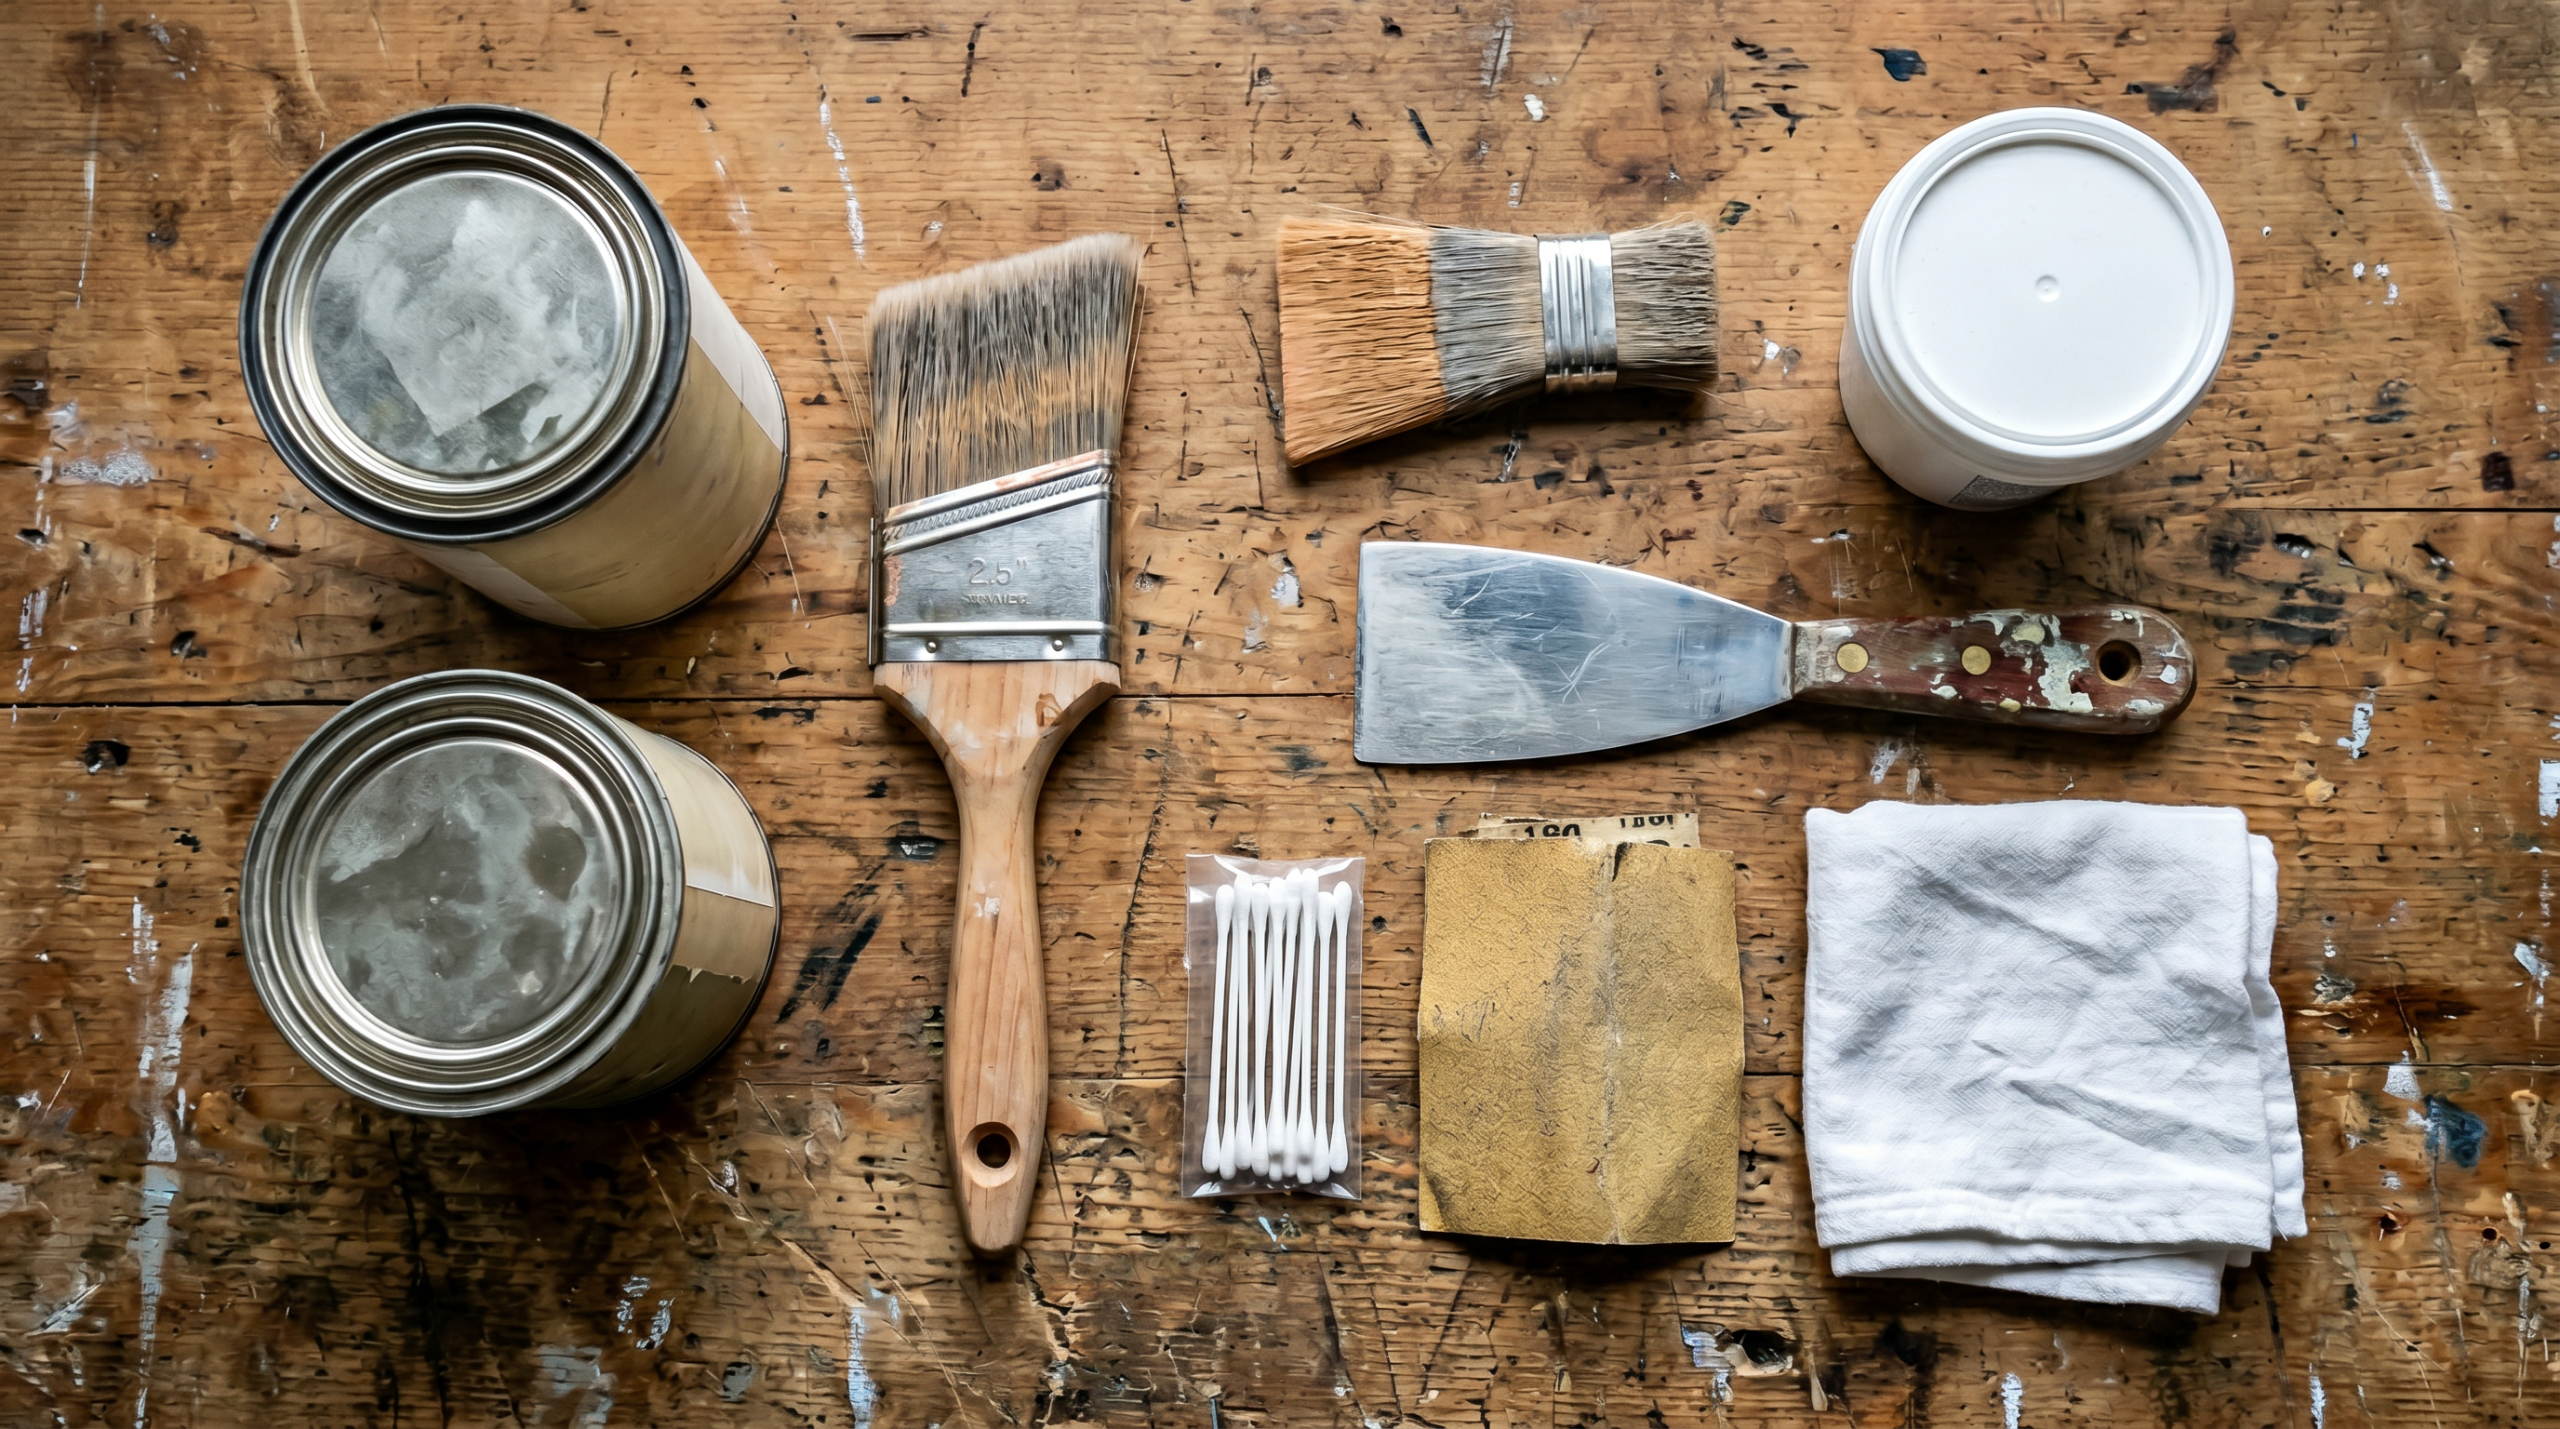
Tools and Supplies at a Glance
Before you start scraping, gather everything. Paint repair moves through distinct stages of scrape, patch, prime, and topcoat, and stopping mid-job means dust settling on fresh patches or primer skinning over in the can. Below is the complete supply list for a typical room or exterior wall section.
| Supply | Purpose | Typical Cost |
|---|---|---|
| Stiff putty knife or paint scraper (2 to 3 inch) | Lifts loose paint without gouging | $8 to $20 |
| Sanding block with 80 and 120 grit paper | Feathers edges between old and new paint | $6 to $12 |
| Lightweight spackle or Durabond compound | Fills dings and deeper voids | $8 to $18 |
| Stain blocking primer (Zinsser or Kilz) | Seals the bare substrate and blocks stains | $14 to $28 per quart |
| Matching topcoat paint | Finish coat in the original sheen and color | $18 to $55 per quart |
| 2.5 inch angled sash brush | Controlled application on repair edges | $12 to $20 |
| 3M LeadCheck swabs | Confirms lead status in pre-1978 homes | $10 for a 2-pack |
| Drop cloths and painter’s tape | Protects floors and adjacent trim | $12 to $20 |
| N95 dust mask | Lung protection during scraping and sanding | $6 to $12 |
Total supply cost lands between $20 and $75 for a DIY repair, matching HomeGuide 2026 estimates for small-scale paint repair. If you own a quality scraper and taping knife already, your cost drops closer to $30 for the consumables.
Recommended on Amazon
Zinsser Cover Stain Oil Primer + Bullseye 1-2-3 Water Primer Pair
The two primers every trim painter keeps on the shelf. Cover Stain bridges old oil to new latex and blocks water stains cold. Bullseye 1-2-3 handles fresh drywall and previously latex surfaces with quick cleanup. Together, roughly $40 covers 90 percent of peeling paint scenarios.
Identify Your Paint Situation First
The single biggest mistake homeowners make with peeling paint: they grab a scraper before checking whether they have a lead paint hazard. This is not a small concern. The EPA reports homes built before 1978 have an 87 percent chance of containing lead-based paint somewhere on the property. Scraping lead paint without containment releases dust driving blood lead levels up in children and adults alike.
The 3M LeadCheck swab is a $10 test strip turning red when it touches lead. Wipe one across a scraped chip of the peeling paint. If it stays yellow, you are safe. If it turns red or pink, stop and follow the EPA’s Renovation, Repair and Painting rule for containment and disposal.
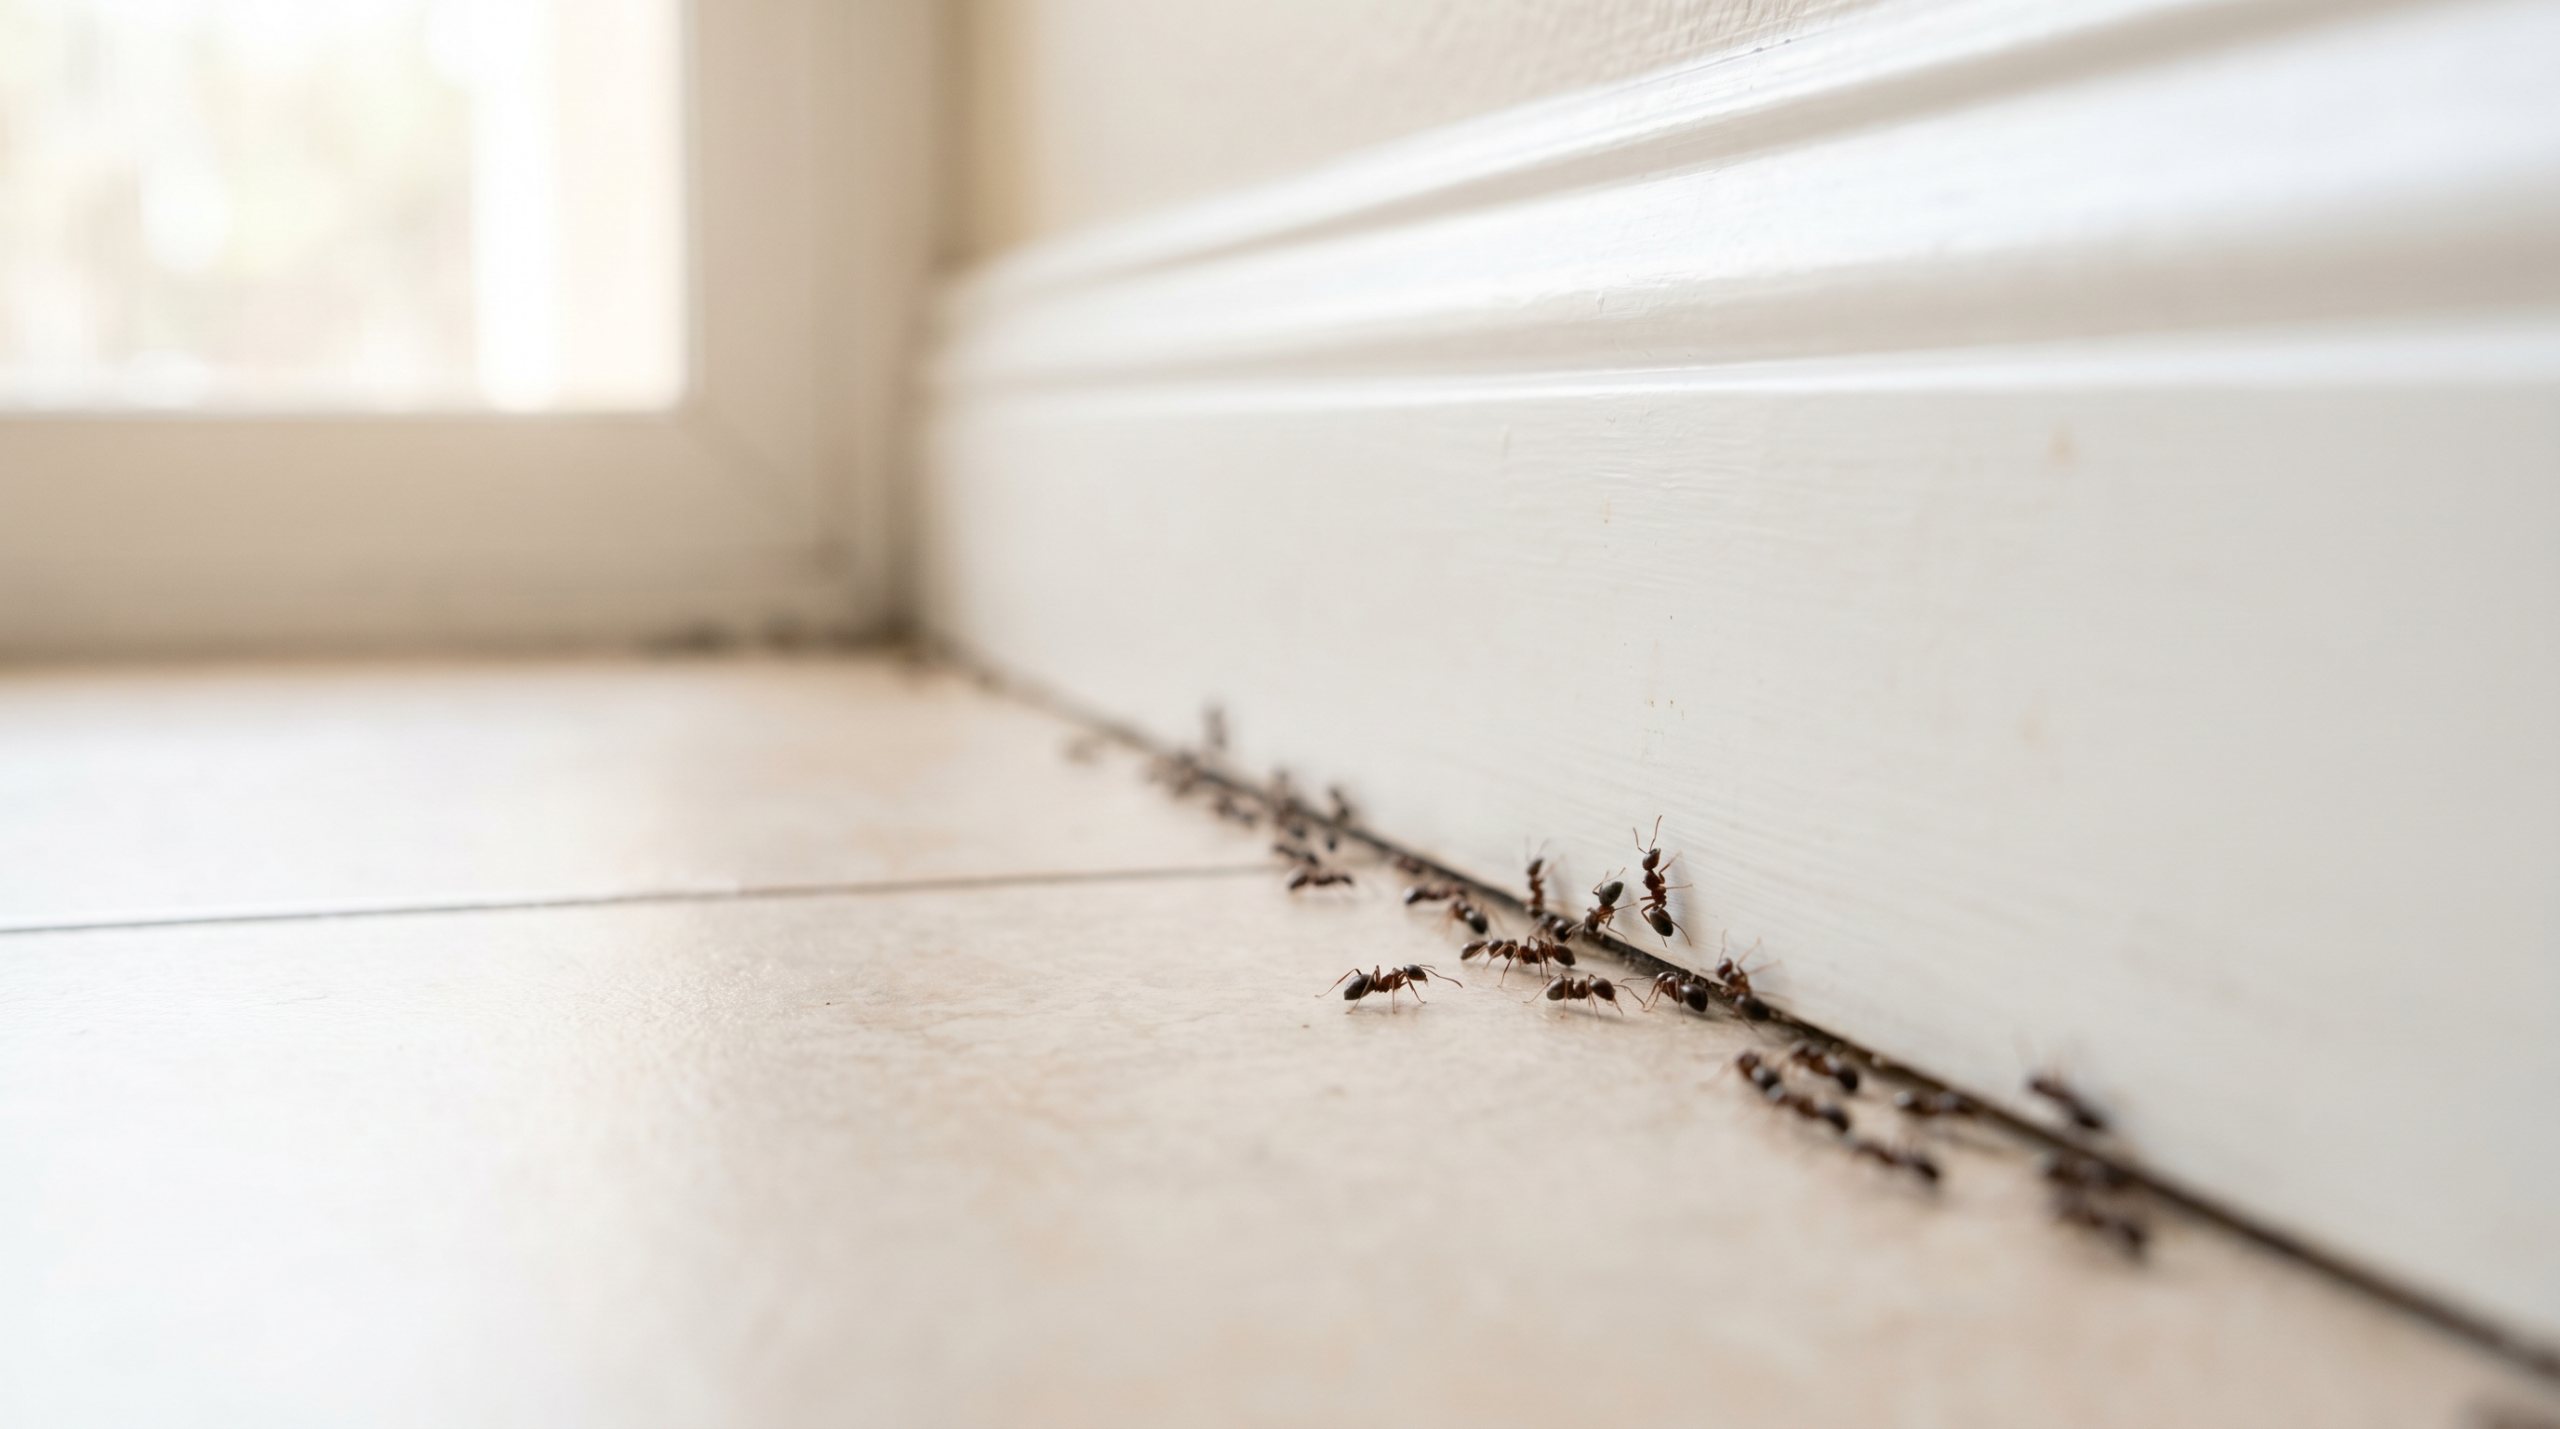
For lead-free paint, your next question is interior or exterior. Interior peeling usually traces back to a moisture source: a bathroom exhaust fan not venting outside, a kitchen wall behind a sink, a basement wall with foundation seepage, or a ceiling under a roof leak. Fix the moisture source first or the paint peels again within a year.
Exterior peeling almost always indicates a failing vapor barrier or direct water intrusion. The sunny south and west facing sides of a house peel fastest because UV breaks down the paint film from the outside while interior moisture pushes from the inside. This sandwich effect makes south-facing siding the most common failure point I encounter on consultations.
How to Fix Peeling Paint Step by Step
Knowing how to fix peeling paint follows the same core sequence regardless of interior or exterior. Here is the exact process I have used on every repaint and touch up across 7 years of construction experience and 30 plus years of painting projects.
Step 1: Prep the Area
First, lay drop cloths under the work zone. Next, tape off adjacent trim, fixtures, and baseboards with a quality painter’s tape. Then snap on an N95 dust mask, even for confirmed lead-free paint. Old paint dust irritates lungs regardless of composition. For exterior repairs, plan around the weather. You want a dry 48-hour window with temperatures between 50 and 85 degrees for primer and paint to cure properly.
Step 2: Scrape the Loose Paint
Work with a 2 to 3 inch stiff putty knife or a dedicated paint scraper like the Hyde or Warner models the trades use. Hold the blade at a 30 degree angle and push outward from the intact paint toward the loose edge. Stop scraping once the blade meets paint firmly bonded to the substrate. You are not stripping the entire wall, only the paint ready to release. If the paint keeps coming off in sheets past your initial repair zone, your failure is bigger than a patch and the full wall needs stripping.
Step 3: Feather the Edges
The transition between scraped area and intact paint creates a visible ridge. Sand this ridge with 80 grit paper first, then step up to 120 grit for smoothness. The goal is a gradient, not a sharp line, so your new paint lays flat across the repair. Wipe the dust away with a tack cloth or a damp microfiber before moving on.
Step 4: Patch and Fill
Use a lightweight spackle for small dings and a setting compound like Durabond 20 for deeper voids. Apply in thin layers with a 4 to 6 inch taping knife, let each layer dry per the label (typically 20 minutes for lightweight spackle, 90 minutes for Durabond), then sand smooth with 150 grit. Two thin layers beat one thick layer every time because thick fills crack as they cure.
Step 5: Prime the Bare Spots
Prime every scraped area with a stain blocking primer like Zinsser Cover Stain or Kilz Original. Primer does two critical jobs: it seals the porous substrate so your topcoat soaks evenly, and it blocks any lingering moisture stain from bleeding through. Roll or brush on one full coat and let it dry per the label. Most oil based primers need 2 to 4 hours before recoat, while water based primers recoat in an hour.
Step 6: Repaint in Two Coats
Apply two thin coats of your topcoat, allowing 2 to 4 hours between coats. Match the existing sheen (flat, eggshell, satin, semi-gloss) or you will see the repair under raked light. Feather each coat beyond the primed area to blend the repair into the surrounding wall. For high-visibility walls, rolling the full wall after the repair delivers a cleaner finish than a spot repair alone.
Recommended on Amazon
Hyde Stiff Putty Knife Set + 3M LeadCheck Swabs
The starter pair for any paint repair. Hyde putty knives in 2, 3, and 4 inch widths handle scraping and patch application without flexing. LeadCheck swabs answer the pre-1978 home question in 30 seconds. Total under $30 and both live in my truck permanently.
When the Peeling Keeps Coming Back
Sometimes you do everything right and the paint peels again within a year. In my experience, nine out of ten recurrence cases trace back to an unfixed moisture source. Before reaching for the scraper a second time, run a moisture meter across the affected wall. Any reading above 16 percent indicates active water intrusion behind the paint.
Common culprits: a bathroom with an underpowered exhaust fan (aim for 50 CFM minimum for a small bath, 100 CFM for a larger one), an exterior wall missing flashing above a window, a basement foundation with failed waterproofing, or a kitchen without a range hood venting outside. Track the water before you fight the paint.
For exterior peeling specifically, check your caulk joints around windows, doors, and trim. Dried or cracked caulk lets water wick into the siding behind the paint. Replace any compromised caulk with a paintable acrylic latex or a polyurethane exterior sealant, wait for full cure (48 to 72 hours), then proceed with the scrape and prime process. For homes in the California foothills or other high-UV regions, plan a full exterior repaint every 7 to 10 years regardless of touch-ups. UV eventually wins against any paint film.

Oil Based vs Water Based Primer: Which Should You Choose?
The honest answer depends on the age of the paint underneath and the type of stain you are blocking. Oil based primers like Zinsser Cover Stain bond to almost any surface, block water stains cold, and serve as the bridge coat when you need to paint latex over old oil paint. However, oil primers release strong fumes and require mineral spirits for cleanup.
Water based primers like Kilz Premium or Zinsser Bullseye 1-2-3 clean up with water, dry in an hour, and work well on fresh drywall or previously latex painted surfaces. However, they will not block heavy water stains as reliably and will not bridge the gap between old oil paint and new latex without adhesion issues.
For a standard repair on a well-maintained interior wall, a water based primer handles the job with minimal fumes and easy cleanup. For any exterior repair, any wall in a pre-1978 home with original paint, or any surface with water staining or stain bleed-through, an oil based primer is the correct choice. I keep a quart of each in my shop at all times. According to the Zinsser technical data sheet, Cover Stain delivers adhesion to glossy and chalky surfaces no water based primer matches.
Pros and Cons of DIY Paint Repair
Pros
- Saves 60 to 85 percent versus hiring a pro, per 2026 HomeGuide data
- Supply kit runs $20 to $75 versus $300 to $1,500 for professional repair
- Teaches you surface prep fundamentals for every future paint project
- You control the pace and quality, so no rushed contractor damage
- Diagnoses underlying moisture issues you might otherwise ignore
- Single afternoon project for most small repairs
Cons
- Misdiagnosing the moisture cause guarantees the paint peels again
- Lead paint in pre-1978 homes demands EPA RRP compliance on larger jobs
- Matching sheen and color on an older wall often requires repainting the full wall
- Dust and prep mess requires careful containment
- Priming and painting in humid or cold conditions extends the job significantly
Final Verdict
Knowing how to fix peeling paint sits at the sweet spot of DIY home projects: low skill ceiling, real cost savings, and a finished wall you prepped yourself. Homeowners with a small peeling patch in a bedroom or hallway complete the full repair in one afternoon for under $30 in supplies, assuming you own a scraper, taping knife, and brush. For anyone tackling a full exterior wall or multiple rooms, the supply cost climbs toward $75, still a small fraction of the $300 to $1,500 a pro charges.
Two groups need extra caution. First, anyone living in a pre-1978 home should test for lead before scraping. The $10 spent on a LeadCheck swab prevents health risks costing thousands if ignored. Second, homeowners with chronic peeling in the same spot should invest in diagnosing the moisture source before repainting. Without fixing the water, every repair is a temporary bandage.
On value, the cost gap between DIY at $20 to $75 and hiring pros at $300 to $1,500 means one afternoon of learning pays for your next three paint projects. Moreover, the surface prep skills transfer directly to choosing the right paint colors, cabinet refinishing, furniture painting, and any surface prep and sanding basics you tackle in the future.
My recommendation: stock a quality scraper, a small bucket of lightweight spackle, a quart each of Zinsser Cover Stain oil primer and Zinsser Bullseye 1-2-3 water based primer, and a 2.5 inch angled sash brush. With those on hand, you handle any peeling paint situation as soon as you spot it, before a small patch turns into a wall-sized project.
Frequently Asked Questions
What causes paint to peel off walls?
Paint peels primarily from moisture reaching the back of the paint film (roughly 80 percent of cases per the American Coatings Association), poor surface prep during the original paint job (dirty, glossy, or unprimed surfaces), or incompatible paint layers like latex painted over old oil paint. Fix the root cause before repainting or the new paint peels again within a year.
How do you fix peeling paint without painting the whole wall?
Scrape the loose paint, sand the edges smooth with 80 then 120 grit paper, patch any dings with spackle, prime the bare spots with a stain blocking primer, and feather in two thin coats of matching paint. Under raked light you will see the repair, so for high-visibility walls, rolling the full wall after the repair delivers a cleaner finish.
Will painting over peeling paint work?
Painting directly over peeling paint never works long term. The new paint bonds only to the loose paint underneath, which is already failing. The fresh coat peels along with the original within months. Always scrape to solid paint first, feather the edges, and prime before repainting.
How do you fix peeling paint on exterior walls?
Exterior peeling demands extra steps. Power wash the area first with a pressure washer set to 1,500 to 2,000 PSI, let the wood or siding dry 48 to 72 hours, scrape loose paint, sand the edges, replace any failed caulk, prime with an oil based exterior primer, and topcoat with a quality exterior paint. Address any flashing, grading, or roofline water issues first or the repair fails.
Is it safe to scrape old paint yourself?
Scraping paint in homes built after 1978 carries minimal health risk beyond standard dust inhalation. Homes built before 1978 have an 87 percent likelihood of containing lead paint according to the EPA. Test with a LeadCheck swab before scraping. If positive, follow the EPA’s Renovation, Repair and Painting rule, which requires specific containment techniques for disturbed areas over 6 square feet interior or 20 square feet exterior.
How long does fixing peeling paint take?
A small patch (up to 4 square feet) takes 1 to 2 hours of active work spread across an afternoon because of dry times between steps. A full wall repair spans 6 to 10 hours across a weekend, again driven by dry times for patching compound, primer, and two paint coats. Exterior repairs add additional time for caulk cure and weather windows.
What is the best primer for peeling paint?
Zinsser Cover Stain oil based primer wins for any surface with stain bleed-through, old oil paint underneath, or exterior exposure. Zinsser Bullseye 1-2-3 water based primer wins for fresh drywall, interior walls previously painted in latex, and projects where cleanup speed matters. Keep a quart of each on hand and choose based on the situation.

Leave a Reply