Photo by alexeys via iStock
Adding a backyard pond with waterfall to your landscape offers not just visual appeal, but also a relaxing environment to enjoy after work and on the weekends.
The soothing sound of the waterfall can help get you into a more zen-like state, and you can add fish to the pond to amp up your enjoyment of the water feature.
While there is a lot of work involved in building a backyard pond with waterfall, we’ve outlined the critical steps to help you get started and find success with this DIY project. We’ve also included links to various resources to give you even more opportunities for learning how to create a beautiful backyard oasis.
Step 1: Plan Your Backyard Pond With Waterfall
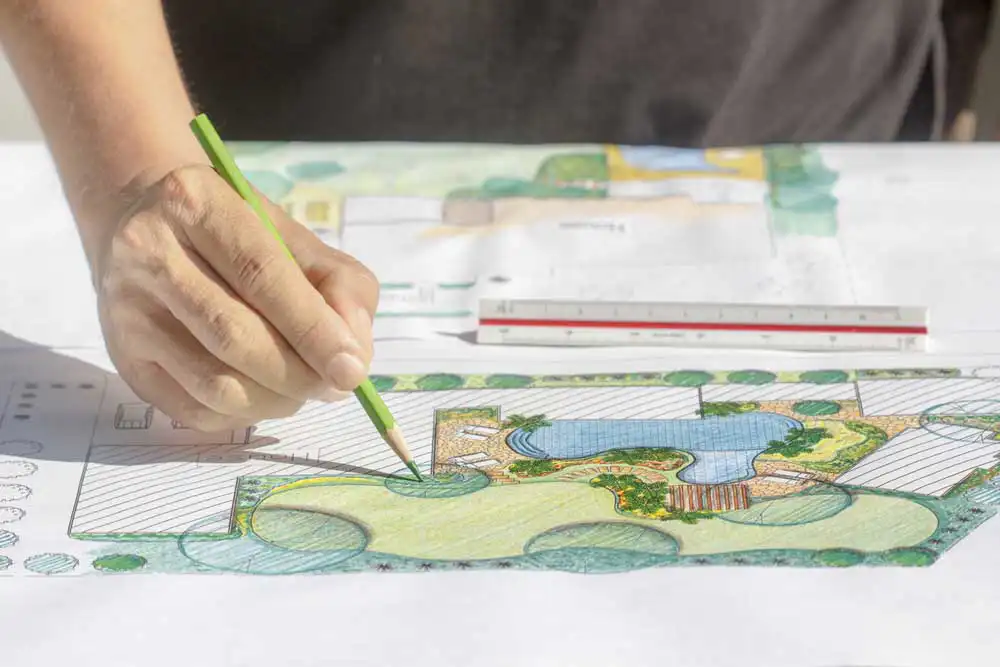
Photo by Toa55 via iStock
Your first task is to plan out the build of the pond and waterfall. You’ll need to consider questions like:
- Where do I want my backyard pond with waterfall?
- How much room do I have?
- Where will power come from for the pump?
- Are there HOA regulations or other rules governing water features?
- What materials will I need?
The more detail you go into at this point, the better. Your plan needs to be well-thought-out, and your materials list should be on point, that way you only have to make one trip to the store to get everything you need.
Speaking of materials…
Here’s a quick list of the materials, tools, and supplies you might need (bear in mind this is just a general list and that you might need additional items):
Pond/Waterfall Materials:
- Rubber membrane (for the pool)
- Waterfall stones (large, flat stones that you can stack)
- River rock, gravel, and other hardscape elements, as desired
- Plants, as desired
- A water pump (buy something larger than you think you’ll need)
- Irrigation tubing
Tools/Supplies:
- Safety glasses
- Gloves
- Level
- Tape measure
- Shovel
- Screwdriver
- Drill/driver
- Circular saw with a diamond blade
- Hacksaw
- Hammer
- Tin snips
- Utility knife
Bear in mind that you’ll need a truck or a trailer to haul the materials. The stone, in particular, will be very heavy and cannot be transported in a regular car.
In addition to consulting the list above for general supplies you might need, it’s worth checking out the video above for additional information about the planning phase of your backyard pond with waterfall.
The video, which is by Atlantis Water Gardens, gives you a step-by-step look at building a pond and waterfall.
Step 2: Begin Construction
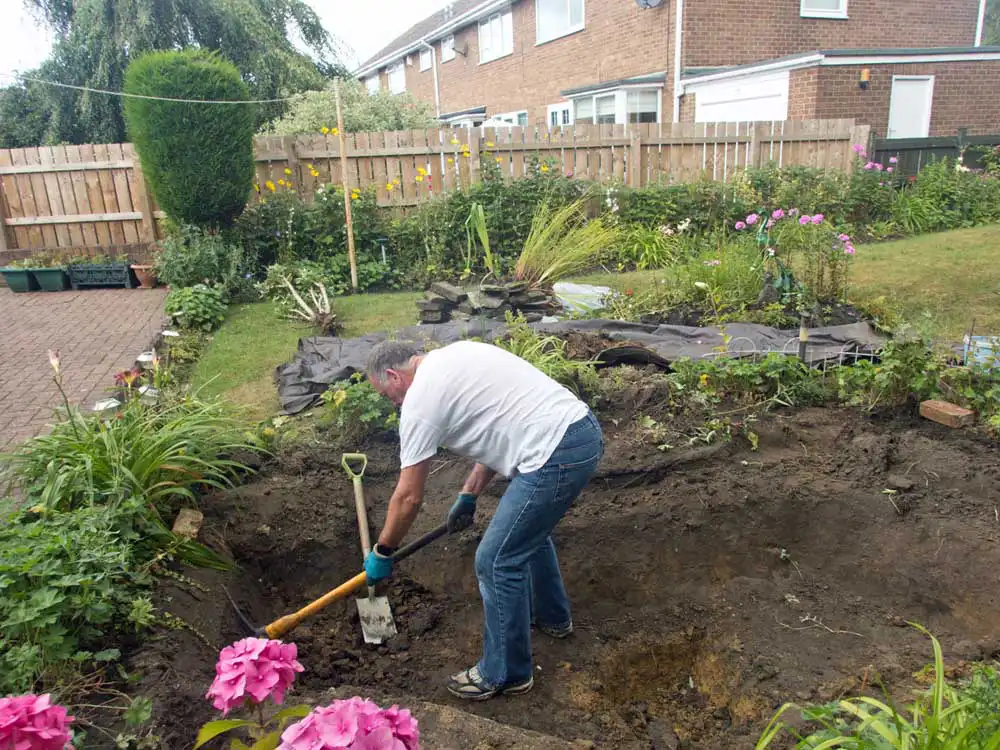
Photo by Alphotographic via iStock
The next step is to begin digging in the selected location, but only after you’ve had the area marked for utility lines! Here’s even more tips to follow as you develop your backyard pond with waterfall.
As you’re digging, remove big debris from the area, like large rocks or tree roots. You want a nice, clean, and smooth surface on which to put the pond liner. It’s beneficial to line the bottom of the hole with sand to help level it out.
Then, add the pool liner, ensuring that it covers the entirety of the hole.
You can add river rock on top of the pond liner to help weigh it down. If you plan to add fish, they’ll appreciate having the rocks to explore and hang out.
Step 3: Add Waterfall Stones
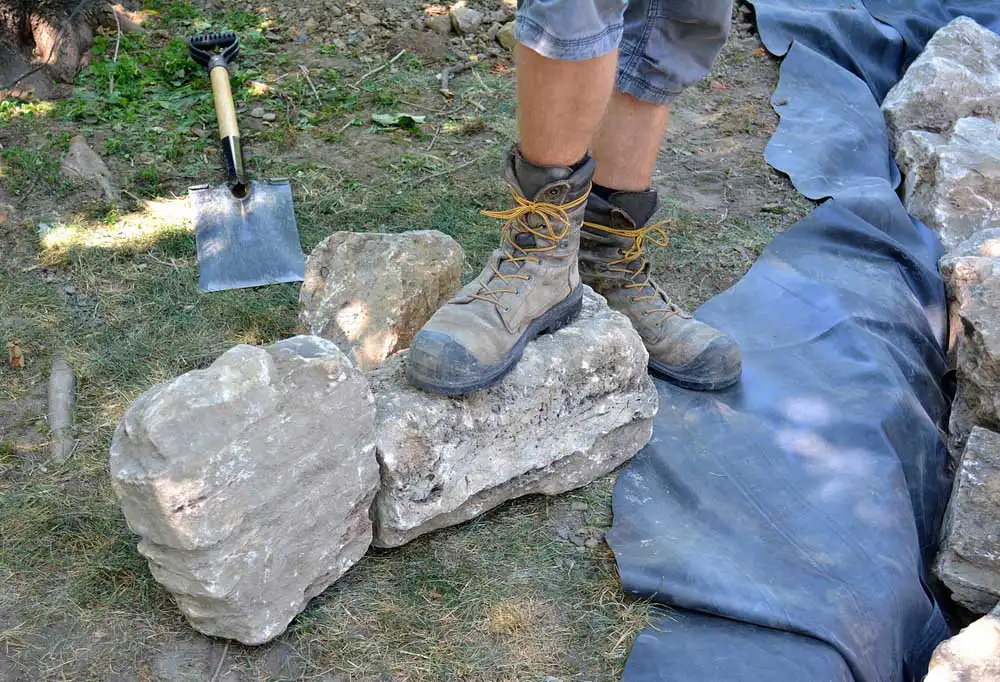
Photo by ziggy1 via iStock
With the hole dug and pond liner in place, it’s time to stack the waterfall stones.
Since these stones are large and flat, they’re easy to stack without worry of them falling over. This process really just requires that you get the desired look at height for the waterfall.
Start with the largest stones on bottom, then work your way up with smaller and smaller stones. Grab the garden hose and test how the water flows down from one stone to the next until you have a pattern of stones that’s got a pleasing look (and sound!).
It might be worth it to add a single layer of waterfall stones around the edge of the pond, too. This will help mask the edge of the pond liner and will give a clean look to the pond. Leave gaps between the stones for adding gravel or planting ground cover for an even cleaner look.
Step 4: Install the Pump
The final step is to install the pump. The video above by Rural Life With The Ross’. Khmer USA Family Vlog will give you a good idea of what the process is like.
Basically, connect the pump to irrigation tubing, ensuring that the tubing is long enough to reach from the bottom of the pond to the top of the waterfall. Account for the extra length you’ll need to route the tubing in a way that it’s out of sight.
Since the waterfall stones will have gaps between them, it’s likely that you can simply run the irrigation tubing between two stones and up the back of the waterfall (assuming that the back won’t be seen). This is the easiest method.
You can also drill a hole in each waterfall stone and run the tubing up through the middle of each one. This requires more time and effort, but it will hide the tubing from view from all directions.
Lastly, fill the pond with water, plug in the pump, and enjoy your new backyard pond and waterfall!
Backyard Pond With Waterfall: You’re Not Done Yet…
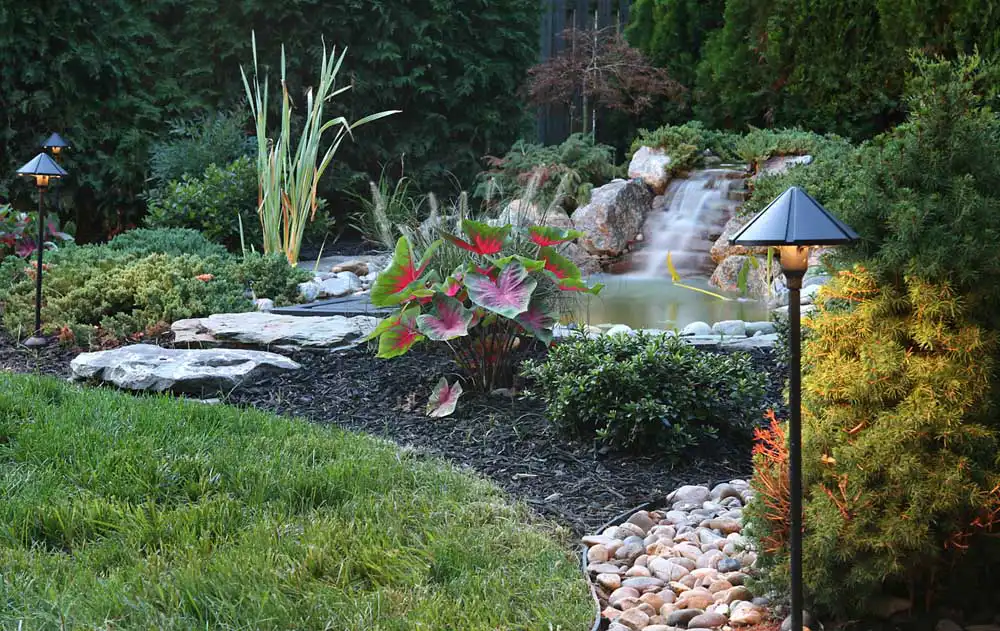
Photo by cjmckendry via iStock
Completing the design and installation of your pond will surely be satisfying, but it’s important to note that just because construction is done doesn’t mean the project is finished.
A pond and waterfall requires ongoing maintenance, so in between your time sitting by your new pond and enjoying the sound of falling water, you’ll need to do things like:
- Maintain the pump
- Remove leaves and debris from the pond
- Feed any fish you’ve added to the pond
- Tend to plants and other landscaping elements
- Refill the pond as needed (this is required more often in hotter climates)
- Prepare the pond and waterfall for winter
This is just a partial list, but you get the point – you’ll need to keep an eye on the pond and waterfall to ensure it’s working as it should and that the animal and plant life you introduce are doing well.