Quick Verdict: Most refrigerator compressor repair calls turn out to be a failed start relay, a $10–$50 part you swap in under 15 minutes. A full compressor replacement runs $500–$1,200 with labor, and on any fridge over 10 years old, the cost rarely makes financial sense. Test the relay first, work through the multimeter checks in order, and you’ll know within 30 minutes whether you have a $20 fix or a reason to shop for a new refrigerator.
Last updated: April 2026 | 12 min read
In This Guide
- Overview: What You’re Dealing With
- Key Facts at a Glance
- How a Refrigerator Compressor Works
- Refrigerator Compressor Repair: Step-by-Step Diagnosis
- How to Reset a Refrigerator Compressor
- DIY Repairs vs. Professional Service
- Cost Breakdown for Refrigerator Compressor Repair
- When Refrigerator Repair vs Replace Makes Sense
- Pros and Cons of DIY Compressor Repair
- Final Verdict
- Frequently Asked Questions
Overview: What You’re Dealing With
A warm refrigerator on a July afternoon or the night before Thanksgiving puts real pressure on your household, and refrigerator compressor repair is where most homeowners start searching for answers. The repair covers a wide range of costs and complexity, from a $10 relay swap to a $1,200 sealed-system job. Here’s the good news: the compressor itself fails far less often than the smaller components around it. Before you spend $500–$1,200 on a full compressor swap, a systematic diagnosis will tell you whether a $10 start relay is the actual culprit.
Refrigerator compressor not running is almost always caused by one of four components: the start relay, the run capacitor, the overload protector, or the compressor motor windings themselves. Each one is testable at home with a basic multimeter, and three of those four are straightforward DIY repairs requiring no special certifications. Only refrigerant handling requires an EPA Section 608 certification, which means a licensed technician must handle any sealed-system work.
Growing up around my grandfather’s plumbing and heating company, I picked up a simple rule: start with the cheapest part and work outward. A refrigerator compressor diagnostic follows the same logic. You start with the $10 relay, confirm or rule it out in five minutes, then move to the capacitor and overload before ever touching the compressor motor. This guide walks you through every step in sequence.
Key Facts at a Glance
The table below summarizes the most important data points for refrigerator compressor repair, from cost ranges and lifespan figures to the legal boundaries every homeowner needs to understand before starting.
| Factor | Details |
|---|---|
| Average compressor lifespan | 8–10 years (residential) |
| Start relay replacement (DIY) | $10–$50 parts only |
| Start relay replacement (pro) | $100–$200 parts + labor |
| Capacitor replacement (DIY) | $20–$60 parts only |
| Overload protector (DIY) | $15–$40 parts only |
| Full compressor replacement | $500–$1,200 (parts + labor) |
| Average overall fridge repair cost | $200–$1,300 (avg. $650) |
| Repair vs. replace threshold | Replace if fridge is 10+ years old and repair exceeds 50% of replacement cost |
| DIY-legal repairs | Relay, capacitor, overload protector |
| Requires EPA 608 certification | Refrigerant handling and sealed-system work |
| Peak failure seasons | July; Thanksgiving/Christmas period |
| Tools needed for diagnosis | Multimeter, 1/4″ nut driver, Phillips and flathead screwdrivers |
How a Refrigerator Compressor Works
Your refrigerator’s compressor is the core of the sealed cooling system. Its job is to compress refrigerant gas, raise its pressure and temperature, and push it through the condenser coils where heat dissipates. After cooling and expanding through the evaporator coils, the refrigerant absorbs heat from inside the fridge, then cycles back to the compressor to repeat the process.
Three electrical components work together to start and protect the compressor motor. First, the compressor start relay gives the motor the extra current it needs to start each cooling cycle. Second, a run capacitor (present on some models) keeps the motor running smoothly under load. Third, the overload protector acts as a thermal fuse, shutting the compressor down if it overheats, then resetting after it cools.
When any of those three components fails, the compressor motor never starts, even though the motor itself is fine. This is why refrigerator compressor not running is so often solved by a $10 relay rather than a $600 motor replacement. Dirty condenser coils force the compressor to work harder and are one of the most common causes of premature failure homeowners overlook entirely. Clean them every six months for long-term compressor health.
Signs Your Compressor Is Failing
The clearest symptom is a refrigerator no longer cooling. However, several specific patterns help you narrow down the cause before you start testing. A clicking sound every two to five minutes means the compressor is trying and failing to start, which points directly to the start relay. Constant humming with no cooling suggests the motor is running but the sealed refrigerant system has a problem. Total silence, where the fridge makes no sound at all, often indicates a power issue or a completely failed overload protector. If the freezer is cold but the refrigerator section is warm, the problem is more likely a failed evaporator fan or a clogged defrost drain, not the compressor.
Refrigerator Compressor Repair: Step-by-Step Diagnosis
Work through these tests in order. Each test rules out a cause and points to the next, so skipping ahead wastes time and risks a misdiagnosis. Every successful diagnosis begins the same way: eliminate the cheapest components first. Following the sequence below prevents unnecessary part purchases and saves hours of troubleshooting. Before starting, unplug the refrigerator from the wall outlet.
Step 1: Check the Power Supply
Start with the obvious. Plug a lamp or phone charger into the same outlet to confirm the outlet is live. Also check your circuit breaker panel for a tripped breaker. Refrigerators draw 3–6 amps normally but spike to 15 amps at compressor startup, which trips undersized or aging breakers. If the outlet is live and the breaker is fine, move to the next test.
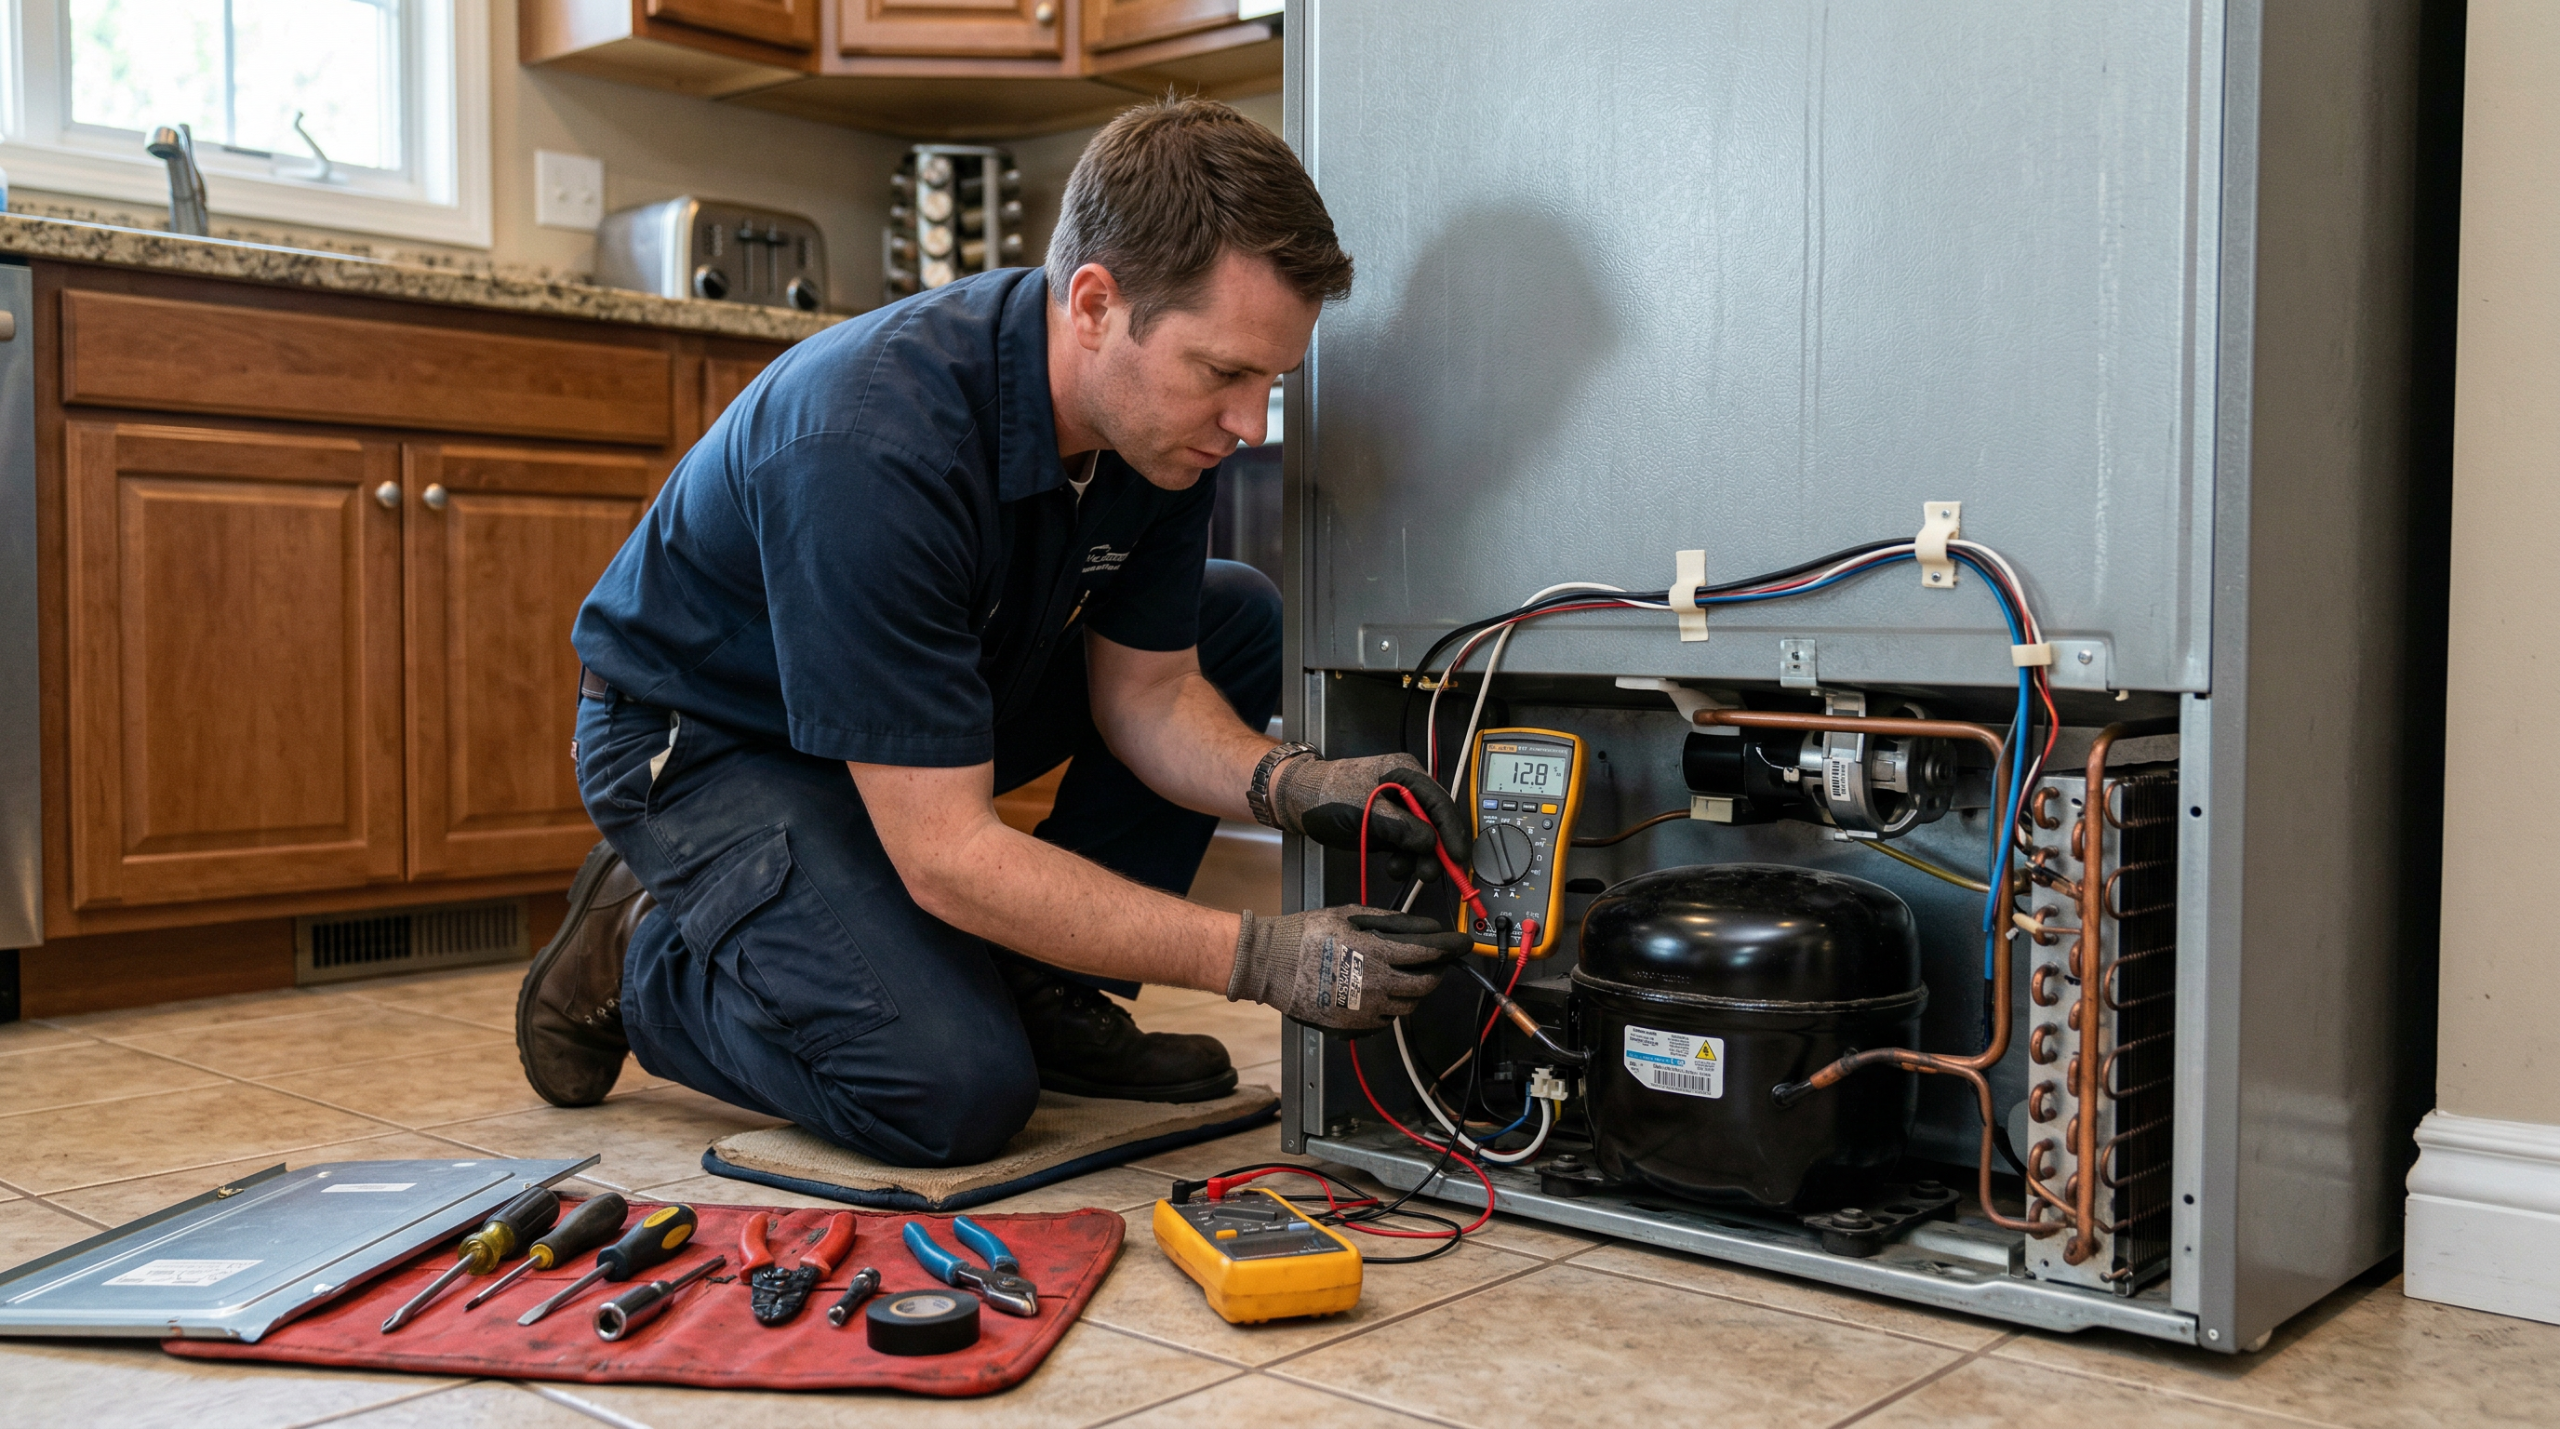
Step 2: Test the Compressor Start Relay (Shake Test + Multimeter)

The compressor start relay is a small plug-in component attached to the side of the compressor body at the back of the fridge. Pull out the fridge, remove the cardboard or metal access panel at the rear, and locate the compressor. The relay plugs directly onto the compressor’s terminal pins.
Pull the relay off the pins and shake it next to your ear. A rattling sound means the internal pellet or thermistor has broken loose, which is a definitive failure indicator. Replace the relay immediately if you hear any rattle. For a multimeter confirmation, set your meter to ohms and test across the two terminals of the relay. A good relay reads 0–5 ohms (near-zero continuity). An open circuit reading (OL or infinite ohms) confirms a failed relay. Replacement relays cost $10–$50 depending on your brand and model, and the swap takes under five minutes. For most compressor-related service calls, this step resolves the problem entirely.
Step 3: Test the Run Capacitor
Not all refrigerators use a run capacitor, but models from GE, Frigidaire, and some Whirlpool lines include one. The capacitor is a cylindrical component mounted near the compressor, typically behind the same access panel. Discharge the capacitor before testing: briefly short its terminals with an insulated screwdriver, then test with your multimeter set to capacitance mode. A healthy capacitor reads within 10% of its labeled microfarad (µF) rating. Readings near zero or far outside the labeled range indicate a failed capacitor. Replacements run $20–$60.
Step 4: Test the Overload Protector
The overload protector clips onto the compressor alongside the start relay. Set your multimeter to continuity mode and test across the two terminals. A good overload protector shows continuity (a beep or near-zero ohm reading). An open circuit means the thermal fuse inside has blown. Replacements cost $15–$40 and install by snapping onto the compressor terminals. Note: an overload protector rarely fails on its own; if yours is blown, also check whether the compressor is overheating from dirty condenser coils.
Step 5: How to Test Refrigerator Compressor Motor Windings (Multimeter)
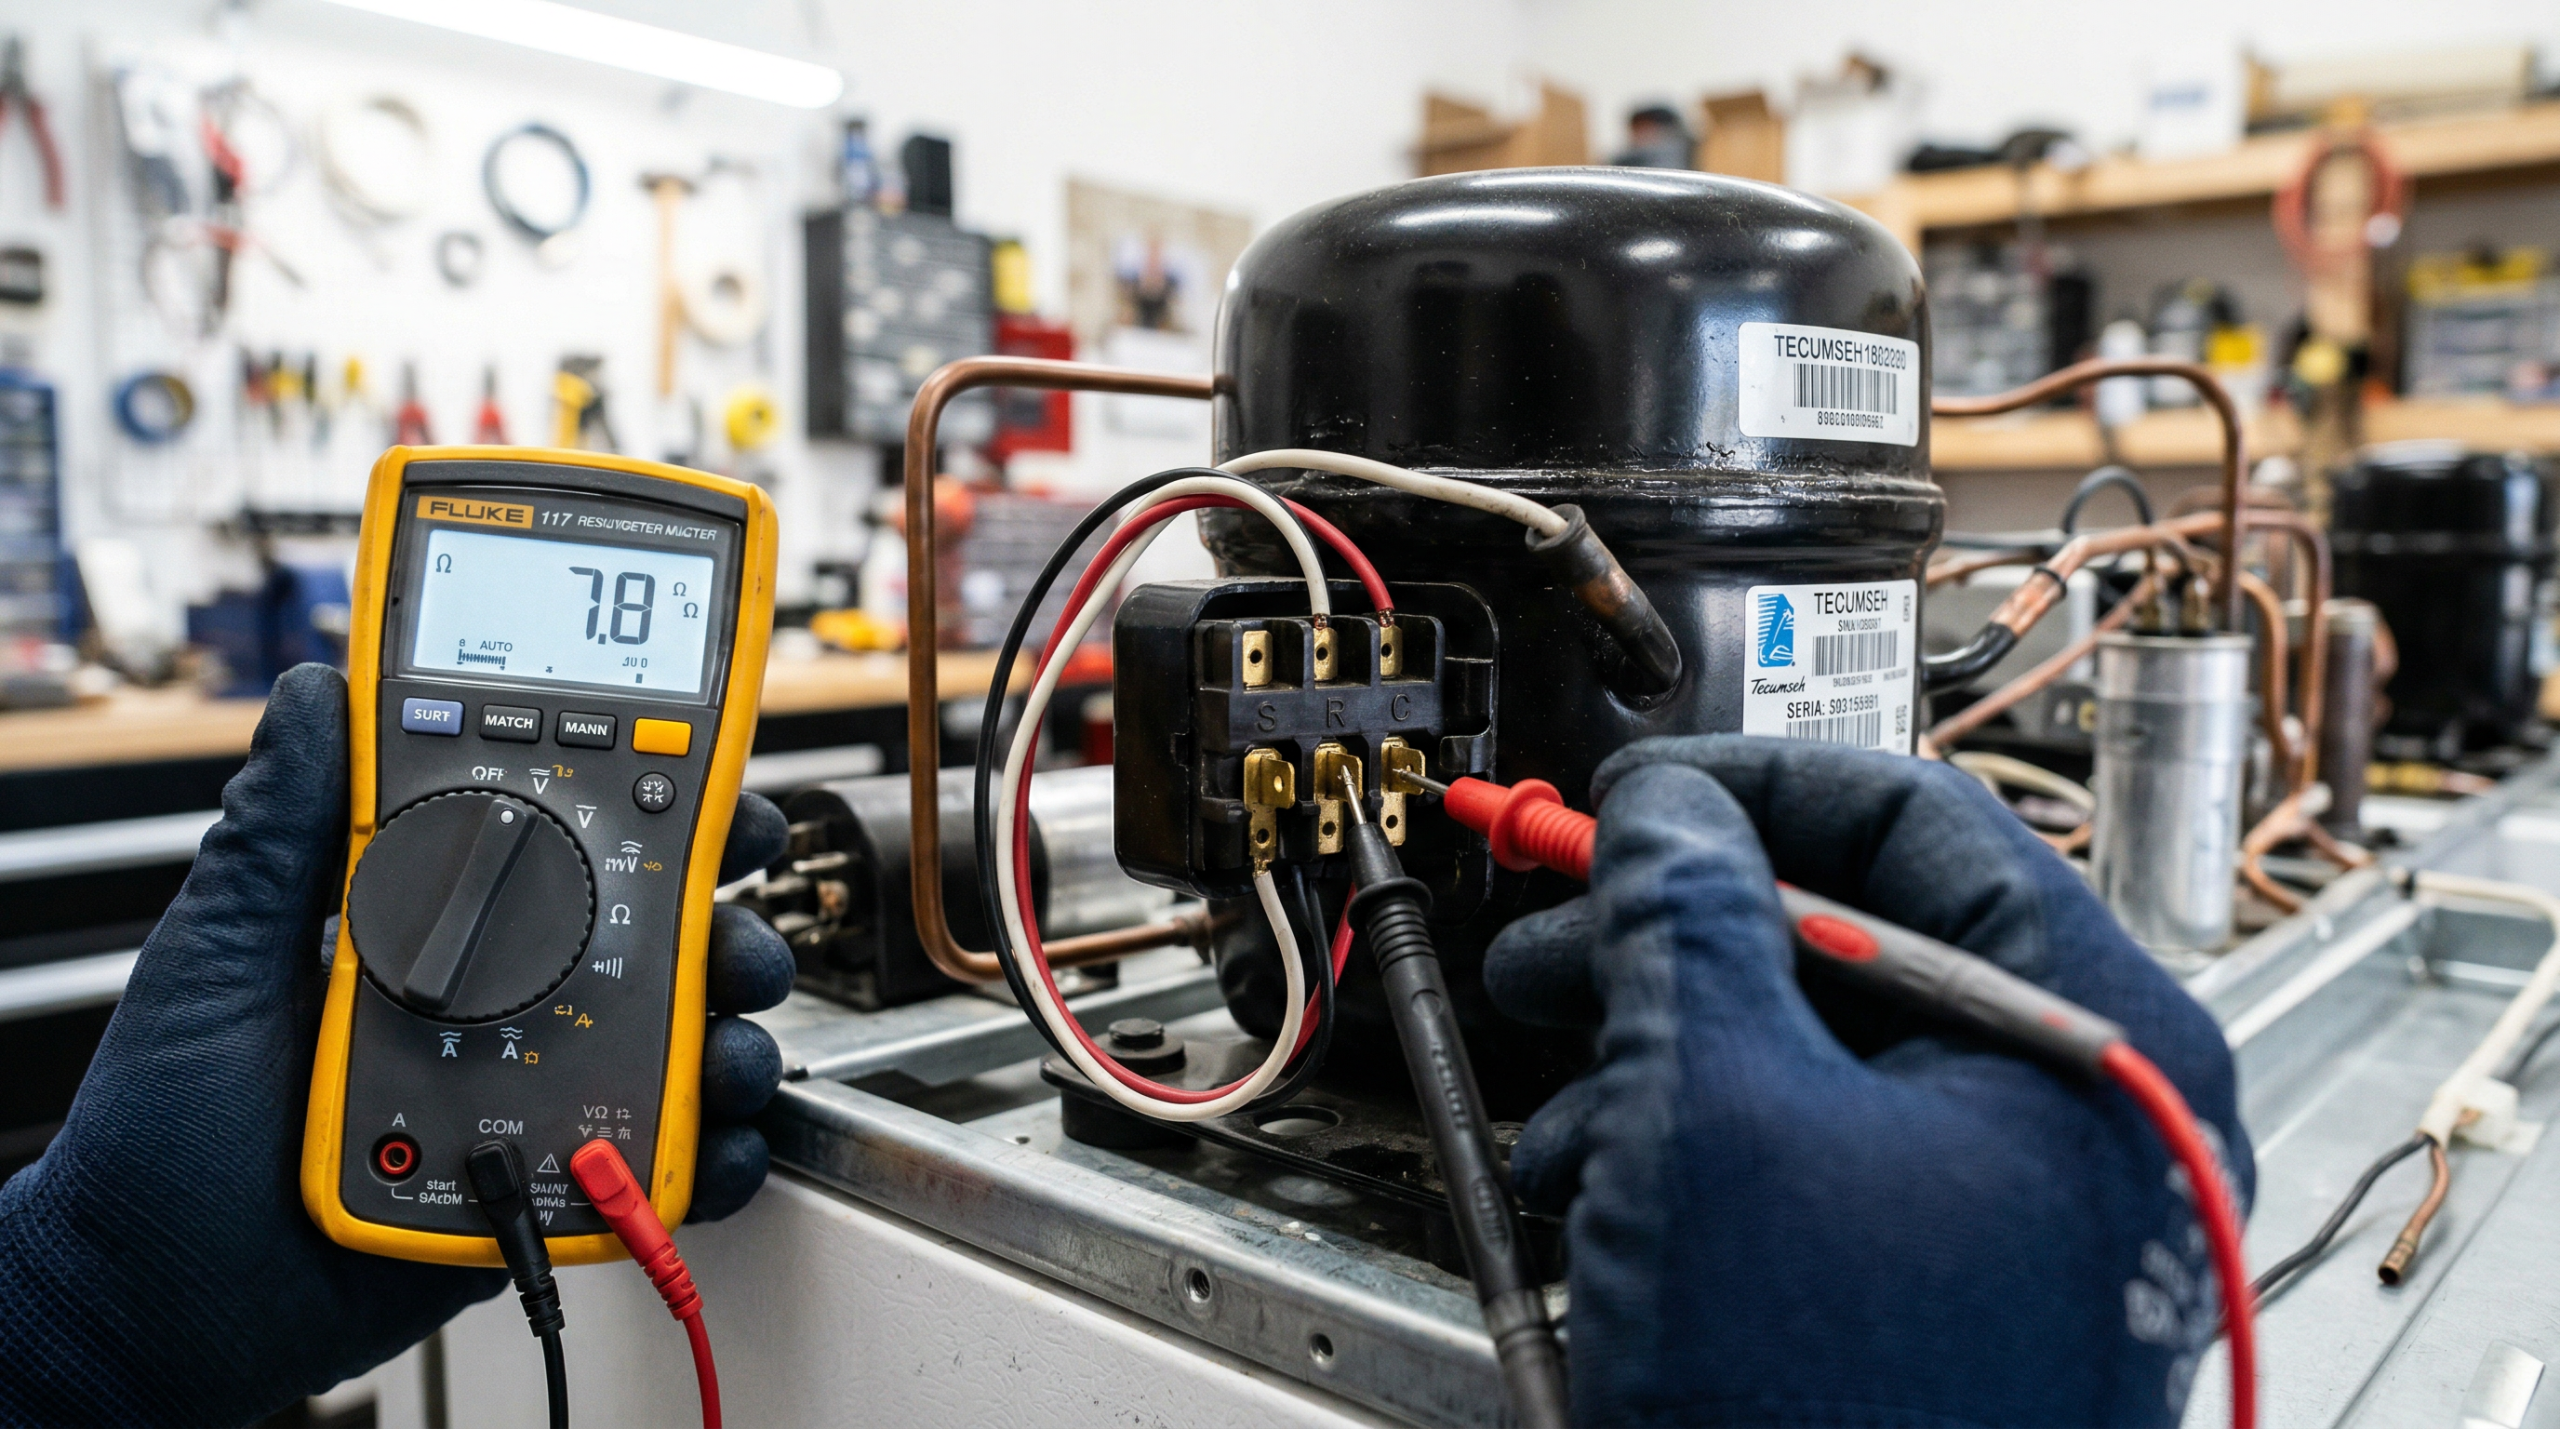
If the relay, capacitor, and overload protector all test good, the next step is testing the motor windings directly. This is the definitive test for compressor failure, and the how to test refrigerator compressor winding procedure gives you a clear yes-or-no answer on whether the sealed system needs professional service. The compressor has three terminals labeled S (start), R (run), and C (common). Remove the relay and overload to access the pins, then use your multimeter on the ohms setting.
Measure all three terminal pairs and compare to these reference values:
| Terminal Pair | Expected Reading | Result if Failed |
|---|---|---|
| Start + Run | ~10 ohms | OL (open) or 0 (shorted) |
| Start + Common | ~6 ohms | OL (open) or 0 (shorted) |
| Run + Common | ~4 ohms | OL (open) or 0 (shorted) |
| Any terminal to ground (compressor body) | OL (no continuity) | Any continuity = shorted, failed |
The sum of Start+Common and Run+Common must equal Start+Run (6 + 4 = 10). If your readings are consistent with these values and no terminal reads continuity to ground, your compressor motor is electrically healthy and refrigerator compressor repair focuses on the relay, capacitor, or overload protector. A reading of OL on any winding pair, or any continuity from terminal to ground, confirms a failed compressor motor requiring professional replacement.
For guidance on safely working around electrical components during any appliance project, see our article on common DIY electrical mistakes before proceeding with live-voltage testing.
Step 6: Check for Dirty Condenser Coils
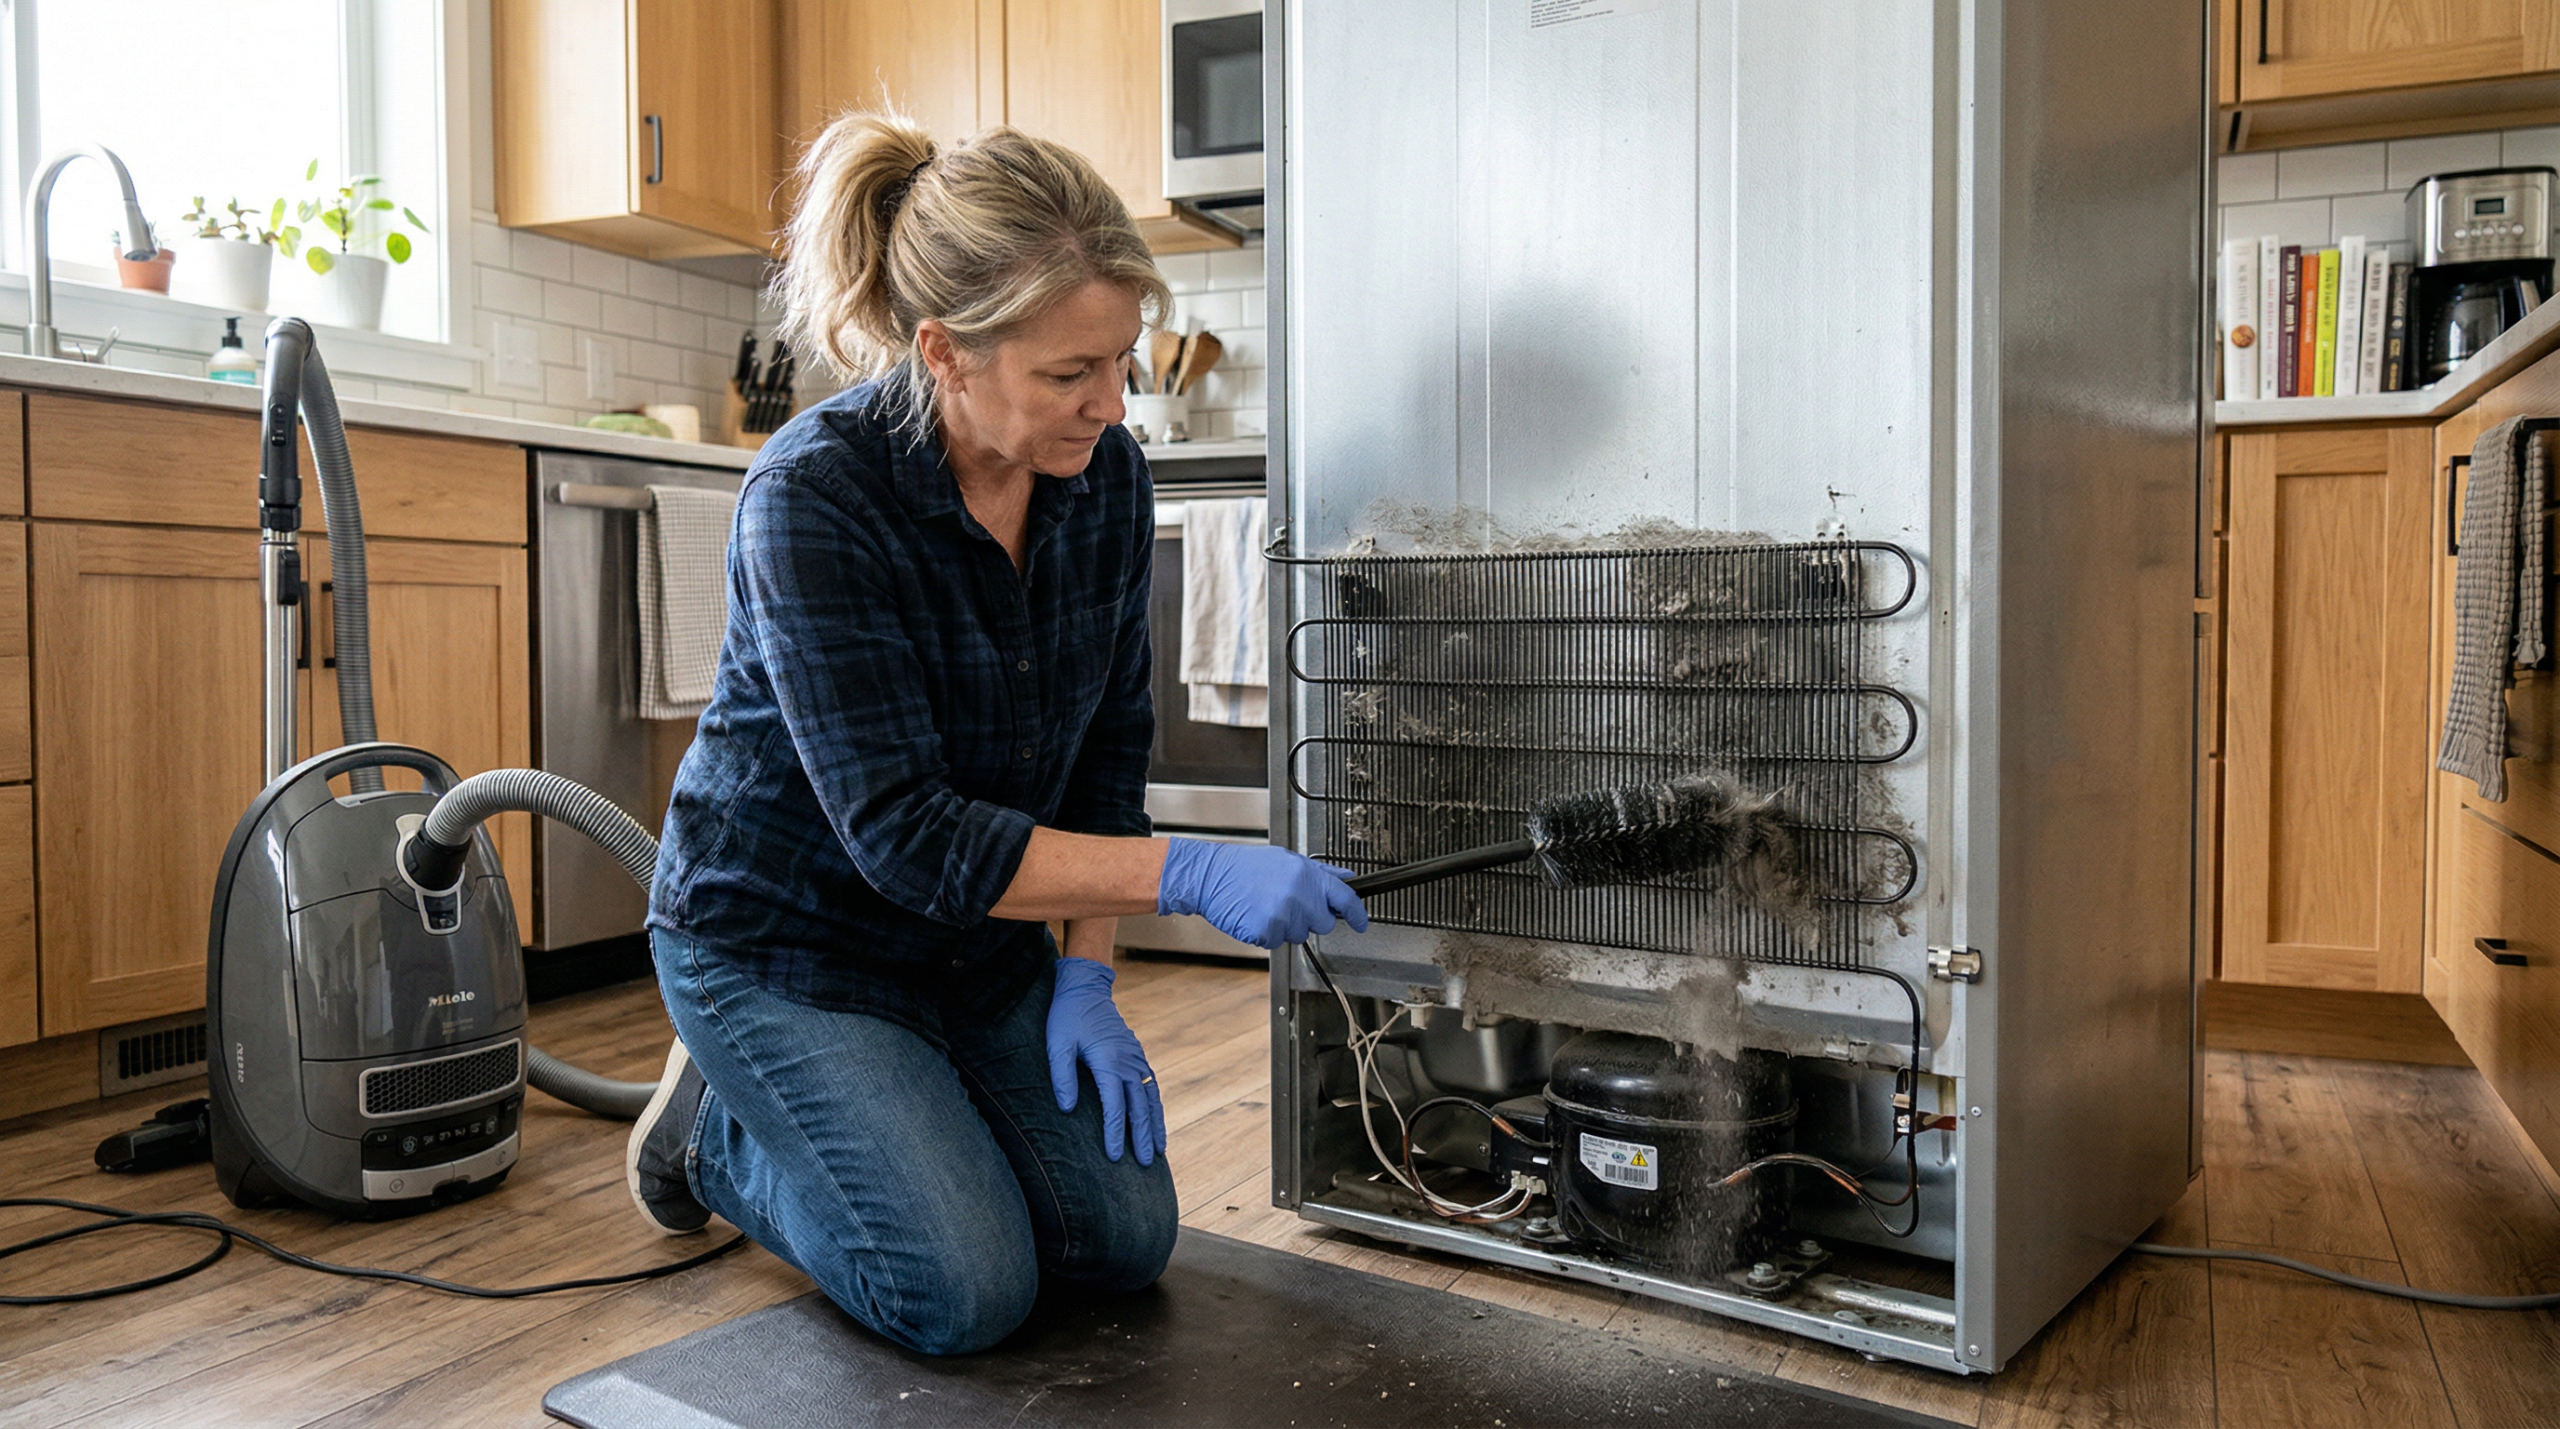
If the compressor passes all electrical tests but still doesn’t cool properly, check the condenser coils. On most refrigerators, the coils are located at the bottom behind a front kick plate or across the back. Dust and pet hair buildup insulates the coils and forces the compressor to overheat. A coil brush and vacuum clear the buildup in under 10 minutes. This step alone resolves a significant number of “compressor repair” calls resolved by routine maintenance rather than compressor work.
How to Reset a Refrigerator Compressor
A refrigerator compressor reset is the first step after any power surge, tripped breaker, or temperature control board error. Performing the reset before deeper diagnostic steps saves time on faults caused by temporary power events. Many manufacturers build a soft-reset procedure into the control board, clearing fault codes and restarting the compressor startup sequence.
The standard reset procedure works on most Whirlpool, Maytag, KitchenAid, GE, and Frigidaire models:
- Unplug the refrigerator from the wall outlet (or turn off the circuit breaker).
- Wait a full 10 minutes. This allows the capacitors in the control board to discharge and the thermal overload to reset.
- Set both the refrigerator and freezer temperature controls to their coldest settings before plugging back in.
- Plug the refrigerator in and listen for the compressor to start within 30–60 seconds.
- Set the refrigerator temperature to 37°F and the freezer to 0°F after the compressor starts.
- Allow 24 hours for temperatures to stabilize before concluding whether the refrigerator compressor reset resolved the issue.
Samsung models with digital displays use a different approach. Hold the “Power Freeze” and “Power Cool” buttons simultaneously for 10 seconds to trigger a control board reset (check your model’s manual, as the exact procedure varies). LG models with linear compressors sometimes require a full reset after the compressor enters a protective lockout mode; the same 10-minute unplug procedure applies, but also check LG’s error code display (typically on the front panel) for codes like “FF” (freezer fan) or “Er dH” (defrost system failure, which involves the heater, thermistor, or main PCB) before assuming the compressor is at fault.
If the refrigerator compressor reset doesn’t restore cooling within 24 hours, proceed with the full diagnostic sequence above rather than repeating the reset. Multiple resets without diagnosis often mask a component failure worsening over time.
DIY Repairs vs. Professional Service
Three compressor-related repairs are fully within DIY range and require no special credentials. Start relay replacement, run capacitor replacement, and overload protector replacement all involve unplugging components from the compressor terminals or unclipping them from a bracket. None of these repairs involve the sealed refrigerant system, so no certification is needed. Total parts cost for all three, if you replaced them simultaneously as a diagnostic reset, is under $130.
Full compressor replacement is a different situation. The sealed refrigerant system must be evacuated, the old compressor brazed out, a new one brazed in, the system recharged with refrigerant, and the refrigerant weighed in precisely. Federal law under EPA Section 608 requires certification to purchase and handle HFC refrigerants (including R134A) in quantities used for full system service. Attempting this without certification is both illegal and dangerous. A licensed appliance technician handles this work, with total costs running $500–$1,200.
Condenser coil cleaning, temperature control adjustments, and door gasket replacement are also straightforward DIY tasks often misdiagnosed as compressor problems. Before assuming the worst, make sure those simpler maintenance items are current. Also check our spring home maintenance checklist, which includes a refrigerator maintenance section covering coil cleaning and gasket inspection as part of your seasonal appliance upkeep routine.
Cost Breakdown for Refrigerator Compressor Repair
The refrigerator compressor repair cost range is wide, covering everything from a $10 relay swap to a $1,200 full compressor job. Understanding where your specific repair falls on this spectrum helps you decide whether to fix it yourself or call a professional. The table below breaks the full range by repair type so you know exactly what each scenario costs before calling anyone.
| Repair Type | DIY Cost (Parts Only) | Professional Cost (Parts + Labor) |
|---|---|---|
| Start relay replacement | $10–$50 | $100–$200 |
| Run capacitor replacement | $20–$60 | $100–$250 |
| Overload protector replacement | $15–$40 | $100–$200 |
| Full compressor replacement | $300–$700 (parts; EPA cert required for install) | $500–$1,200 |
| Average overall refrigerator repair | Varies | $200–$1,300 (avg. $650) |
Labor accounts for roughly 40–60% of any professional appliance repair bill. For a start relay job, paying $150 for a technician to replace a $15 part is a poor value; this is the clearest DIY win in the entire refrigerator compressor repair spectrum. Full compressor replacement labor reflects the complexity of sealed-system work, specialized equipment rental, and the certification required to handle refrigerant.
Parts pricing varies significantly by brand. LG linear compressor replacements, for example, run $300–$500 for the part alone, compared to $100–$250 for standard piston compressors used in Whirlpool and GE models. Always search by your full model number (found on the interior wall sticker) rather than brand name to get the correct part and accurate pricing. Correct part identification is essential to keeping repair costs at the low end of the range.
When Refrigerator Repair vs Replace Makes Sense
The 50% rule is the standard framework for refrigerator repair vs replace decisions: if the repair cost exceeds 50% of what a comparable replacement refrigerator costs, replace it. A new mid-range refrigerator runs $800–$1,400, so the 50% threshold is roughly $400–$700. Full compressor replacement at $500–$1,200 frequently lands above the threshold, especially on older units.
Age modifies the repair-or-replace calculation significantly. A compressor failure on a 3-year-old fridge worth $1,200 is worth repairing at $600. The same $600 repair on a 12-year-old fridge worth $200 on the used market is not. Also factor in energy efficiency: older refrigerators use roughly 35% more energy than current Energy Star models according to the U.S. Department of Energy, so replacing an aging unit also cuts your monthly utility bill by $5–$15.
Brand-Specific Compressor Failure Notes
LG refrigerators manufactured between 2014 and 2017 with linear compressors have a documented failure pattern leading to a class action settlement, and LG provides a 10-year sealed system warranty on most models (check your model on LG’s warranty lookup page). If you own an LG from this era, verify warranty coverage before paying for any compressor work out of pocket.
Samsung also offers a 10-year compressor warranty on most models, another important variable in the repair-or-replace decision. However, Samsung’s warranty covers parts only; labor is not included after the first year. For Whirlpool and Kenmore refrigerators, use the full model number at RepairClinic.com or AppliancePartsPros.com to confirm part compatibility, because Kenmore refrigerators are manufactured by multiple OEMs (Whirlpool, LG, Frigidaire) and parts are not interchangeable across lines.
GE and Frigidaire models typically use standard piston compressors with the widest parts availability and the lowest replacement costs. If your dryer is showing similar symptoms, our guide to common dryer repairs you handle yourself covers the same diagnostic-first approach for another high-failure household appliance.
Pros and Cons of DIY Compressor Repair
Pros
- Start relay replacement saves $80–$190 vs. a technician visit
- Shake test and multimeter diagnosis take under 30 minutes
- Relay and overload parts ship in 1–2 days for $10–$50
- No special tools required beyond a basic multimeter ($15–$30)
- Diagnosing before calling a pro speeds up the service call and reduces the bill
- Condenser coil cleaning takes 10 minutes and often resolves the issue entirely
- LG/Samsung warranty lookup takes 5 minutes and often eliminates the repair cost entirely
Cons
- Full compressor replacement requires EPA 608 certification; DIY is not legal
- Sealed-system refrigerant work needs specialized vacuum and charging equipment
- Incorrect capacitor discharge risks electric shock
- Full compressor job on a 10-year-old fridge often exceeds the 50% repair threshold
- Brand-specific parts (LG linear compressor) cost $300–$500 and limit DIY savings
Final Verdict
Refrigerator compressor repair is a worthwhile DIY project when you work in the correct order. Your first test is the start relay, statistically your most likely fix. A $10–$50 relay replacement restoring cooling makes this one of the highest-value appliance DIY repairs available to homeowners. The multimeter winding tests described above add specificity to the diagnosis and tell you definitively whether the compressor motor itself has failed before you spend a dollar on labor.
Repair-or-replace decisions deserve a hard look before authorizing any full compressor swap. On any refrigerator over 10 years old, a $500–$1,200 repair frequently exceeds half the replacement cost and ignores the 20–40% energy efficiency gain from a modern unit. Run the 50% rule, check your LG or Samsung warranty status, and factor in the age of the appliance before agreeing to sealed-system work.
For the majority of homeowners, the fix means testing and replacing the relay, capacitor, or overload protector in a single afternoon. Those three tests take 30 minutes, cost nothing to run, and resolve the issue in most cases for under $50 in parts. Save the licensed technician for confirmed compressor motor failures or any work touching the refrigerant system.
Frequently Asked Questions
How do I know if my refrigerator compressor is bad?
Four symptoms point to a compressor problem: the refrigerator makes a clicking sound every few minutes but doesn’t cool, the compressor runs constantly but temperatures stay above 50°F, the motor makes a loud humming or buzzing noise and the circuit breaker trips, or the compressor is completely silent while the fridge is plugged in and the outlet is confirmed live. Use the multimeter winding test (Start+Run ~10Ω, Start+Common ~6Ω, Run+Common ~4Ω) in this guide to confirm motor failure before authorizing replacement. Any continuity from a terminal to ground also confirms a failed compressor.
How to reset a refrigerator compressor?
A successful reset begins by unplugging the refrigerator and waiting 10 minutes for the control board capacitors to discharge and the thermal overload protector to reset. Set both temperature controls to their coldest settings, then plug back in and listen for the compressor to start within 60 seconds. After startup, set the refrigerator to 37°F and the freezer to 0°F, then allow 24 hours for temperatures to stabilize. Samsung models use a simultaneous “Power Freeze” and “Power Cool” button hold for 10 seconds to trigger a control board reset.
Is it worth replacing a refrigerator compressor?
Apply the 50% rule to the cost decision: if the repair cost exceeds 50% of what a comparable replacement refrigerator costs new, replace the appliance. Full compressor replacement runs $500–$1,200, while a mid-range replacement fridge costs $800–$1,400. On any refrigerator over 10 years old, the math typically favors replacement, especially when you factor in the roughly 35% energy efficiency improvement from a modern unit. Also check LG and Samsung warranty programs, which cover compressors for up to 10 years on qualifying models.
How long does a refrigerator compressor last?
Residential refrigerator compressors average 8–10 years of service life, making compressor lifespan a critical factor in any refrigerator compressor repair or replace decision. However, several factors shorten the lifespan: condenser coils clogged with dust, poor ventilation around the unit, frequent door openings in hot environments, and overpacking blocking interior airflow. Cleaning the condenser coils every 6 months and maintaining 2–3 inches of clearance around the refrigerator are the two most effective steps for extending compressor life beyond the average range.
Why is my refrigerator compressor clicking but not starting?
Clicking every two to five minutes is the definitive symptom of a failed compressor start relay. The relay’s internal thermistor or pellet provides the starting current burst the compressor motor needs; when it fails, the motor tries to start, overloads the relay, and shuts down, creating the repetitive click. Shake the relay next to your ear: a rattle confirms failure. A replacement relay costs $10–$50 and takes under five minutes to install. If a new relay doesn’t stop the clicking, the compressor motor windings have likely failed and require professional service.
Is it legal to replace a refrigerator compressor yourself?
You handle the start relay, run capacitor, and overload protector without any certifications, and those are the components responsible for most compressor repair calls. A full compressor motor replacement requires evacuating the sealed refrigerant system and recharging it, which is regulated under EPA Section 608. Homeowners without EPA 608 certification face both legal liability and the practical issue of sealed-system equipment (vacuum pump, manifold gauge set, refrigerant) costs $300–$600 to assemble. For confirmed compressor motor failures, the correct move is a licensed appliance technician.
What does a bad refrigerator compressor sound like?
Three distinct sounds help identify the failure mode during refrigerator compressor repair diagnosis. Rapid clicking every two to five minutes indicates a start relay failure preventing startup. When you hear a loud rattling hum causing the circuit breaker to trip, the motor windings have likely shorted and the motor is drawing excessive current. High-pitched grinding or metallic knocking from inside the compressor body means the internal pistons or bearings are failing mechanically. Normal compressor operation produces a steady, low hum starting and stopping every 20–40 minutes; any deviation from the normal pattern warrants investigation.
How much does refrigerator compressor repair cost?
Cost depends entirely on which component failed. Start relay parts cost $10–$50 and take under 15 minutes to swap yourself, or $100–$200 if a technician does it. Run capacitor or overload protector parts add another $20–$60 for DIY, or $100–$250 professionally. Full compressor replacement, including refrigerant handling by a licensed technician, runs $500–$1,200. The average refrigerator repair across all types costs $200–$1,300 with an average around $650, based on industry estimates. Running your own diagnosis before calling a technician is the most reliable way to avoid paying full-service rates for a $15 part.


Leave a Reply