Quick Verdict: The 7 most common DIY electrical mistakes range from using the wrong wire gauge to skipping GFCI outlets in wet locations, responsible for an estimated 51,000 home electrical fires each year, according to the Electrical Safety Foundation. Most of these common DIY electrical mistakes are easy to prevent once you understand what the National Electrical Code requires. This guide covers each mistake with specific code references, real-world consequences, and the correct fix.
Additionally, last updated: June 2025 | 9 min read
In This Article
- Why DIY Electrical Mistakes Are So Costly
- Key Facts at a Glance
- Mistake 1: Using the Wrong Wire Gauge
- Mistake 2: Overloading Circuits
- Mistake 3: Skipping GFCI Protection
- Mistake 4: Loose and Improper Wire Connections
- Mistake 5: Splicing Wire Outside a Junction Box
- Mistake 6: Installing the Wrong Breaker Size
- Mistake 7: Skipping the Permit
- DIY vs. Hiring an Electrician
- Final Thoughts
- Frequently Asked Questions
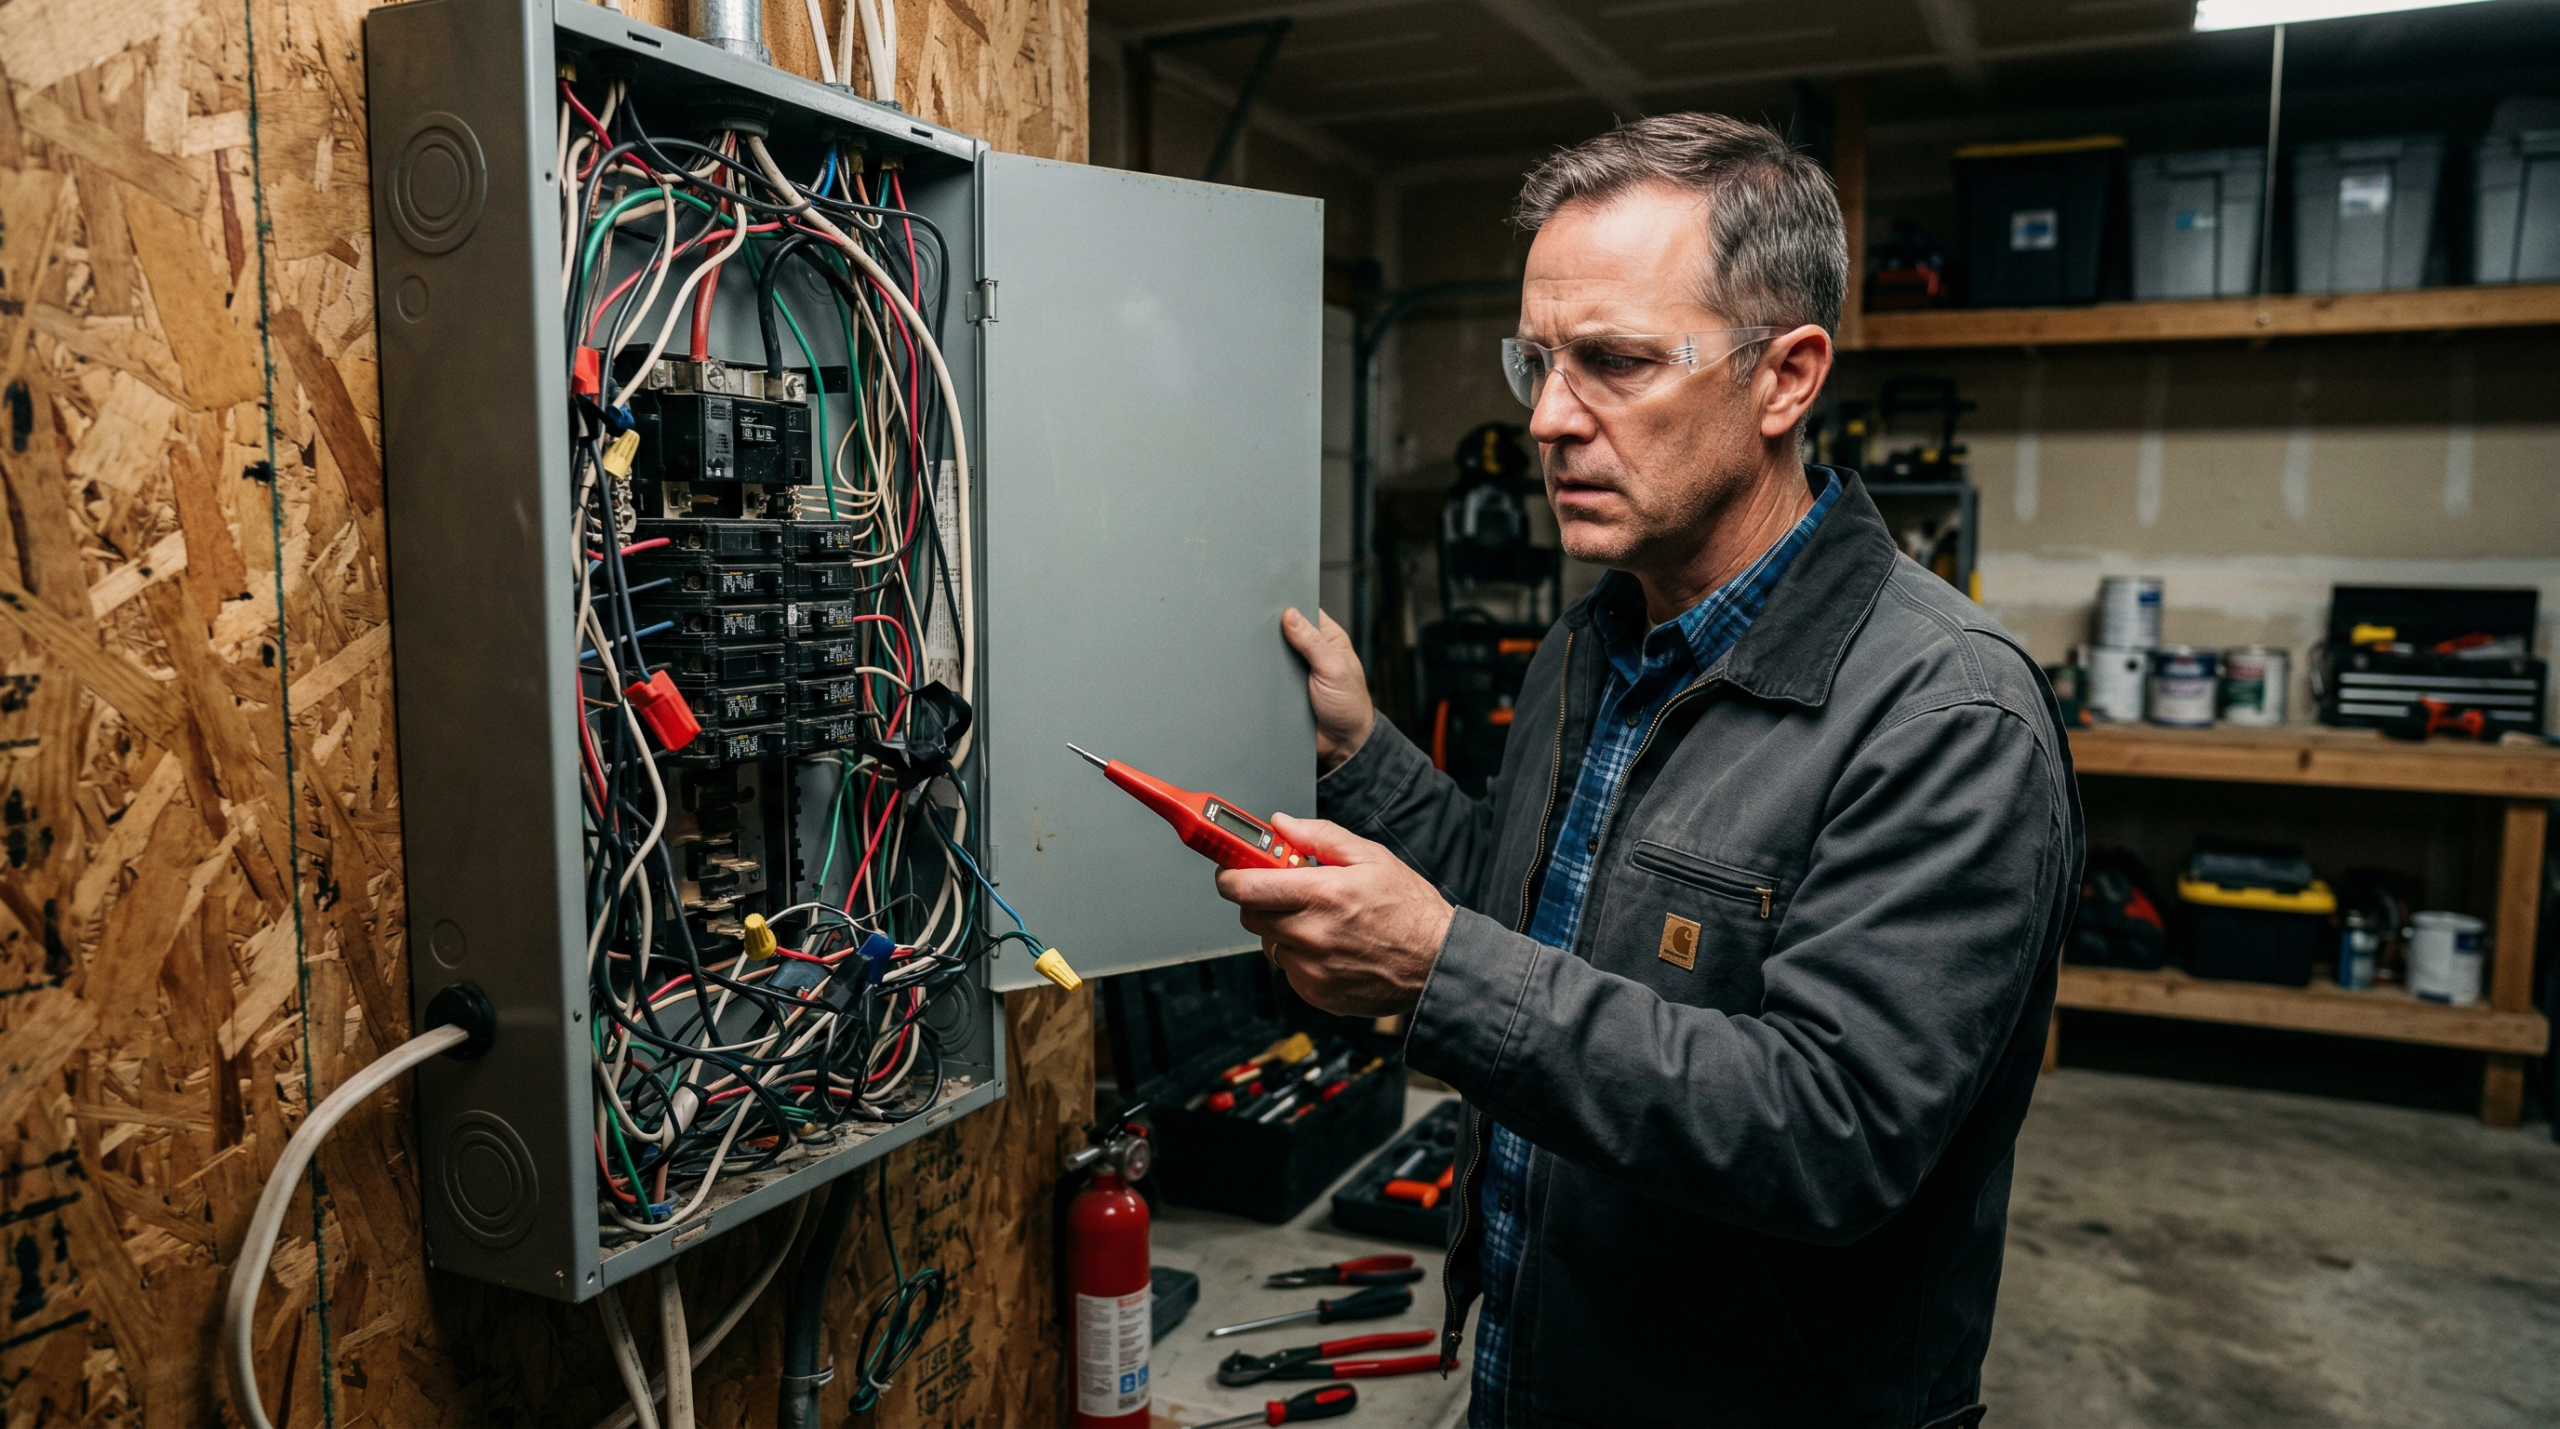
Why Common DIY Electrical Mistakes Are So Costly
Moreover, the most common DIY electrical mistakes share a troubling trait: they look fine until they start a fire or fail an inspection. In addition, home electrical fires account for an estimated 51,000 fires each year in the United States, causing nearly 500 deaths, more than 1,400 injuries. Besides, $1.3 billion in property damage, according to the Electrical Safety Foundation International. However, sixty-three percent of those fires trace back to wiring problems — the exact territory where DIY electrical work goes wrong most often.
After years as a remodeling electrician, I still see the same mistakes in every house I walk into. Because electrical work hides inside walls, homeowners often have no idea the hazard exists until a breaker trips. On the other hand, a wall gets warm, or the home inspector flags it during a sale. Conversely, the encouraging news: every mistake on this list follows a predictable pattern. Still, each one has a straightforward fix grounded in the National Electrical Code.
Therefore, seven years of building custom timber frame homes in upstate New York taught me how interconnected the trades are. As a result, dIY wiring mistakes follow me into every renovation I walk through. Electrical work stands apart because a framing error rarely burns down the house. Consequently, electrical errors do — and they do it silently, inside the walls, sometimes years after the original mistake. For this reason, understanding what the code requires and why gives you the foundation to do this work safely.
Key Facts at a Glance
| Fact | Data |
|---|---|
| Annual home electrical fires (U.S.) | ~51,000 per year (ESFI) |
| Share traced to wiring problems | 63% of all home electrical fires |
| Annual arcing-fault fires alone | 28,000+ fires, $700M+ damage (ESFI) |
| 14-gauge wire rating | 15 amps maximum |
| 12-gauge wire rating | 20 amps maximum |
| NEC required outlet spacing (residential) | No wall point more than 6 ft from an outlet |
| Avg. electrician hourly rate | $50–$130/hr (Angi, 2026) |
| Cost to fix unpermitted work | Thousands of dollars in many jurisdictions |
| GFCI required locations (NEC 2023) | Kitchens, bathrooms, garages, outdoors, basements, crawl spaces, laundry rooms |
Mistake 1: Using the Wrong Wire Gauge
Specifically, wire gauge is the single most dangerous mismatch a DIYer makes at the panel. In particular, the consequences stay invisible until the wire overheats. Notably, the American Wire Gauge (AWG) system works inversely: a smaller number means a thicker wire rated for higher current. Specifically, 14-gauge wire handles a maximum of 15 amps, 12-gauge handles 20 amps. For example, 10-gauge handles 30 amps. Similarly, when a DIYer runs 14-gauge wire on a 20-amp circuit. Likewise, the wire overheats before the 20-amp breaker trips. In contrast, the breaker is sized to the circuit rating, not to the undersized wire.
Meanwhile, the National Electrical Code is explicit on this point: NEC Article 310 requires wire to be sized for the load it carries and the breaker protecting it. Subsequently, many DIYers buy whatever wire is on the shelf without checking whether it matches the breaker amperage. For example, someone wiring a new kitchen circuit at 20 amps with leftover 14-gauge wire from a bedroom project creates a fire hazard. Eventually, the inspector may catch it immediately — or never see it at all.
Ultimately, in practice, 12-gauge wire (yellow sheathing) goes on 20-amp circuits in kitchens and bathrooms. Overall, 14-gauge wire (white sheathing) belongs on 15-amp circuits in living rooms and hallways. Also important: always check the sheathing color when extending an existing circuit. Additionally, the existing wire gauge must match any new wire added to the same run.
Mistake 2: Overloading Circuits
Moreover, overloaded circuits are the most frequent code violation in older homes. In addition, the National Fire Protection Association estimates nearly 50,000 dwelling fires every year result from electrical failure or malfunction, with overloaded circuits. Besides, insufficient outlets among the leading contributors. However, when a circuit carries more current than its rated capacity, the wires overheat, the insulation degrades, and arcing follows. On the other hand, homeowners often create this problem gradually: a space heater here. A second refrigerator there, without ever calculating the total circuit load.
Conversely, a 15-amp circuit at 120 volts supplies 1,800 watts of capacity. Because the NEC recommends using only 80 percent of rated capacity for continuous loads. Still, the safe working limit on a 15-amp circuit is 1,440 watts. Therefore, a single space heater draws 1,500 watts on its own. It exceeds the circuit limit before adding a single lamp. Therefore, high-draw appliances need dedicated circuits sized specifically for their load.
Recognizing an overloaded circuit is straightforward in the field. Dimming lights when appliances start, breakers tripping repeatedly. Outlets or cover plates warm to the touch all point to overload conditions. A burning smell at outlets signals wire insulation breaking down from sustained heat. The fix involves either redistributing loads across existing circuits or adding new dedicated circuits. Both are legitimate DIY projects when done to code with the correct permit.
Mistake 3: Skipping GFCI Protection in Required Locations
Ground fault circuit interrupters are one of the most effective safety devices in residential wiring. Failing to install them where the NEC requires represents one of the most common DIY wiring mistakes. Electrical code violations inspectors find. The NEC 2023 edition requires GFCI protection in bathrooms, kitchens (ALL receptacles. Not only countertop receptacles), garages, outdoors, unfinished basements, crawl spaces, and laundry rooms. The U.S. Consumer Product Safety Commission reports electrical receptacles are involved in 5,300 fires every year. A significant portion of those involve locations where GFCI protection was absent or bypassed.
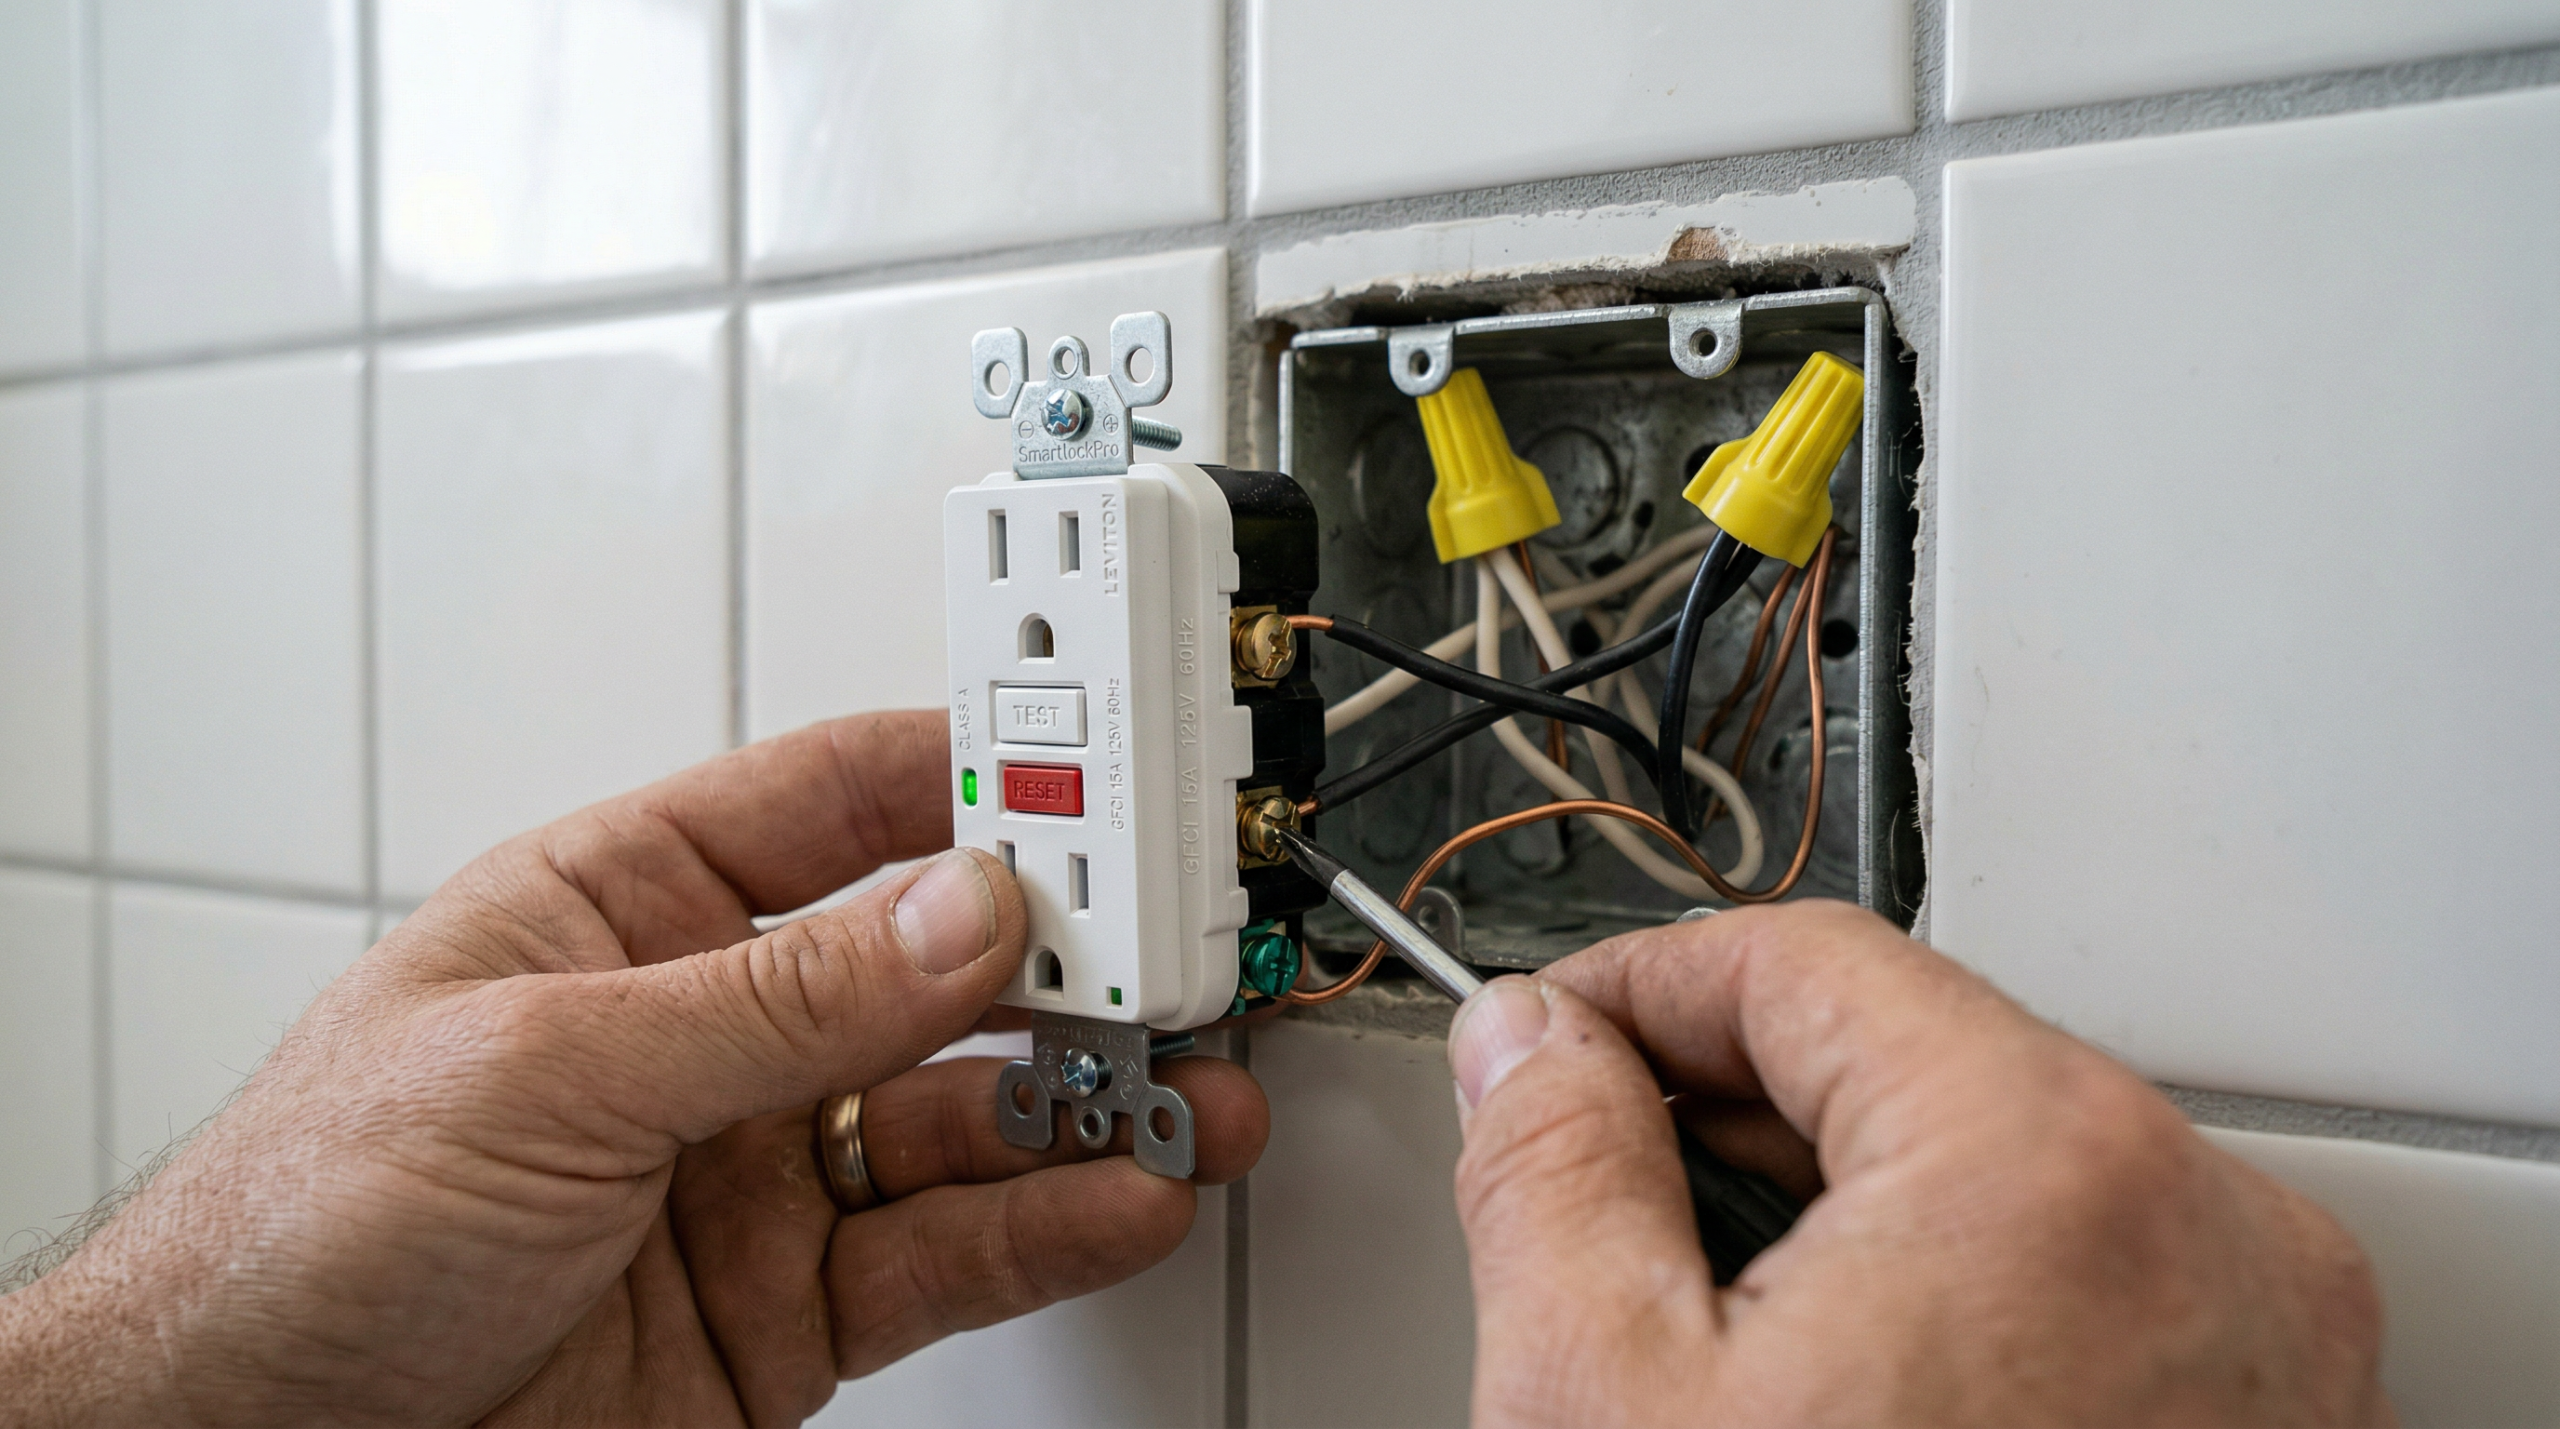
A GFCI outlet detects a current difference as small as 4 to 6 milliamps between the hot and neutral conductors. It trips in 25 milliseconds at higher fault currents (above 15 mA), fast enough to prevent fatal electrocution. Many DIYers install standard outlets in these locations because they are less expensive — roughly $3–$5 versus $12–$40 for a GFCI outlet — or because they are simply unaware of the requirement.
One nuance worth knowing: a single GFCI outlet wired correctly as the first receptacle in a circuit provides protection for all downstream outlets on the same circuit. You do not need a GFCI outlet at every location. You need one correctly wired GFCI at the start of the circuit. With all subsequent outlets connected through the LOAD terminals. The LINE terminals receive the incoming feed. The LOAD terminals carry the protected circuit forward.
Mistake 4: Making Loose or Improper Wire Connections
Loose wire connections cause more arcing faults than any other single wiring defect. According to the Electrical Safety Foundation International. Arcing faults start more than 28,000 home fires each year, causing over $700 million in property damage. A loose connection increases electrical resistance at the joint. Higher resistance generates heat, sometimes enough to ignite nearby materials inside the wall cavity.
Two specific techniques lead to the majority of loose connections in DIY work. First, backstab connections — where you push wire into a spring-loaded hole on the back of an outlet or switch rather than wrapping it around a screw terminal — are notoriously unreliable. The spring tension weakens over time, and the connection loosens. Second, using wire nuts incorrectly by not twisting conductors together first leaves insufficient contact surface area. After twisting the conductors clockwise with lineman’s pliers, the wire nut should seat with firm resistance. Hold without unwinding when you tug on the individual wires.
For screw terminals, form a clockwise hook on the wire using needle-nose pliers. Loop it around the screw shank under the screw head, and tighten until snug. The clockwise orientation matters because tightening the screw draws the hook tighter rather than pushing it off. Some manufacturers specify torque values in inch-pounds on the device itself. Following those specifications eliminates guesswork.
Mistake 5: Splicing Wire Outside a Junction Box
Burying wire splices inside a wall without an accessible junction box violates NEC Article 314.29. This requires all electrical connections to remain accessible after installation. Despite this clear requirement, hidden splices wrapped in electrical tape remain one of the most common DIY electrical mistakes discovered during home inspections and renovation projects. Tape degrades over time and connections loosen. The resulting arcing has nowhere to go except into the surrounding framing.
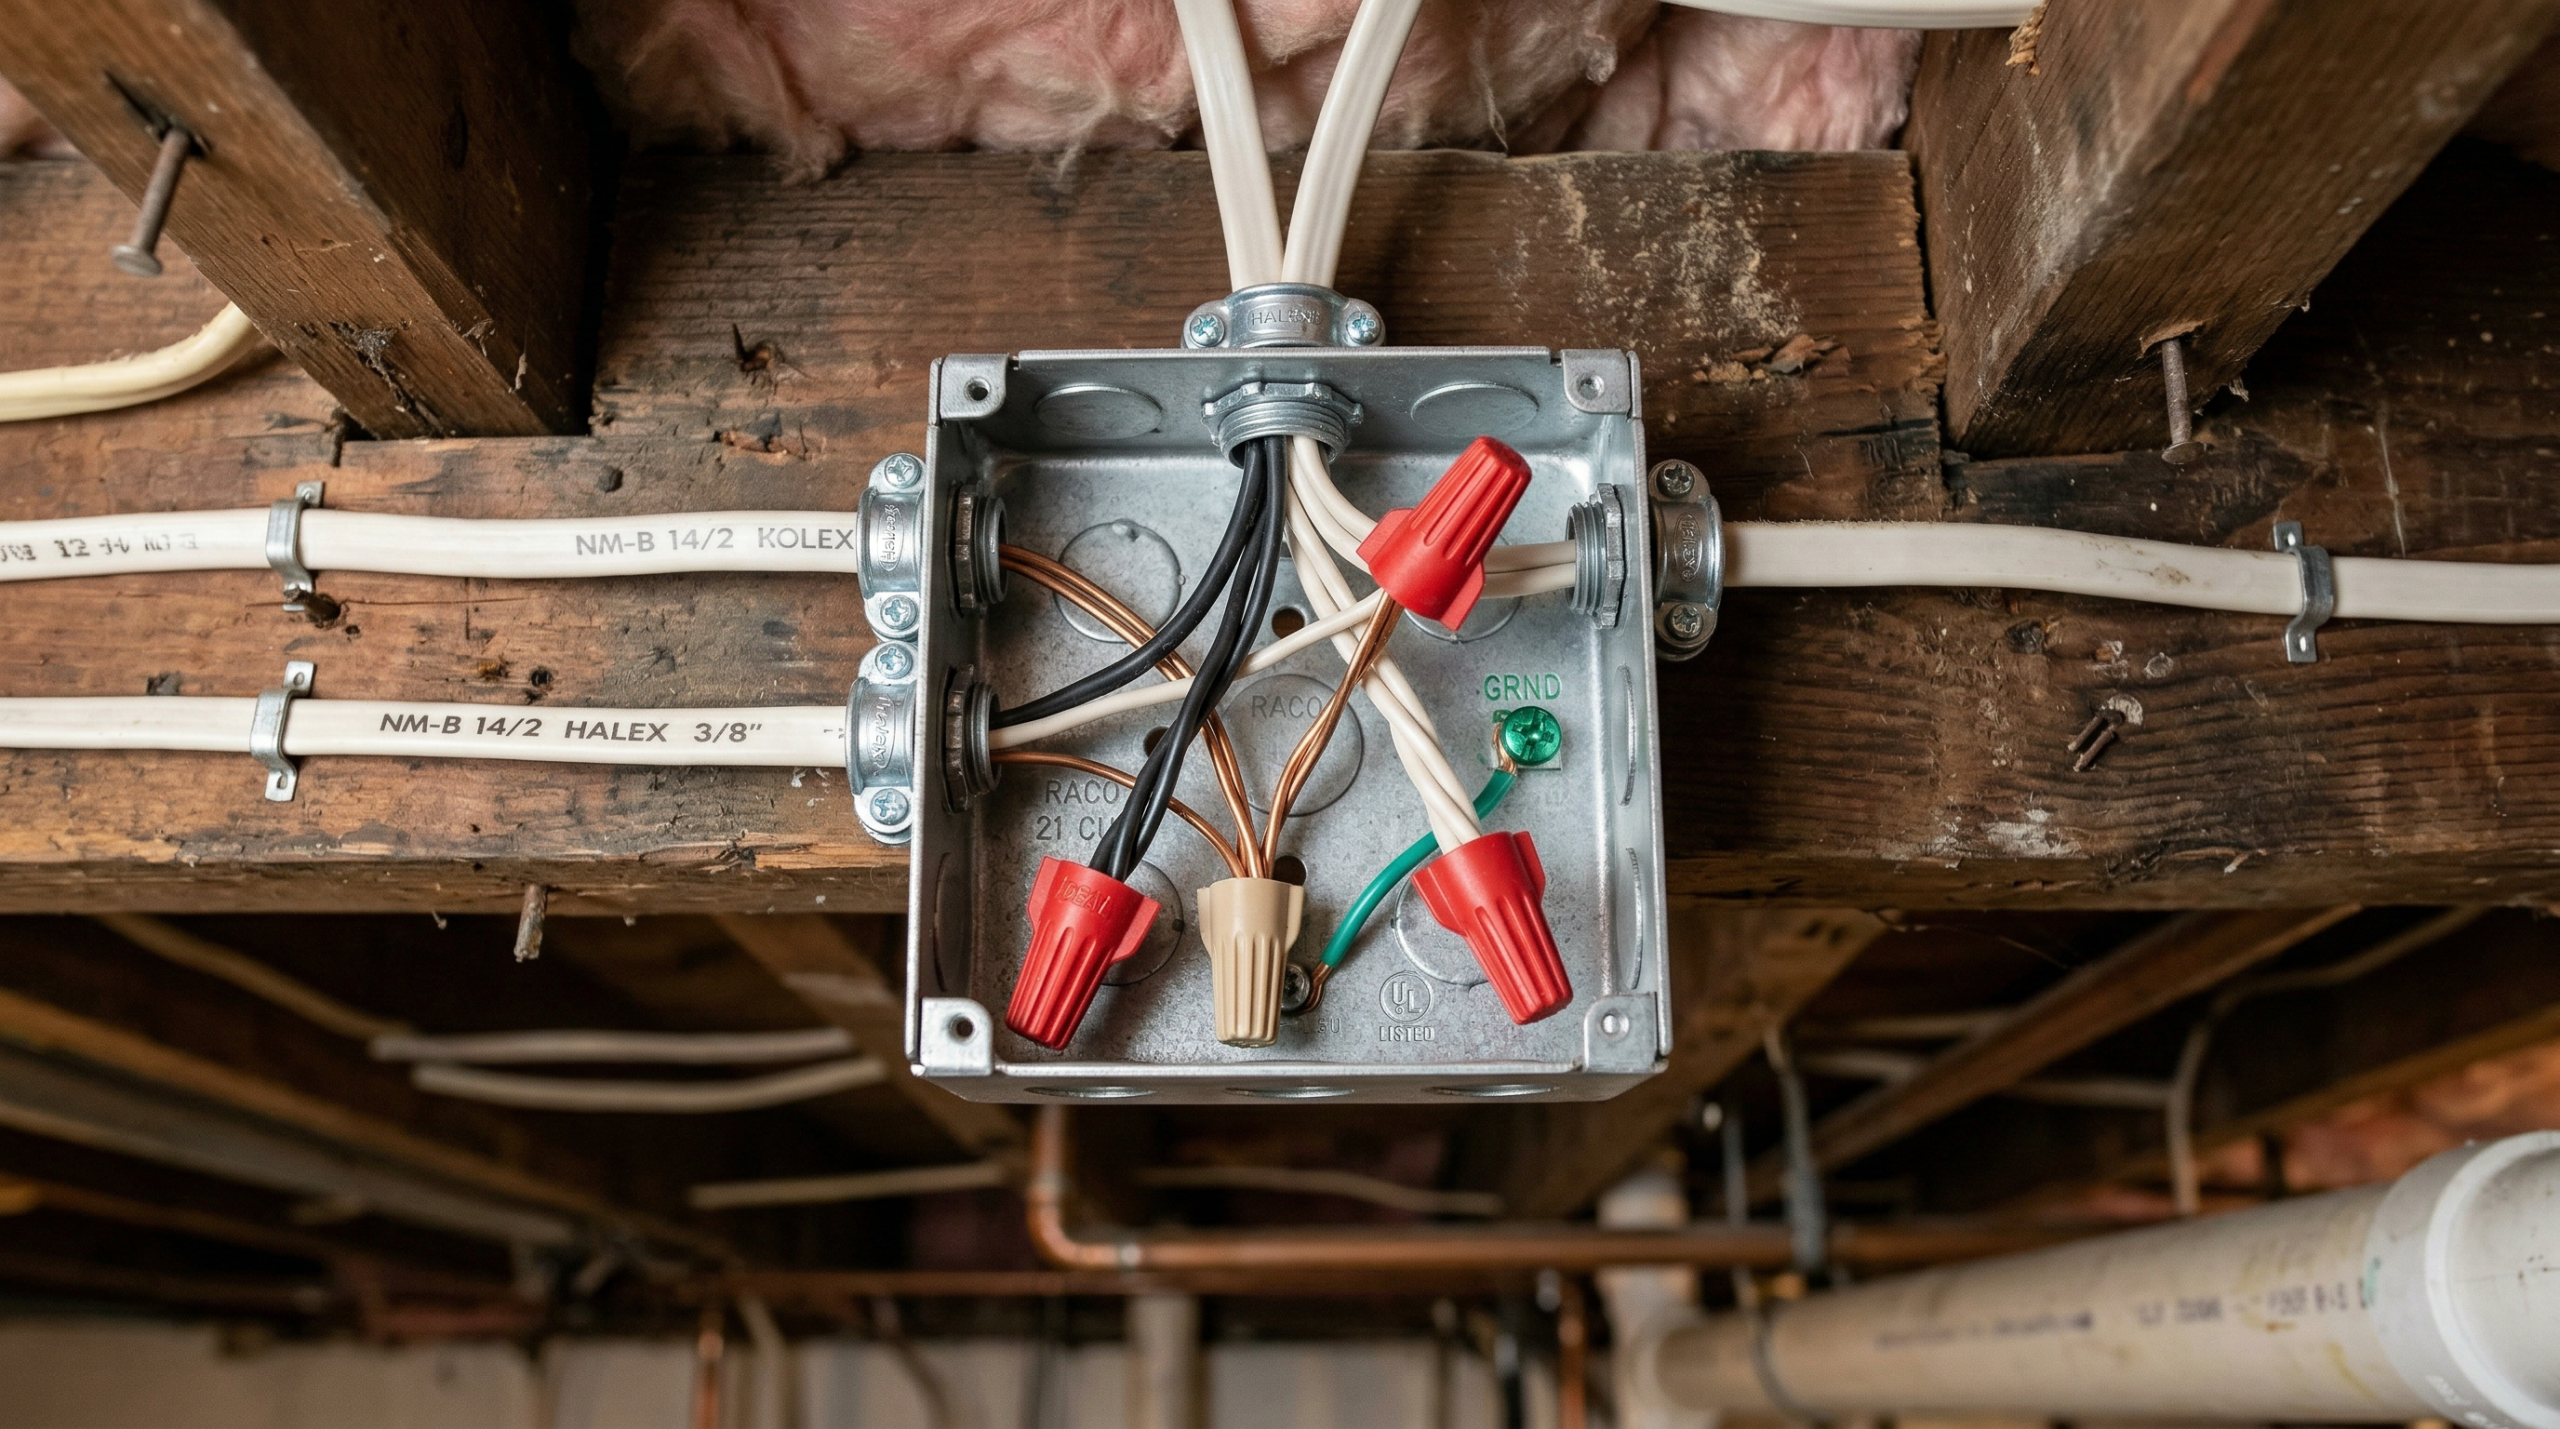
The code requirement exists for a practical reason: connections need to be inspectable and repairable. A junction box protects the splice from physical damage, contains any arcing within a metal or rated plastic enclosure. Allows future access without demolishing walls. In new construction or renovation work, a plastic old-work box costs under $2. Installs in minutes using the built-in tabs. For work inside existing walls, old-work boxes attach through the drywall opening without requiring stud access.
Similarly, all junction boxes must have covers installed after wiring is complete. An open junction box, even one correctly installed, violates code and leaves the connections exposed. Because inspectors look specifically for open boxes. Buried splices, correcting this issue before calling for inspection saves significant time and rework.
Mistake 6: Installing an Oversized or Mismatched Breaker
Replacing a repeatedly tripping 15-amp breaker with a 20-amp breaker to stop the nuisance tripping is a dangerous shortcut. Breakers trip for a reason: the circuit is drawing more current than the wire is rated to carry. Upgrading the breaker without upgrading the wire allows more current to flow through undersized conductors. This generates heat inside the wall without ever tripping the breaker. The NEC classifies this as a direct code violation — a fire hazard the breaker was specifically designed to prevent.
Brand compatibility matters too. Breaker panels use proprietary bus bar connections and mounting systems. Installing an off-brand breaker in a panel it was not designed for creates a loose mechanical fit. Generating heat at the connection point. Only use breakers the panel manufacturer lists as compatible, and verify compatibility before purchase. The label inside the panel door typically lists approved breaker types.
Double-tapping is a related problem: connecting two wires under a single breaker terminal. Most breaker terminals are designed for one conductor only. Double-tapping creates a loose connection at the second wire even if the first wire is tight. The fix is to install a tandem breaker (which accepts two circuits in one slot) or to add a separate circuit — never to force two wires under one terminal screw.
Mistake 7: Skipping the Electrical Permit
Skipping an electrical permit is the mistake with the longest-lasting consequences, because it follows the property indefinitely. According to permit requirements in jurisdictions across the U.S.. Unpermitted electrical work surfaces during home sales, refinancing inspections, and insurance claims. In many jurisdictions, fixing unpermitted work costs thousands of dollars when walls need to be opened to verify compliance. Many homeowner’s insurance policies scrutinize or deny fire damage claims when unpermitted DIY wiring is determined to be the cause.
Many DIYers skip permits to avoid cost and inspection scrutiny. However, permit fees for residential electrical work typically run $75 to $300 depending on the scope. The inspection itself costs $100 to $125. According to Angi’s 2026 electrician cost data. For most homeowners, those fees are trivial compared to the risk of an insurance denial or a failed real estate transaction.
The inspection process also serves as a free quality check. After years of doing my own electrical work on timber frame homes. I came to appreciate inspectors as a second set of trained eyes on code compliance. An inspector who flags a grounding issue or a box fill violation is saving you from a hazard inside your wall, not checking a bureaucratic box. Because permits require inspections at specific stages, you get verification before the walls close and the work disappears from view.
DIY vs. Hiring an Electrician: Where to Draw the Line
Not every electrical project falls into the same risk category. Knowing where DIY is appropriate versus where professional help is worth every dollar matters before starting any job. Replacing a light switch, adding an outlet on an existing circuit. Installing a ceiling fan on an existing wiring run are tasks well within the capability of a careful DIYer who pulls a permit and understands basic wiring principles. In contrast, panel upgrades, new circuit runs requiring conduit, service entrance work. Any project involving aluminum wiring require a licensed electrician.
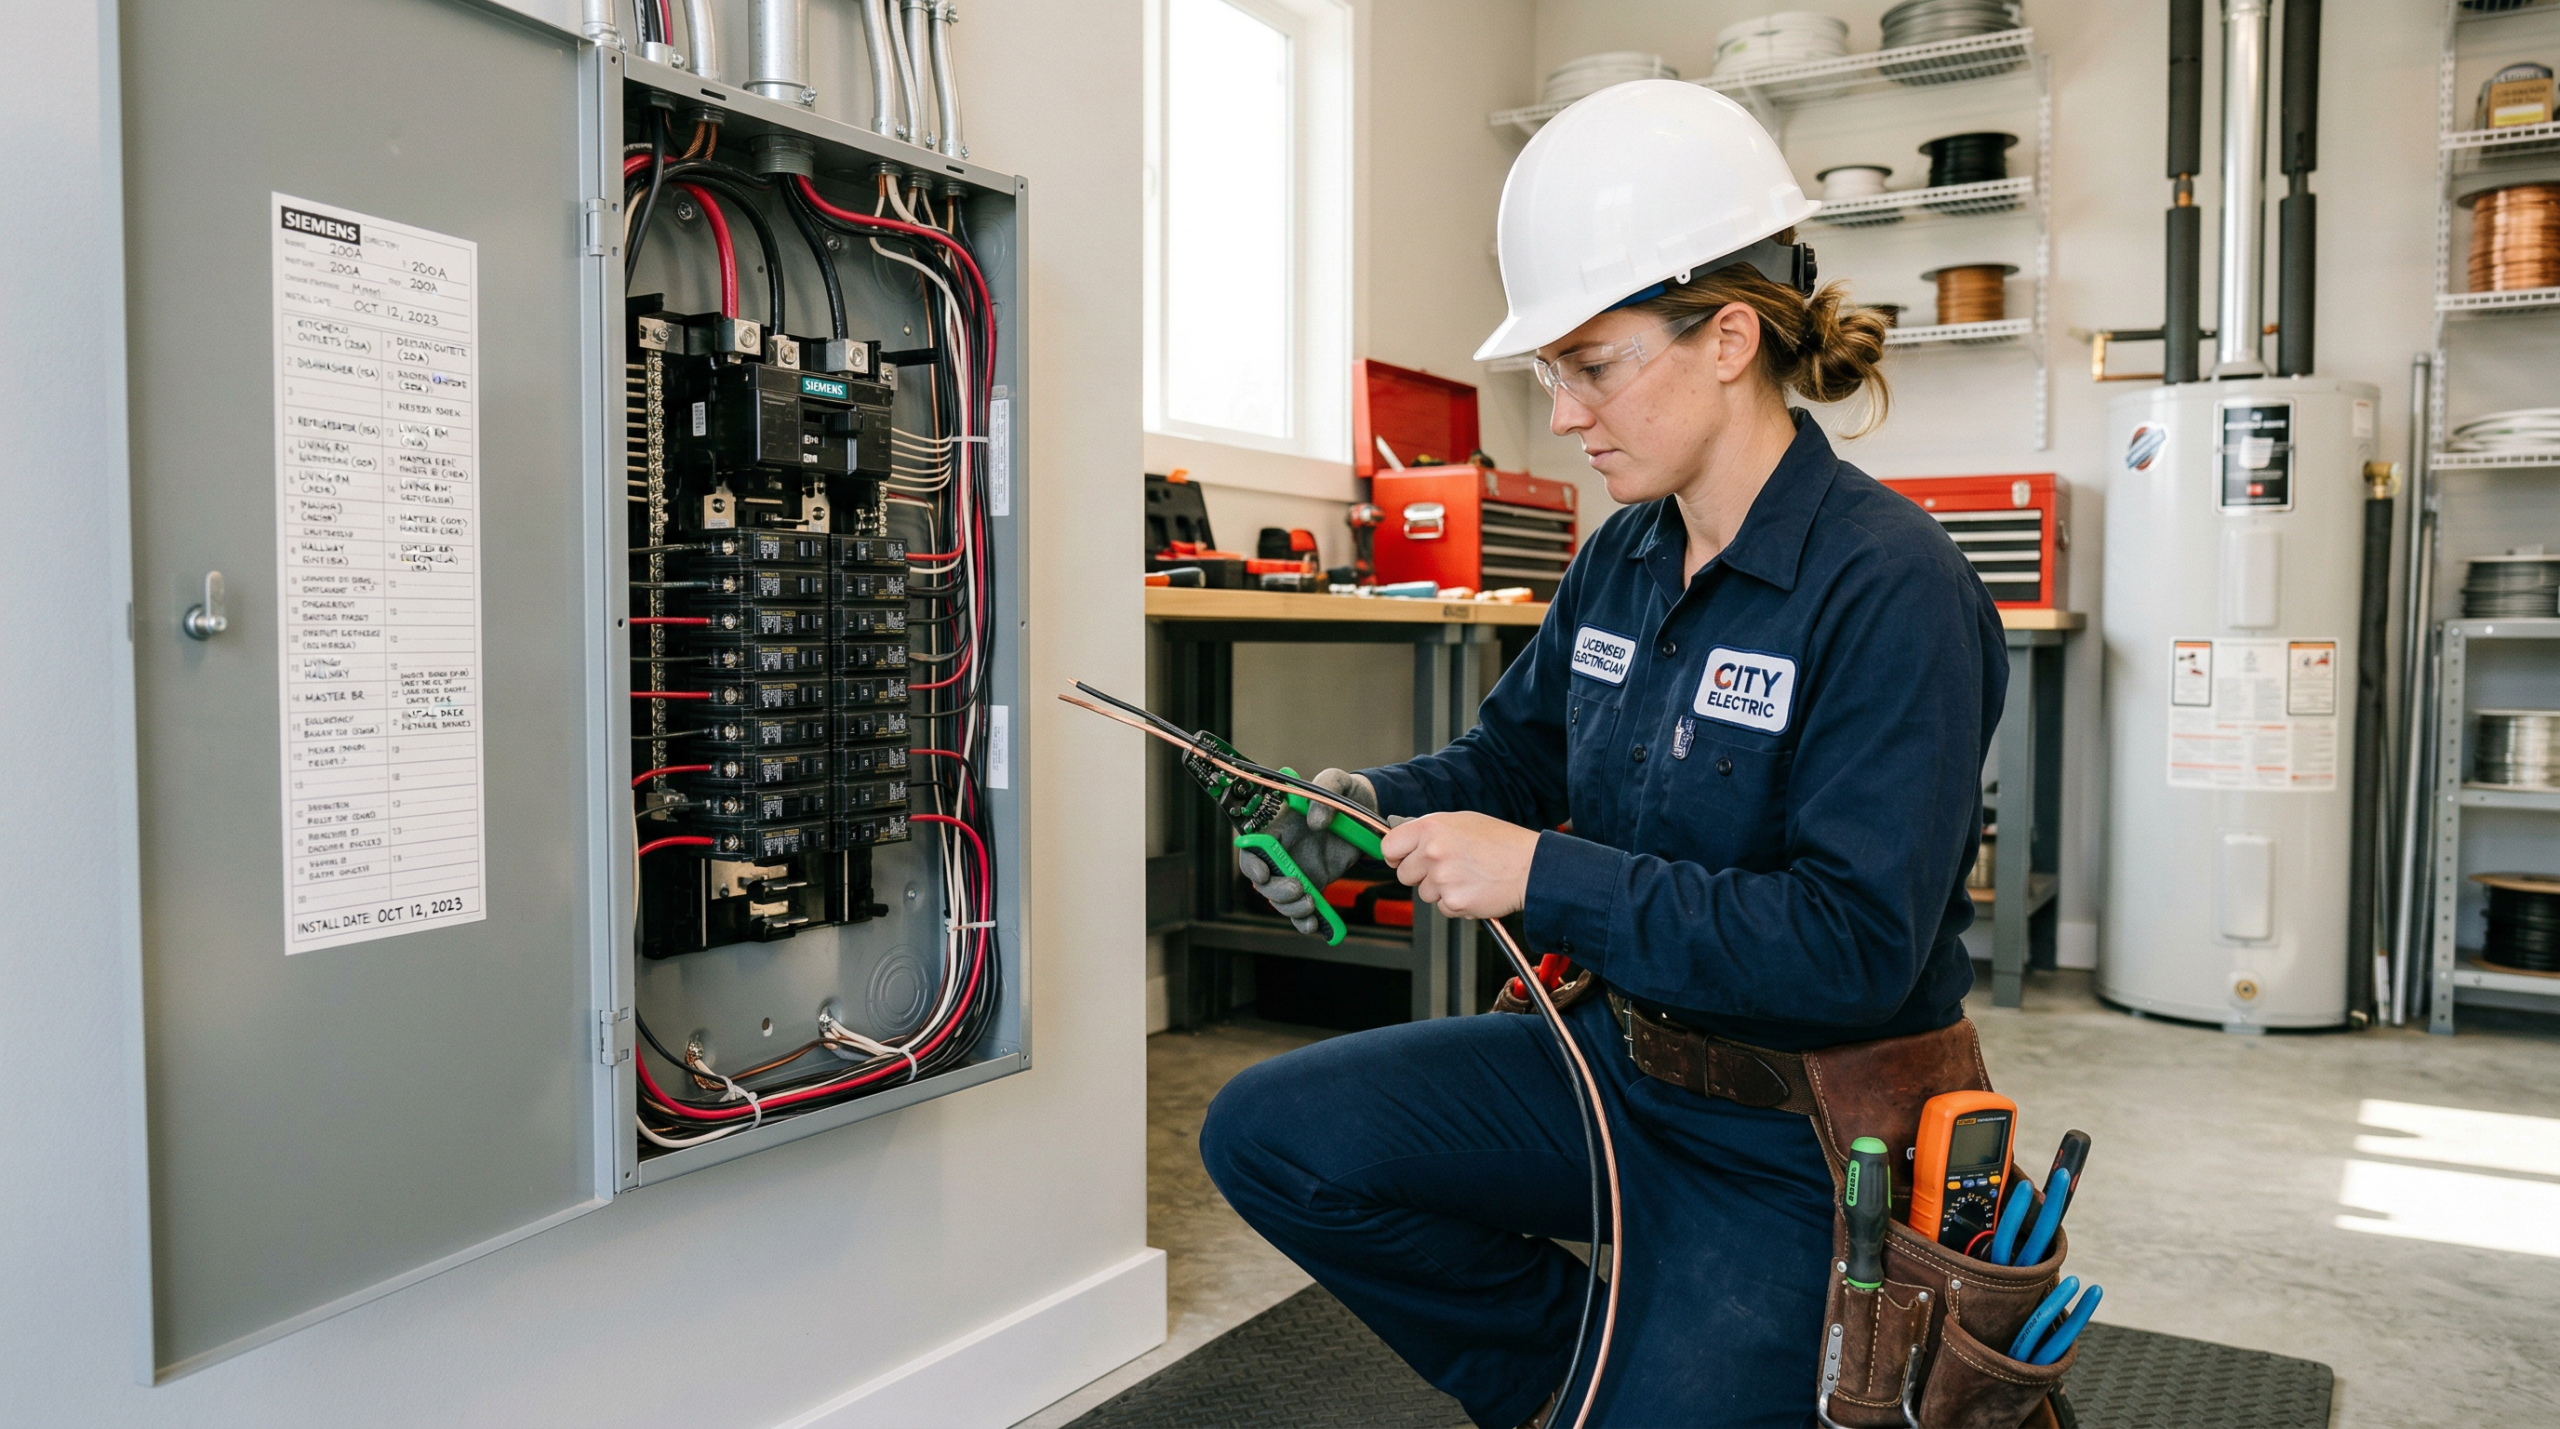
Cost is the most common reason homeowners attempt electrical work themselves. The average electrician charges $50 to $100 per hour. A minor job runs $150 to $600 total. According to Angi’s 2026 data. However, DIY electrical work carries hidden costs. The time investment for someone unfamiliar with the code is substantially longer than a professional’s. A single mistake requiring a return inspection or a wall demolition exceeds the original labor cost many times over.
For a DIYer with genuine hands-on experience, the sweet spot is circuit-level work: adding outlets, running new branch circuits in unfinished spaces. Installing code-required devices like GFCI and AFCI outlets. Always pull the permit, work from approved plans, and pass inspection before closing walls. Projects involving the main service panel, underground feeders. Or anything connected to the utility’s meter are best left to licensed professionals regardless of experience level.
Final Thoughts on Avoiding Common DIY Electrical Mistakes
The common DIY electrical mistakes covered in this guide include wrong wire gauge, overloaded circuits. Missing GFCI protection, loose connections, buried splices, and oversized breakers. Each one is preventable through basic code knowledge and a willingness to do the work right rather than fast. Electrical fires kill nearly 500 people per year in the U.S. and cause $1.3 billion in property damage. The vast majority trace back to exactly these types of errors.
For the DIYer serious about getting this right, the investment in the current NEC codebook (available from the NFPA for around $90–$170 depending on the edition. Seller) pays for itself on a single project by eliminating guesswork about wire sizing, box fill, and device requirements. Alternatively, your local building department will answer specific permit and code questions at no charge. Inspectors want compliant work as much as you do.
The projects where I’ve felt most satisfied over 30-plus years of home improvement work are the ones where I knew the work was right before the inspector showed up. With electrical work specifically, getting it right the first time means a finished wall you never have to open again. Every wire connection and every device choice sits inside the wall for decades. The few extra minutes to use the correct gauge, install a GFCI. Pull a permit are the cheapest insurance you’ll ever buy.
For further reading, the articles on how to wire a GFCI outlet. understanding your home electrical panel walk through the hands-on steps for two of the most common DIY electrical projects, both with permit guidance included.
Frequently Asked Questions
What are the most dangerous common DIY electrical mistakes?
Using undersized wire for a circuit’s amperage rating is the most dangerous single mistake. The wire overheats before the breaker trips. Buried wire splices without a junction box rank close behind. They create concealed arcing faults, which start wall fires. Both violations are common in older DIY work. Are the reason home inspectors specifically look for them during real estate transactions.
Do homeowners need a permit for DIY electrical work?
Most electrical work beyond simple device replacements requires a permit in virtually every U.S. jurisdiction. Adding circuits, installing a subpanel, running new wiring, and adding outlets all typically require permits and inspections. Minor repairs like replacing an existing outlet, switch. Or light fixture in the same location generally do not require a permit, though rules vary by municipality. Always check with your local building department before starting any project beyond a direct swap.
How do I know if I’m using the wrong wire gauge?
Check the sheathing color on non-metallic (NM) cable: white sheathing indicates 14-gauge wire rated for 15-amp circuits. Yellow sheathing indicates 12-gauge rated for 20 amps. Orange sheathing indicates 10-gauge for 30-amp circuits. The gauge is also printed on the sheathing in text. Compare the wire gauge to the breaker amperage in the panel. A 20-amp breaker requires 12-gauge wire minimum throughout the entire circuit run.
Where are GFCI outlets required by the NEC?
The 2023 NEC requires GFCI protection in kitchens (ALL receptacles throughout the kitchen, per NEC 2023 Section 210.8(A)(6)). Bathrooms, garages, outdoors, unfinished basements, crawl spaces, laundry rooms, and boathouses. NEC requirements have expanded with each edition, so homes wired to older code versions need upgrades when circuits are modified. One correctly installed GFCI outlet at the start of a circuit protects all downstream receptacles on the same circuit when wired through the LOAD terminals.
What happens if I hire someone unlicensed for electrical work?
Unlicensed electrical work creates serious liability for the homeowner. If the work causes a fire or injury, your homeowner’s insurance will likely deny the claim. You face personal liability for any resulting damage. Additionally, unpermitted work by unlicensed contractors discloses during home sales as a material defect. Correction before closing, often at significant cost. Most states require disclosure of known unpermitted work when selling a property.
Do overloaded circuits cause fires even when the breaker never trips?
Yes. A breaker trips when current exceeds its rated amperage. Gradual heat buildup from sustained near-capacity loads degrades wire insulation over months without ever tripping the breaker. Also, a breaker rated for 20 amps on a circuit with 14-gauge wire won’t trip until current exceeds 20 amps. Even though the wire handles only 15 amps safely. The wire overheats and the insulation fails while the breaker stays on. This mismatch is exactly why wire gauge and breaker size must match.


Leave a Reply