Quick Verdict: Learning how to remove wallpaper yourself saves 60 to 80 percent versus hiring a pro, according to 2024 RISMedia cost data. A standard room runs $45 to $90 in DIY supplies compared to $423 to $1,193 for professional removal per 2026 HomeGuide estimates. The biggest risk is wall damage from over-soaking, so patience beats power every time.
Last updated: April 2026 | 10 min read
In This Guide
Why Removing Wallpaper Looks Harder Than It Is
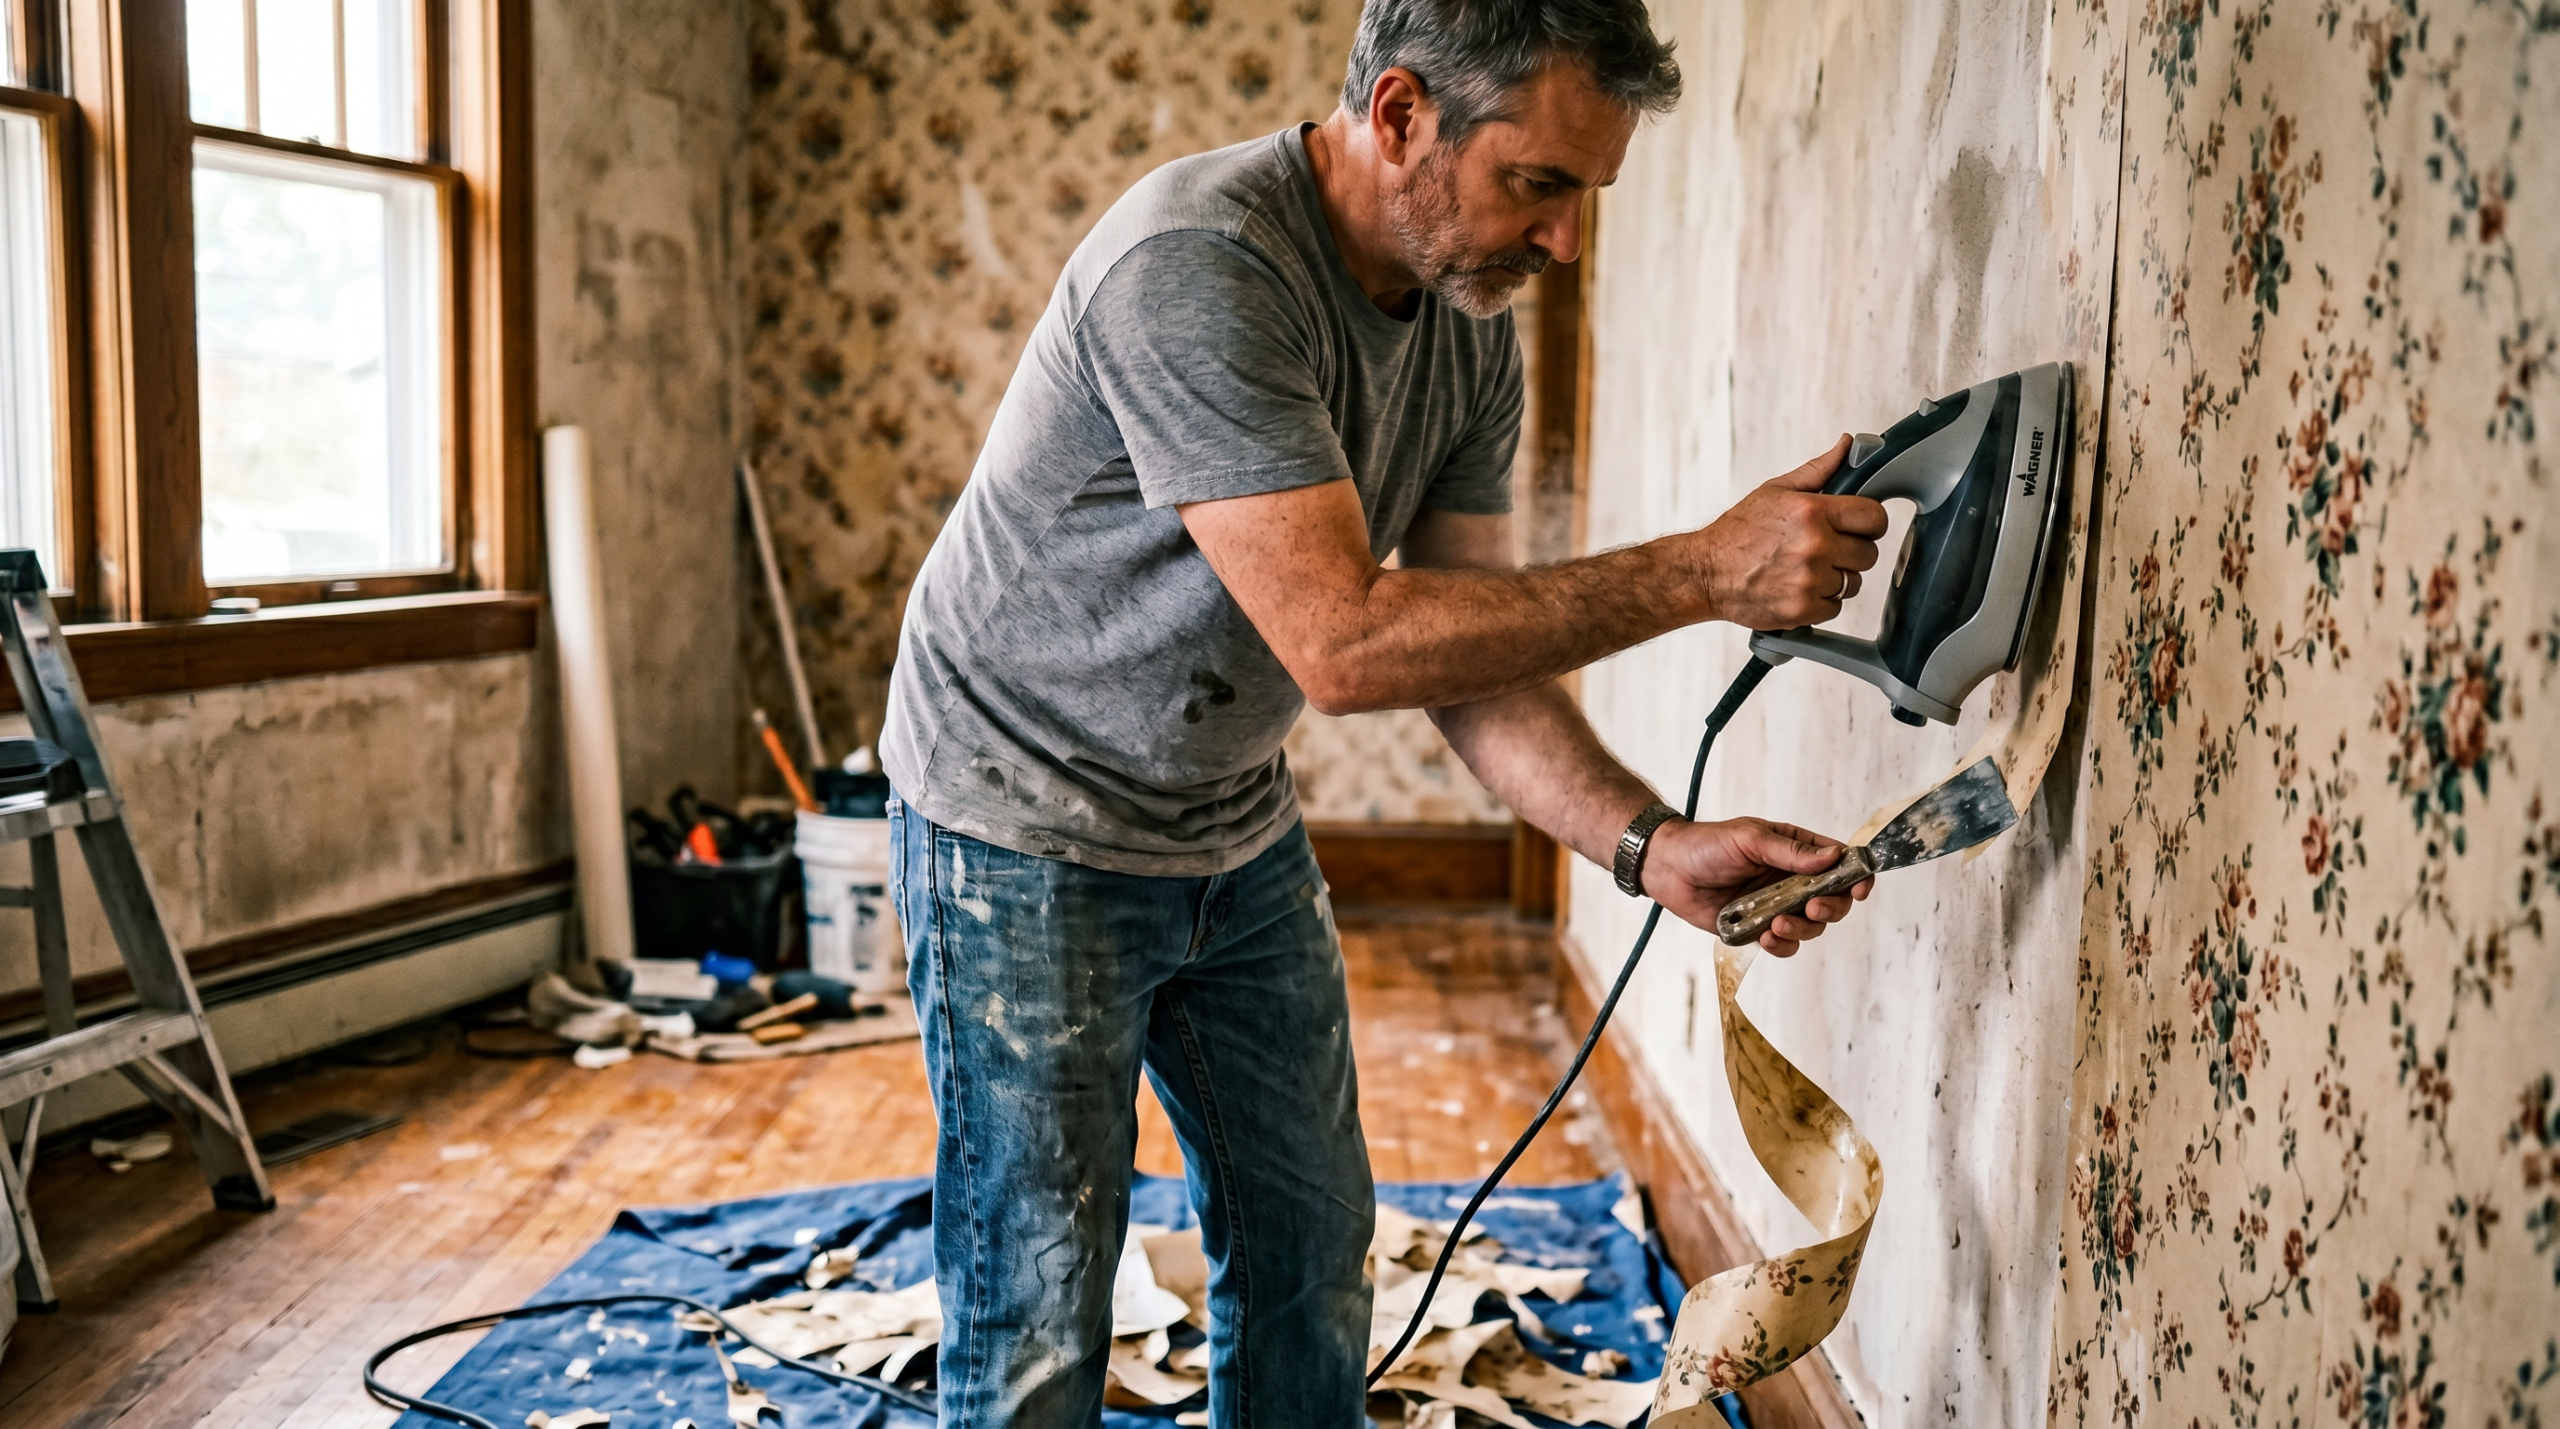
I have spent 7 years in the construction trades, from framing and remodeling electrical work to custom timber frame builds. In all those years, the single task homeowners dread the most is how to remove wallpaper. However, once you understand the chemistry behind it, the fear drops away fast. Wallpaper sticks to your walls through water-soluble paste. Break the bond with moisture or a solvent, and the paper peels off.
First, this guide walks you through every method a pro uses, ranked by speed and wall safety. Next, you will learn how to read your wall type before you start, because plaster and drywall demand different techniques. Finally, you will see the exact two product categories I stock in my own shop for stripping walls, along with the pros and cons of each path.
This article is written for the homeowner tackling a single room or a full house project. Whether you bought a fixer in the foothills and need to remove old wallpaper from 1972 or you inherited a kitchen backsplash no longer matching your taste, the same fundamentals apply. Consequently, you will save hundreds of dollars by learning how to remove wallpaper yourself and pick up a skill paying dividends on every future home you own.
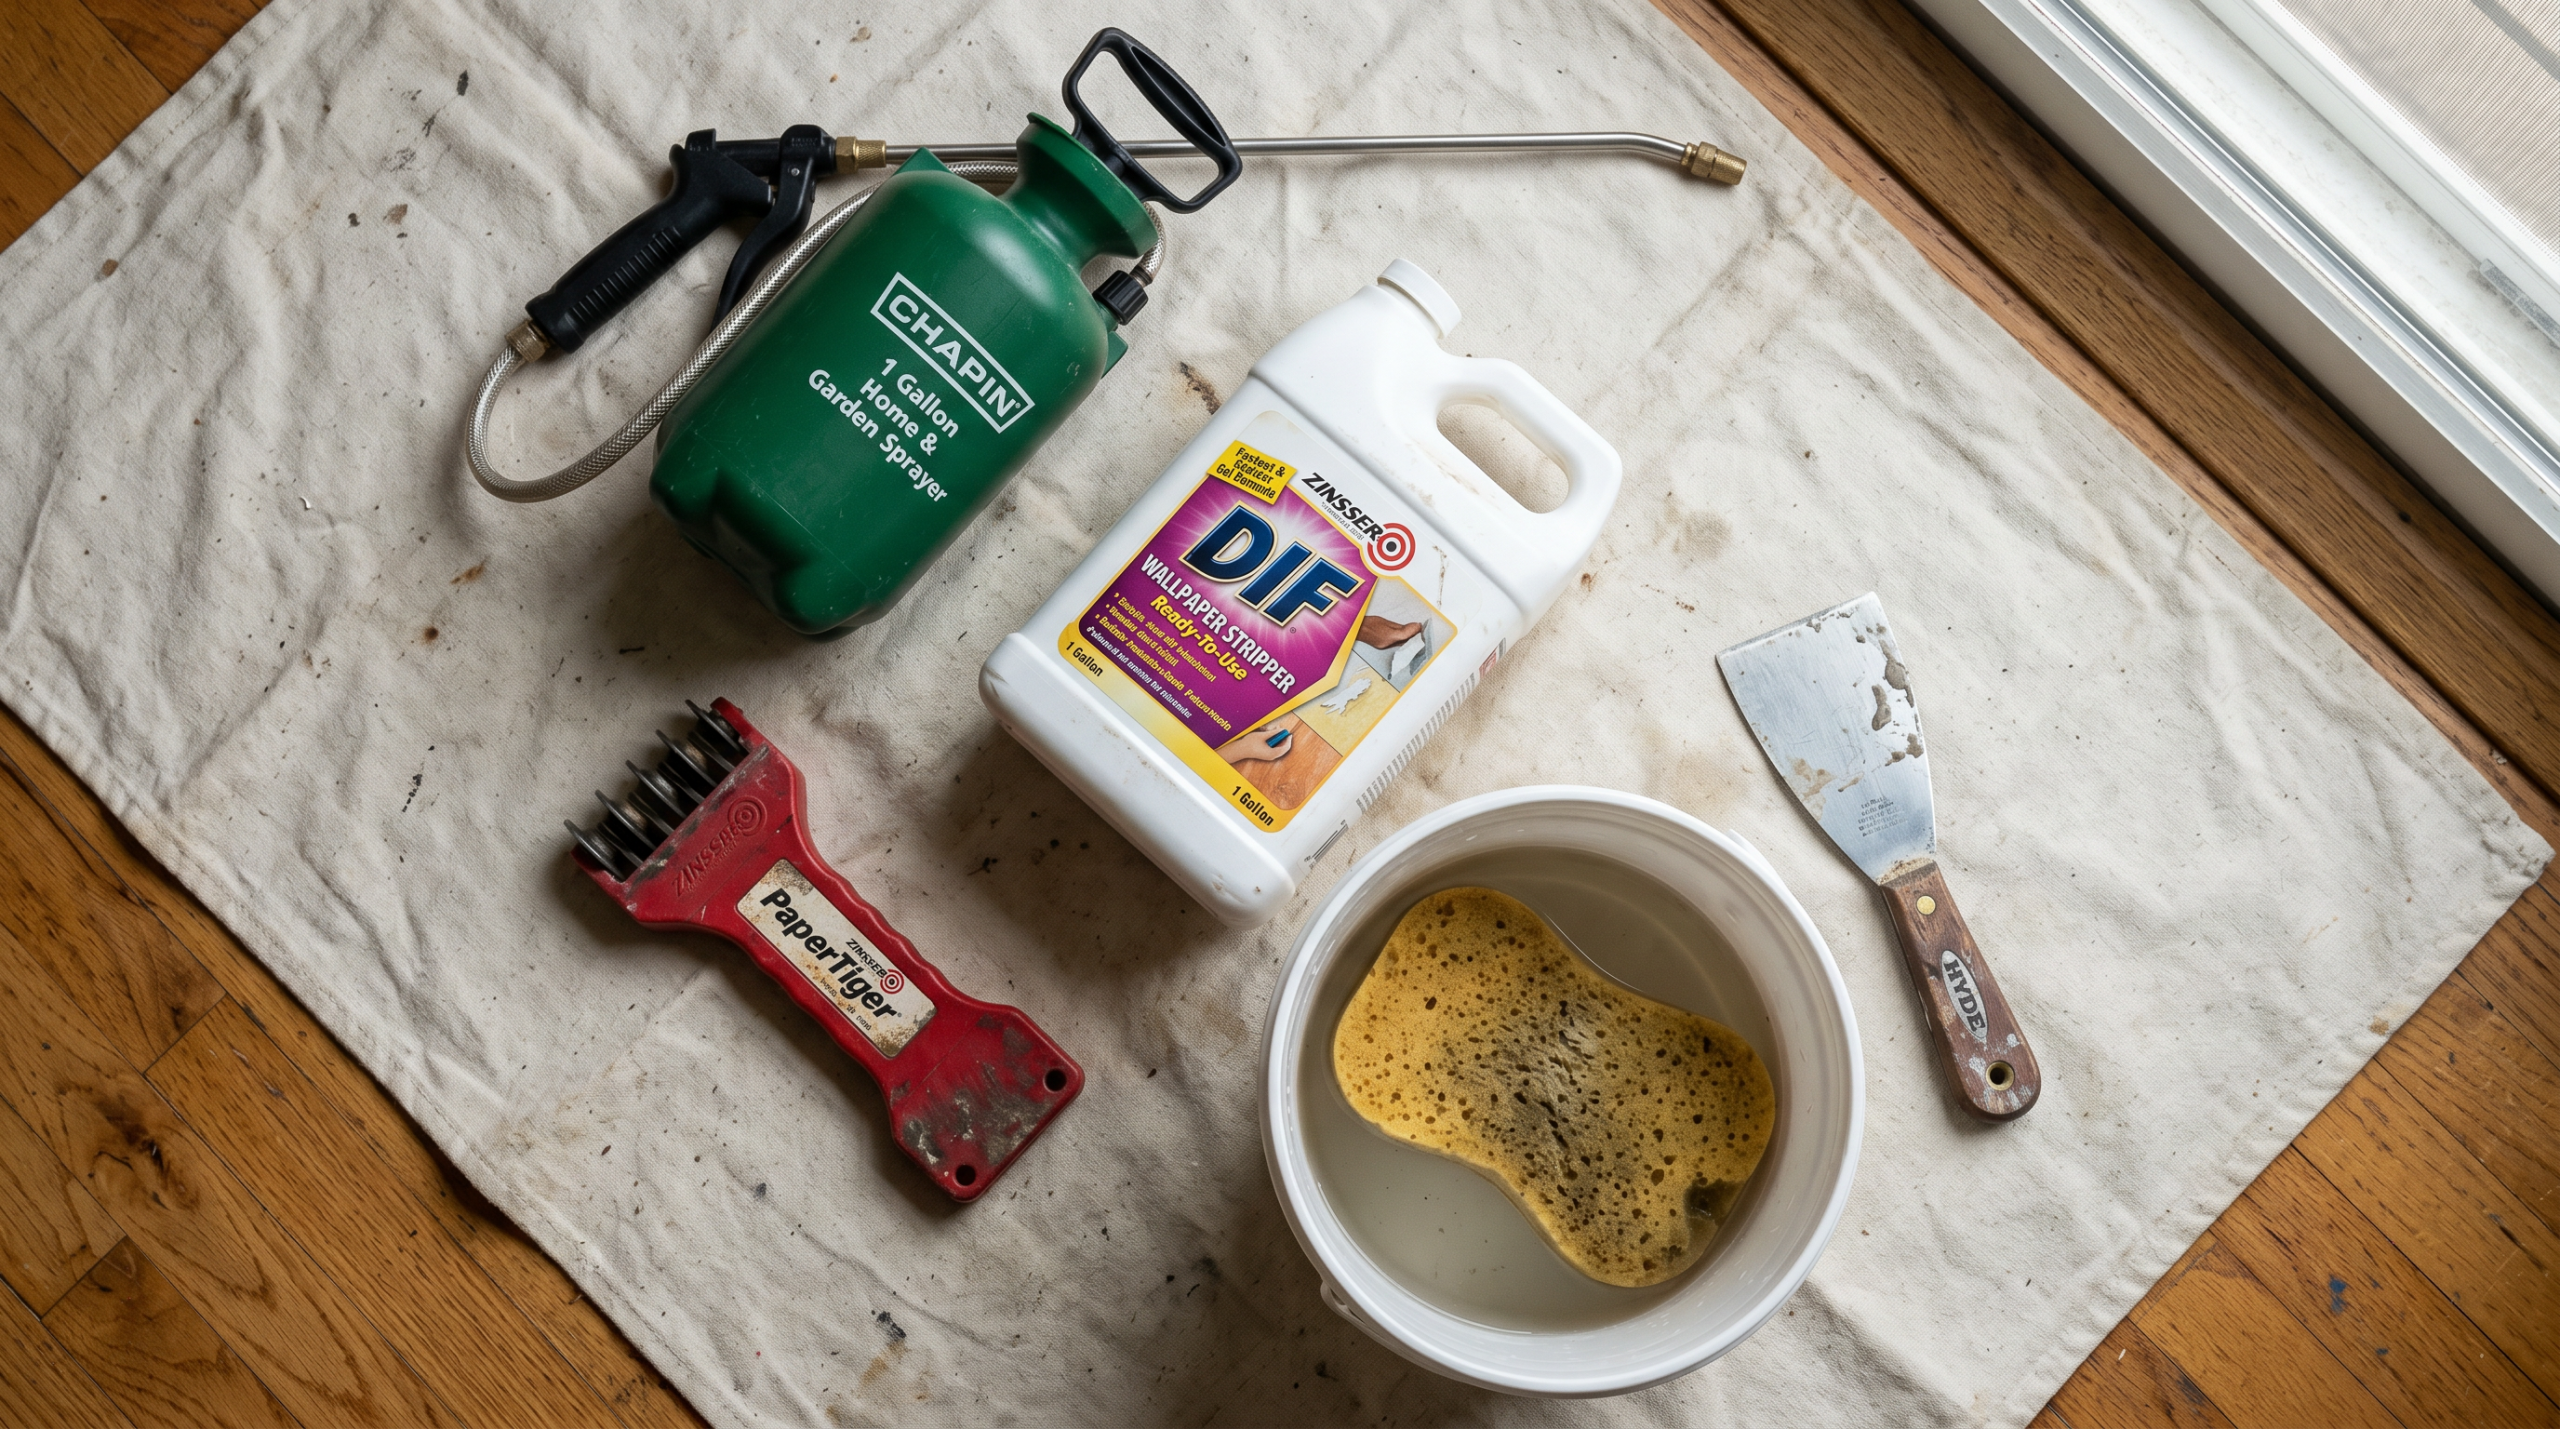
Tools and Supplies at a Glance
Before you pull one strip, gather everything. Because stripping walls is a wet process, stopping mid-job to run to the store means sheets drying back onto the wall and restarting the softening cycle. Below is the complete supply list for a single room.
| Supply | Purpose | Typical Cost |
|---|---|---|
| Wallpaper steamer | Softens paste with steam | $50 to $80 (buy) or $30 to $40/day (rent) |
| Scoring tool (PaperTiger) | Perforates vinyl or painted paper | $12 to $18 |
| Chemical stripper (DIF or Piranha) | Dissolves stubborn paste | $15 to $25 per gallon |
| Putty knife (3 to 6 inch) | Lifts loosened paper without gouging | $8 to $15 |
| Drop cloths or plastic sheeting | Protect floors from paste drips | $10 to $20 |
| Painters tape and plastic | Seal outlets from moisture | $6 to $10 |
| Garden sprayer | Applies hot water and stripper evenly | $12 to $20 |
| Sponges and buckets | Final paste cleanup | $5 to $10 |
Total supply cost lands between $45 and $90 for a DIY job, matching the HomeGuide 2026 estimates. If you rent the steamer instead of buying, plan the job as a single weekend so you are not paying daily fees across weeks.
Recommended on Amazon
Wagner Spraytech Power Steamer
The workhorse every DIYer swears by. Heats in under 10 minutes, delivers continuous steam for up to 2 hours on a full tank, and costs less than renting one for a weekend.
Identify Your Wall Type First
The biggest mistake I see homeowners make: they start pulling paper before checking whether they have drywall or plaster behind it. These two surfaces respond quite differently to moisture, and the method you choose shifts dramatically based on the answer.
The fastest test is the pushpin test. Try to push a thumbtack into your wall. If the pin slides in with light pressure, you have drywall. When the pin refuses to penetrate, you have plaster. According to Angi, homes built before 1950 almost always have plaster, homes from 1950 to 1969 might have either, and homes built after 1970 almost always have drywall.
Drywall is gypsum core wrapped in paper. When you over-soak drywall, the paper face delaminates and you create a repair job bigger than the wallpaper job. On the other hand, plaster is denser and handles moisture well, but the underlying lath and plaster is brittle. Aggressive scraping on plaster cracks the surface.
Both surfaces benefit from a patient, low-moisture approach. However, if you have drywall, you must be especially disciplined about not letting water sit for more than a few minutes at a time. My rule of thumb: if the drywall starts to feel spongy under your putty knife, stop, dry the section with a towel, and let the wall rest 10 to 15 minutes before continuing.
How to Remove Wallpaper Step by Step
Knowing how to remove wallpaper follows the same core sequence regardless of whether you choose steam or chemicals. Here is the exact process I have used on every kitchen and bathroom remodel in my 7 years of construction experience.
Step 1: Prep the Room
First, remove all outlet and switch plates. Next, tape plastic sheeting over every receptacle and switch box to keep moisture out of the electrical. Then lay drop cloths along every wall base. Finally, shut off the breaker to the room to eliminate any shock risk while water is in play.
Step 2: Peel the Top Layer
Start in a corner or seam. Lift a corner of the paper with your putty knife and pull slowly at a 30 to 45 degree angle. Modern wallpaper often has two layers: a vinyl decorative face and a paper backing. If you are lucky, the vinyl face peels away in large sheets, leaving only the paper backing glued to the wall. In my experience across a dozen wallpaper jobs, this dry peel works cleanly on roughly 40 percent of modern wallpapers.
Step 3: Score the Backing
For any paper backing left on the wall, run a scoring tool like the PaperTiger in overlapping circular motions. Scoring creates thousands of tiny perforations letting moisture reach the paste underneath. Do not press hard. You want to cut the paper, not gouge the wall beneath it.
Step 4: Apply Moisture
This is where you pick your path. For the steamer route, hold the plate flat against the wall for 8 to 10 seconds per section, working in roughly 12 inch squares. Going with a chemical stripper instead? Mix DIF gel or Piranha according to the label (typically 1 part concentrate to 2 parts hot water), load it into a garden sprayer or roller, and saturate the wall. Then wait 5 to 15 minutes for the solvent to penetrate.
Step 5: Scrape Gently
Work from the bottom up with a 4 to 6 inch putty knife held at a shallow angle. The paper should lift in strips. If it fights you, it needs more steam or stripper, not more force. Consequently, the single biggest cause of wall damage is impatient scraping on paper not yet softened enough.
Step 6: Wash Down the Paste Residue
Once all the paper is off, the wall still has a thin film of paste. Mix warm water with a splash of vinegar or a mild dish soap, sponge down the walls in sections, and dry with clean towels. If you skip this step, your primer and paint will never adhere correctly. Once the wall is dry, a light pass with 150-grit sandpaper smooths any raised fibers before priming; our sandpaper grit chart covers the full selection process.

Recommended on Amazon
DIF Wallpaper Remover Gel + PaperTiger Scoring Combo
The no-steamer path. DIF gel clings to vertical walls without running, and the PaperTiger scoring tool creates the perforations the gel needs to reach the paste. Together, roughly $35 and the pairing pros have relied on for decades.
When the Paper Refuses to Budge
Sometimes you do everything right and the paper still fights you. In older homes, especially pre 1980 construction, the original installer often skipped primer before hanging the paper. Consequently, the paste bonded directly to raw drywall or plaster, and the effort to remove old wallpaper turns brutal. The wallpaper glue itself has often hardened into a thin amber crust.
When I hit a stubborn section, I stack methods instead of swinging harder. First, I steam the section for 15 to 20 seconds instead of the usual 10. Then I follow with a roller of DIF gel and let it sit 20 minutes. Afterward, I steam again briefly to reheat the softened paste. This combined approach loosens paper resistant to either method alone.
If paste residue will not wash off after removal, mix a stronger solution of 2 cups hot water, 1/4 cup white vinegar, and 1 tablespoon dish soap. Sponge it on, let it sit 5 minutes, then rub with a nylon scrub pad. For painted-over wallpaper, which is the worst case scenario, you will need to score aggressively first because the paint forms a moisture barrier blocking both steam and stripper from reaching the paste.
Steamer vs Chemical Stripper: Which Should You Choose?
The honest answer depends on the scope of your project and your tolerance for chemicals. Steamers work fastest on large rooms and multi-room projects because you avoid the wait time for solvent penetration. According to professional painters, a steamer handles the job on its own roughly 80 percent of the time, with chemical strippers reserved for stubborn paper.
A wallpaper stripper wins on smaller jobs, on plaster walls where you want to minimize moisture exposure, and for homeowners who lack the storage space for a dedicated steamer. However, a chemical wallpaper stripper requires ventilation, skin protection, and more patience because of the wait times between application and scraping.
First-timers tackling a single powder room should pick the chemical stripper path because it is forgiving and cheap. Alternatively, on a whole-house DIY project, the steamer pays for itself by the second room. I own both and switch between them based on wall type and paper condition. Notably, rented steamers at $30 to $40 per day make sense only if you will finish in one or two days.
Pros and Cons of DIY Wallpaper Removal
Pros
- Saves 60 to 80 percent versus hiring a pro, per 2024 RISMedia data
- Full room supply kit runs $45 to $90 versus $423 to $1,193 for professional removal
- Teaches you wall construction basics you will use on every future project
- You control the pace and quality, so no rushed contractor damage
- Wallpaper steamer purchase pays back in 1 room versus rental
- Satisfaction of earning the before-and-after photo yourself
Cons
- A single 10 by 12 foot room takes 6 to 12 hours for a first-timer
- Over-soaking drywall causes paper face delamination and repair costs
- Chemical strippers require ventilation and skin protection
- Painted-over wallpaper doubles the time and difficulty
- Lath and plaster walls crack if you scrape aggressively
Final Verdict
Knowing how to remove wallpaper sits at the sweet spot of DIY home projects: low skill ceiling, real cost savings, and a finished wall you prepped yourself before repainting. Homeowners tackling a single room win with the chemical stripper plus scoring tool combo, which costs under $40 and forgives mistakes well. For anyone planning to strip multiple rooms or a full house, a dedicated wallpaper steamer pays for itself inside the first room and delivers faster results on the remaining walls.
The real trade-offs hit two groups. First, anyone with delicate plaster walls built before 1950 should lean heavily toward the chemical method and avoid aggressive steaming, which saturates lath. Meanwhile, homeowners dealing with painted-over wallpaper should budget double the time and consider renting a commercial steamer for the increased output.
On value, knowing how to remove wallpaper yourself is one of the highest-ROI skills a homeowner picks up. The cost gap between doing it yourself at $45 to $90 and hiring pros at $423 to $1,193 means a single weekend of learning pays for a new tool collection. Moreover, the wall prep expertise you gain transfers directly to choosing the right paint colors, tile backsplashes, and drywall patching for the rest of your life in your home.
My recommendation: buy a Wagner steamer if you own an older home or plan any future wallpaper projects, and keep DIF gel plus a PaperTiger on hand for touch-ups and small jobs. If you want the cheapest single-room solution, skip the steamer and go straight to the chemical combo. Either path beats paying a pro for what amounts to patience plus hot water.
Frequently Asked Questions
What is the easiest way to remove wallpaper?
The easiest way to remove wallpaper is to peel the vinyl decorative face off dry when possible, score the remaining backing with a PaperTiger, soak the wall with hot water or a chemical stripper, wait 10 to 15 minutes, then scrape gently with a putty knife. Steam accelerates this process for large jobs but adds equipment cost and setup time.
How do you remove wallpaper glue after the paper is off?
Mix 2 cups hot water, 1/4 cup white vinegar, and 1 tablespoon dish soap in a bucket. Sponge the solution onto the wall in sections, wait 5 minutes, then scrub with a nylon pad. Rinse with clean water and dry. Skipping this step leaves residue preventing primer and paint from adhering to your walls.
How do you remove wallpaper from drywall without damaging it?
Drywall is gypsum wrapped in paper, so too much water delaminates the paper face and creates repairs. Keep soak times short at 5 to 10 minutes per section, work in small areas, and stop immediately if the wall feels spongy under your putty knife. Dry the section with a towel and rest the wall 10 to 15 minutes before continuing.
How long does wallpaper removal take for one room?
A first-time DIYer needs 6 to 12 hours for a standard 10 by 12 foot room, including prep, removal, glue washdown, and cleanup. Experienced DIYers complete the same room in 3 to 5 hours. Painted-over wallpaper doubles these estimates because of the extra scoring required.
Is painting over wallpaper a good alternative to removing it?
Painting over wallpaper is a short-term shortcut, not a solution. Seams telegraph through the paint, moisture trapped behind the paper eventually causes bubbling, and future owners inherit a doubled removal job. If resale value matters, remove the paper first and prime the bare wall properly.
How do you remove wallpaper from plaster walls?
Plaster handles moisture well but cracks under aggressive scraping. Use a chemical stripper instead of a steamer to keep moisture exposure controlled, score lightly, apply the stripper with a roller, wait 15 to 20 minutes, then lift paper with a plastic putty knife to avoid gouging the plaster surface. Homes built before 1950 almost always have plaster.

Leave a Reply