
Quick Verdict: A garage door opener not working is frustrating, but the vast majority of failures trace back to five fixable causes: dead remote batteries, a tripped GFCI outlet, misaligned safety sensors, an accidentally engaged lock mode, or a simple programming glitch. Before scheduling a service call, work through the steps in this guide. Most homeowners resolve the problem in under 30 minutes with no special tools. When you do need professional help, specifically for a broken torsion spring, this guide tells you exactly why and what to expect.
Last updated: April 2026 | 12 min read
Garage Door Opener Not Working: Understanding the Problem
A garage door opener not working sends most homeowners straight to their phone to call a repair company, but the call is usually premature. The opener system has several independent components: a motor unit, a drive mechanism, safety sensors, a remote receiver, a wall button, and a power circuit. When any one of them fails, the whole system stops. In most cases, diagnosing which component failed takes less time than waiting for a technician to arrive.
Alex Schult, who spent summers helping his grandfather run a plumbing and heating business, has worked through dozens of opener failures across different brands and drive types. His consistent finding: the problem is almost always upstream of the motor. Start with power and signal, then work your way toward the mechanical components.
This guide covers garage door opener repair in the order most likely to solve your problem fastest. Follow each section in sequence, and test the opener after each step before moving to the next.
Garage Door Opener Not Working: Quick Diagnostic Table
Use this table to match your symptom to its most likely cause before working through the repair steps. When a garage door opener not working shows one of the patterns below, the fix is often faster than expected.
| Symptom | Likely Cause | DIY Fix? |
|---|---|---|
| No response from remote or wall button | No power to unit (tripped breaker, GFCI, unplugged) | Yes |
| Wall button works, remote does not | Dead batteries or lost programming | Yes |
| Door opens but garage door won’t close | Safety sensor misalignment or obstruction | Yes |
| Motor hums but door does not move | Broken torsion spring or stripped drive gear | No (spring) / Possibly (gear) |
| Opener runs briefly then reverses | Travel limit or force setting miscalibrated | Yes |
| Remote only works within 3 feet of unit | LED bulb RF interference or weak antenna | Yes |
| No response from remote only, new batteries installed | Remote needs reprogramming to opener | Yes |
| Wall button and remote both fail to trigger movement | Lock mode or vacation switch engaged | Yes |
| LED indicator on opener blinks in a sequence | Brand-specific error code (sensor, logic board) | Sometimes |
| Loud bang followed by complete failure | Garage door spring broken | No |
Check Power Supply First
Before touching any other component, confirm the opener has power. This step resolves more service calls than any other single fix.
Start by checking whether the opener’s light or LED status indicator turns on when you press the wall button. If nothing lights up, the unit has no power. Walk to the outlet the opener plugs into. Most garage ceiling units plug into a standard 120V outlet mounted near the ceiling joists. Confirm the plug is fully seated; vibration from the motor loosens plugs over time.
Next, check for a GFCI outlet nearby. Many garages have a GFCI-protected circuit, and an unrelated appliance tripping the outlet cuts power to everything downstream. Press the “Reset” button on the GFCI outlet itself, usually located on the nearest wall outlet near the garage door or utility sink.
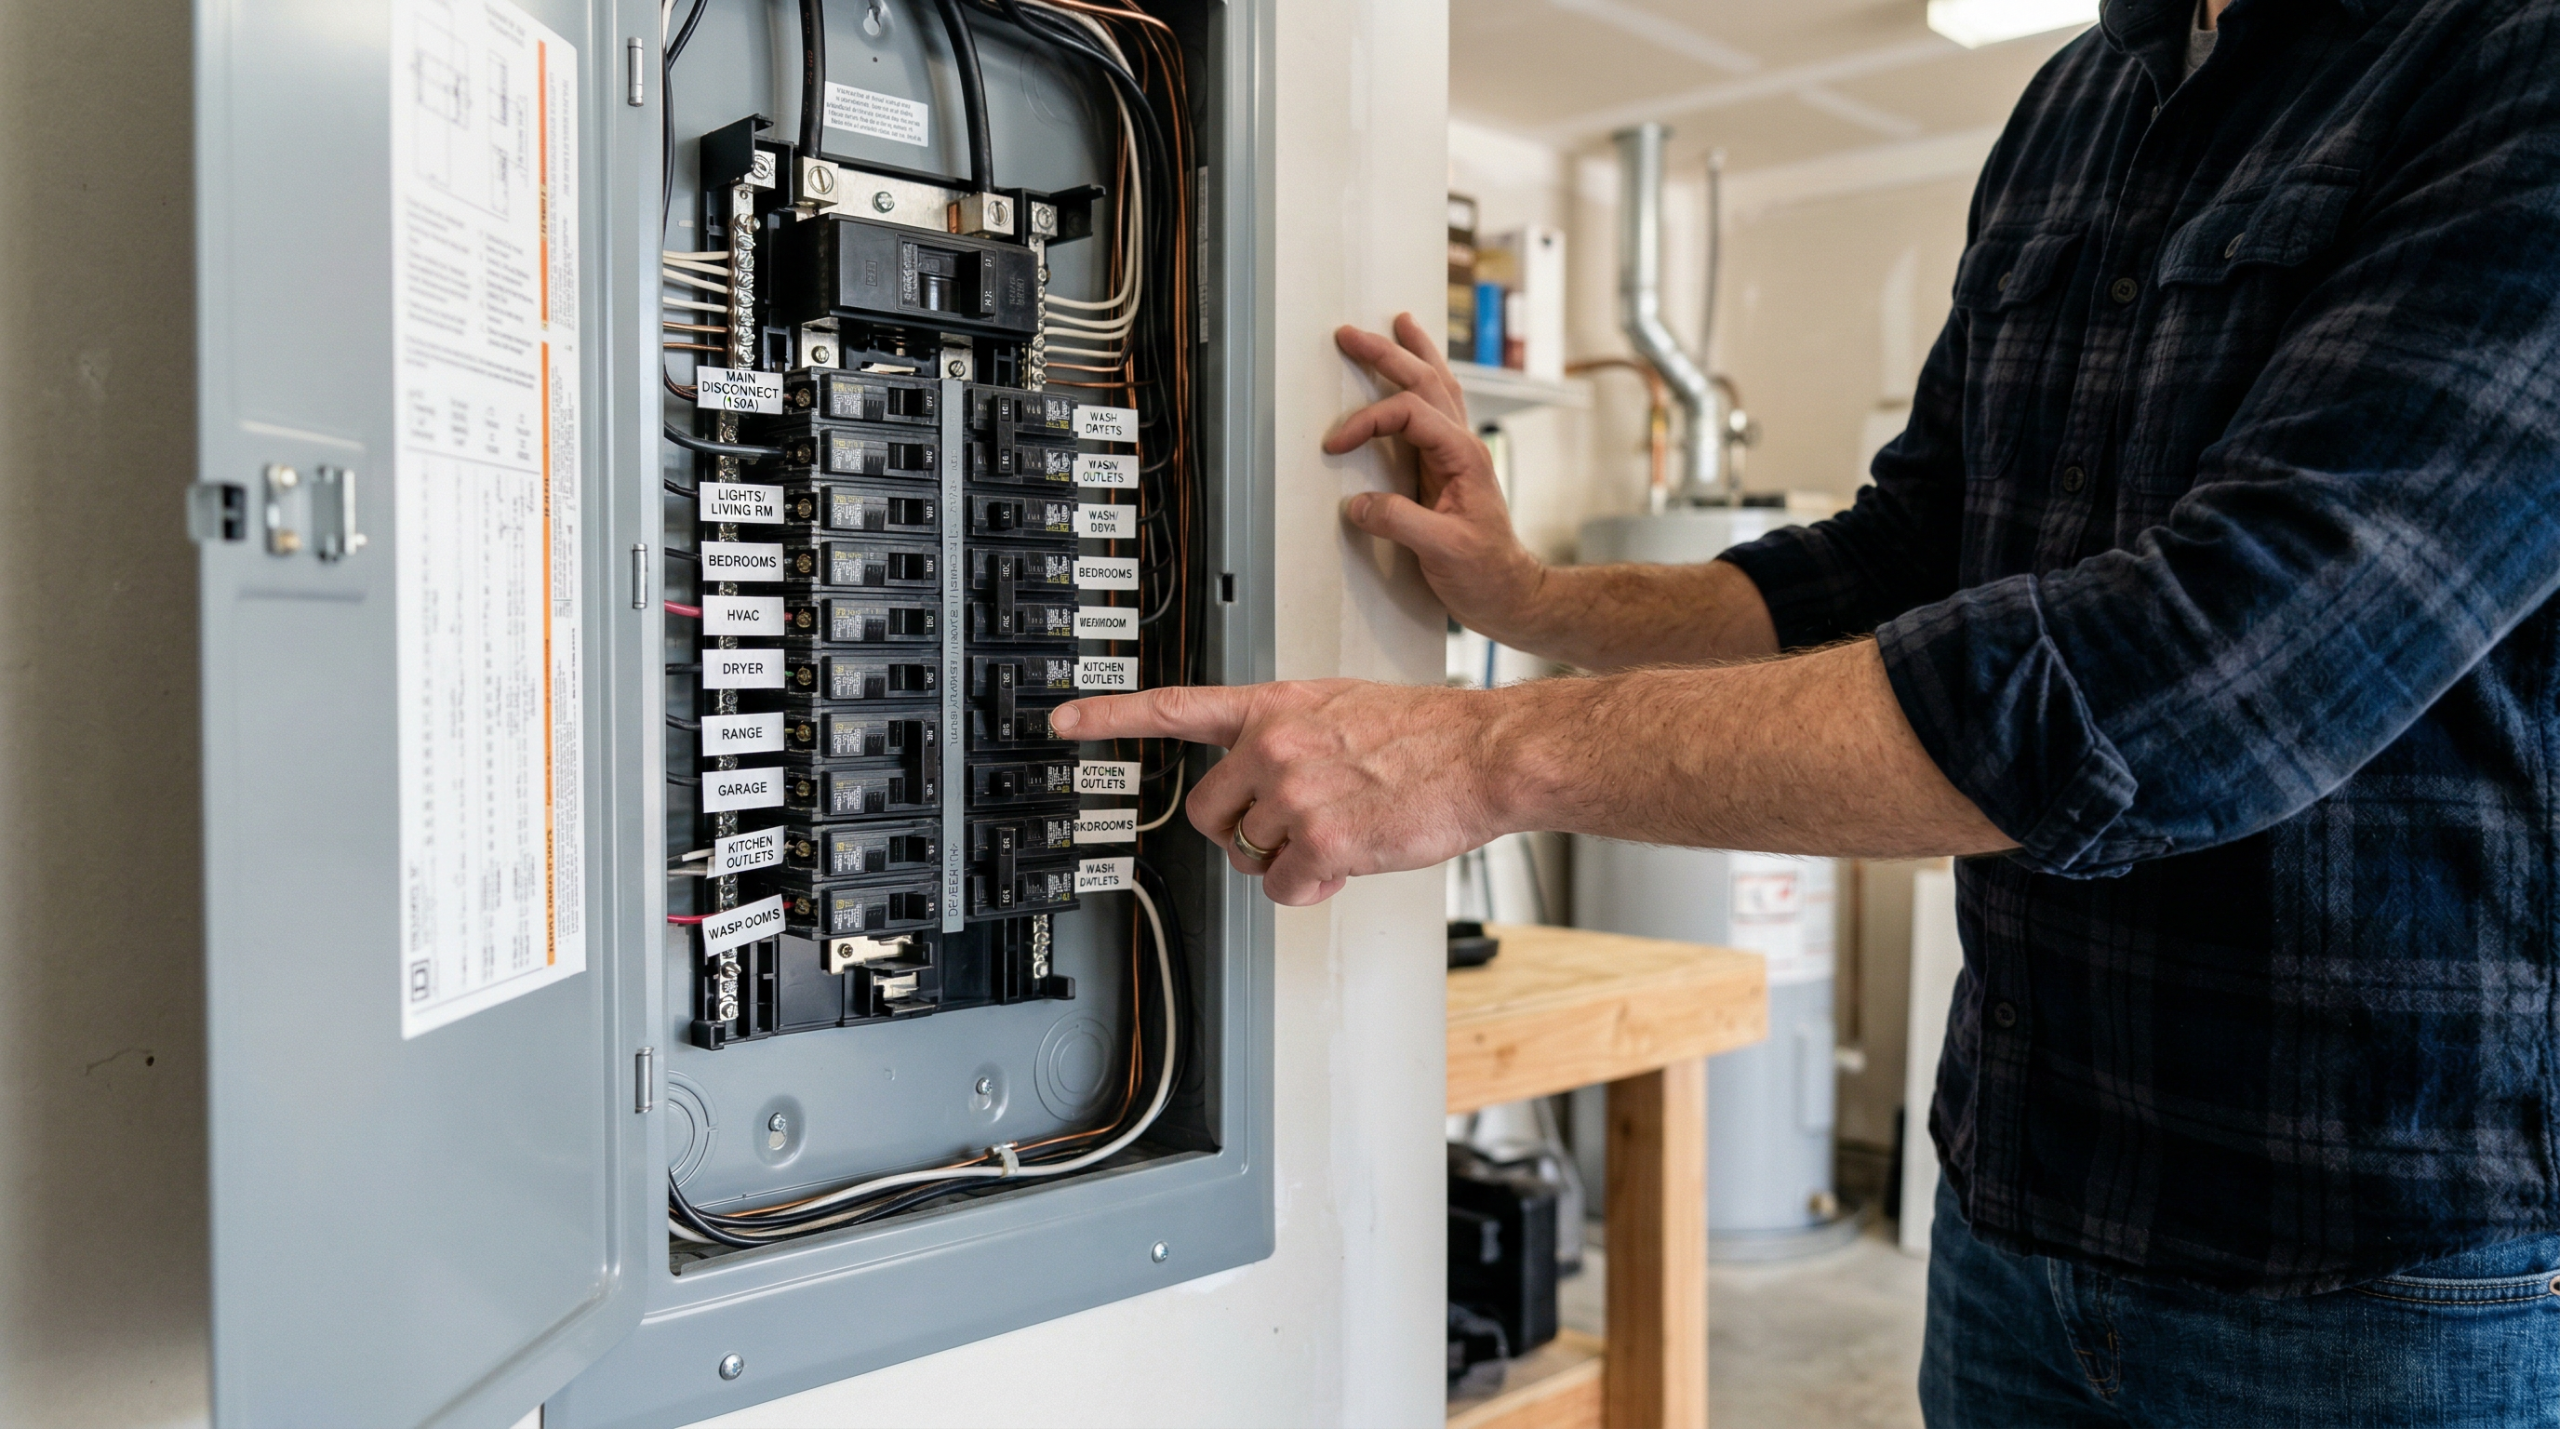
If the outlet tests live (use a phone charger or lamp to verify), check your home’s main electrical panel. Look for the breaker labeled “Garage” or “Garage Door.” A tripped breaker sits in the middle position rather than fully On or Off. Flip it fully Off, then back On. Reviewing your panel for common issues is also covered in the Common DIY Electrical Mistakes guide on DIYtalk.com.
After restoring power, test the opener immediately. If it works, your job is done. Otherwise, proceed to the next section.
Test the Wall Button vs. Remote
The wall button and the remote are separate input devices communicating with the opener through different pathways. Testing them independently tells you exactly which part of the system failed.
Press the wall button. If the door moves, the opener motor is functional and the problem is isolated to the remote. However, when the wall button does nothing, the problem is in the opener unit itself, its wiring, or its power supply.
For remote testing, stand within 5 feet of the opener unit and press the button. A weak signal at close range points to dead batteries or a receiver problem rather than distance-related signal loss. Most garage remotes use a CR2032 coin cell, a 23A 12V battery, or two AA batteries; check the battery compartment door for the exact type.
Also inspect the wall button wiring. The two-conductor wire running from the button to the opener occasionally shorts against a metal bracket or gets pinched, producing intermittent failures. A continuity test with a basic multimeter across those terminals quickly confirms whether the wire is intact. If you find the wire is damaged, replacing it costs less than $10 in 18-gauge bell wire from any hardware store.
Inspect and Align Safety Sensors
Garage door sensor alignment problems cause the single most common scenario where the door opens freely but garage door won’t close. The 1993 federal safety standard requires all openers to have photo-eye sensors mounted no more than 6 inches above the floor on each side of the door, and the opener will refuse to close if those sensors cannot see each other.
Each sensor has an LED indicator. The sending sensor (typically amber) stays solid regardless of obstruction. Meanwhile, the receiving sensor (typically green) blinks or goes out when it loses the beam. A blinking or unlit green LED confirms garage door sensor alignment as the issue.
To realign the sensors, loosen the wing nut or bracket screw holding the misaligned sensor and pivot it slightly until the green LED goes solid and stops blinking. Tighten the bracket. Test with the remote. In most cases, less than 1/8 inch of adjustment resolves the problem.
Also check for physical obstructions in the sensor path. A spider web, a leaf, or a broom handle leaning against the door track blocks the beam equally effectively as a misaligned bracket. Wipe both sensor lenses with a dry cloth before adjusting the brackets. Direct sunlight hitting the receiving sensor in the morning or evening hours interferes with the signal; a piece of cardboard tube around the sensor housing blocks ambient glare without affecting the beam.
For a full seasonal check of your door hardware and sensors, the Spring Home Maintenance Checklist includes a garage door inspection step-by-step.
Replace Remote Batteries and Reprogram
Remote batteries are the most overlooked fix in garage door opener repair. A remote with a battery voltage below 9V (for a 12V 23A battery) or below 1.2V per cell (for AA batteries) appears to work (the button press LED lights up), but the transmitter output drops below the threshold needed to reach the receiver at 20 or 30 feet.
Replace the batteries first, then test from your normal driveway distance. If the remote works, you are done. However, when the opener still does not respond after fresh batteries, the remote needs reprogramming to the opener’s receiver.
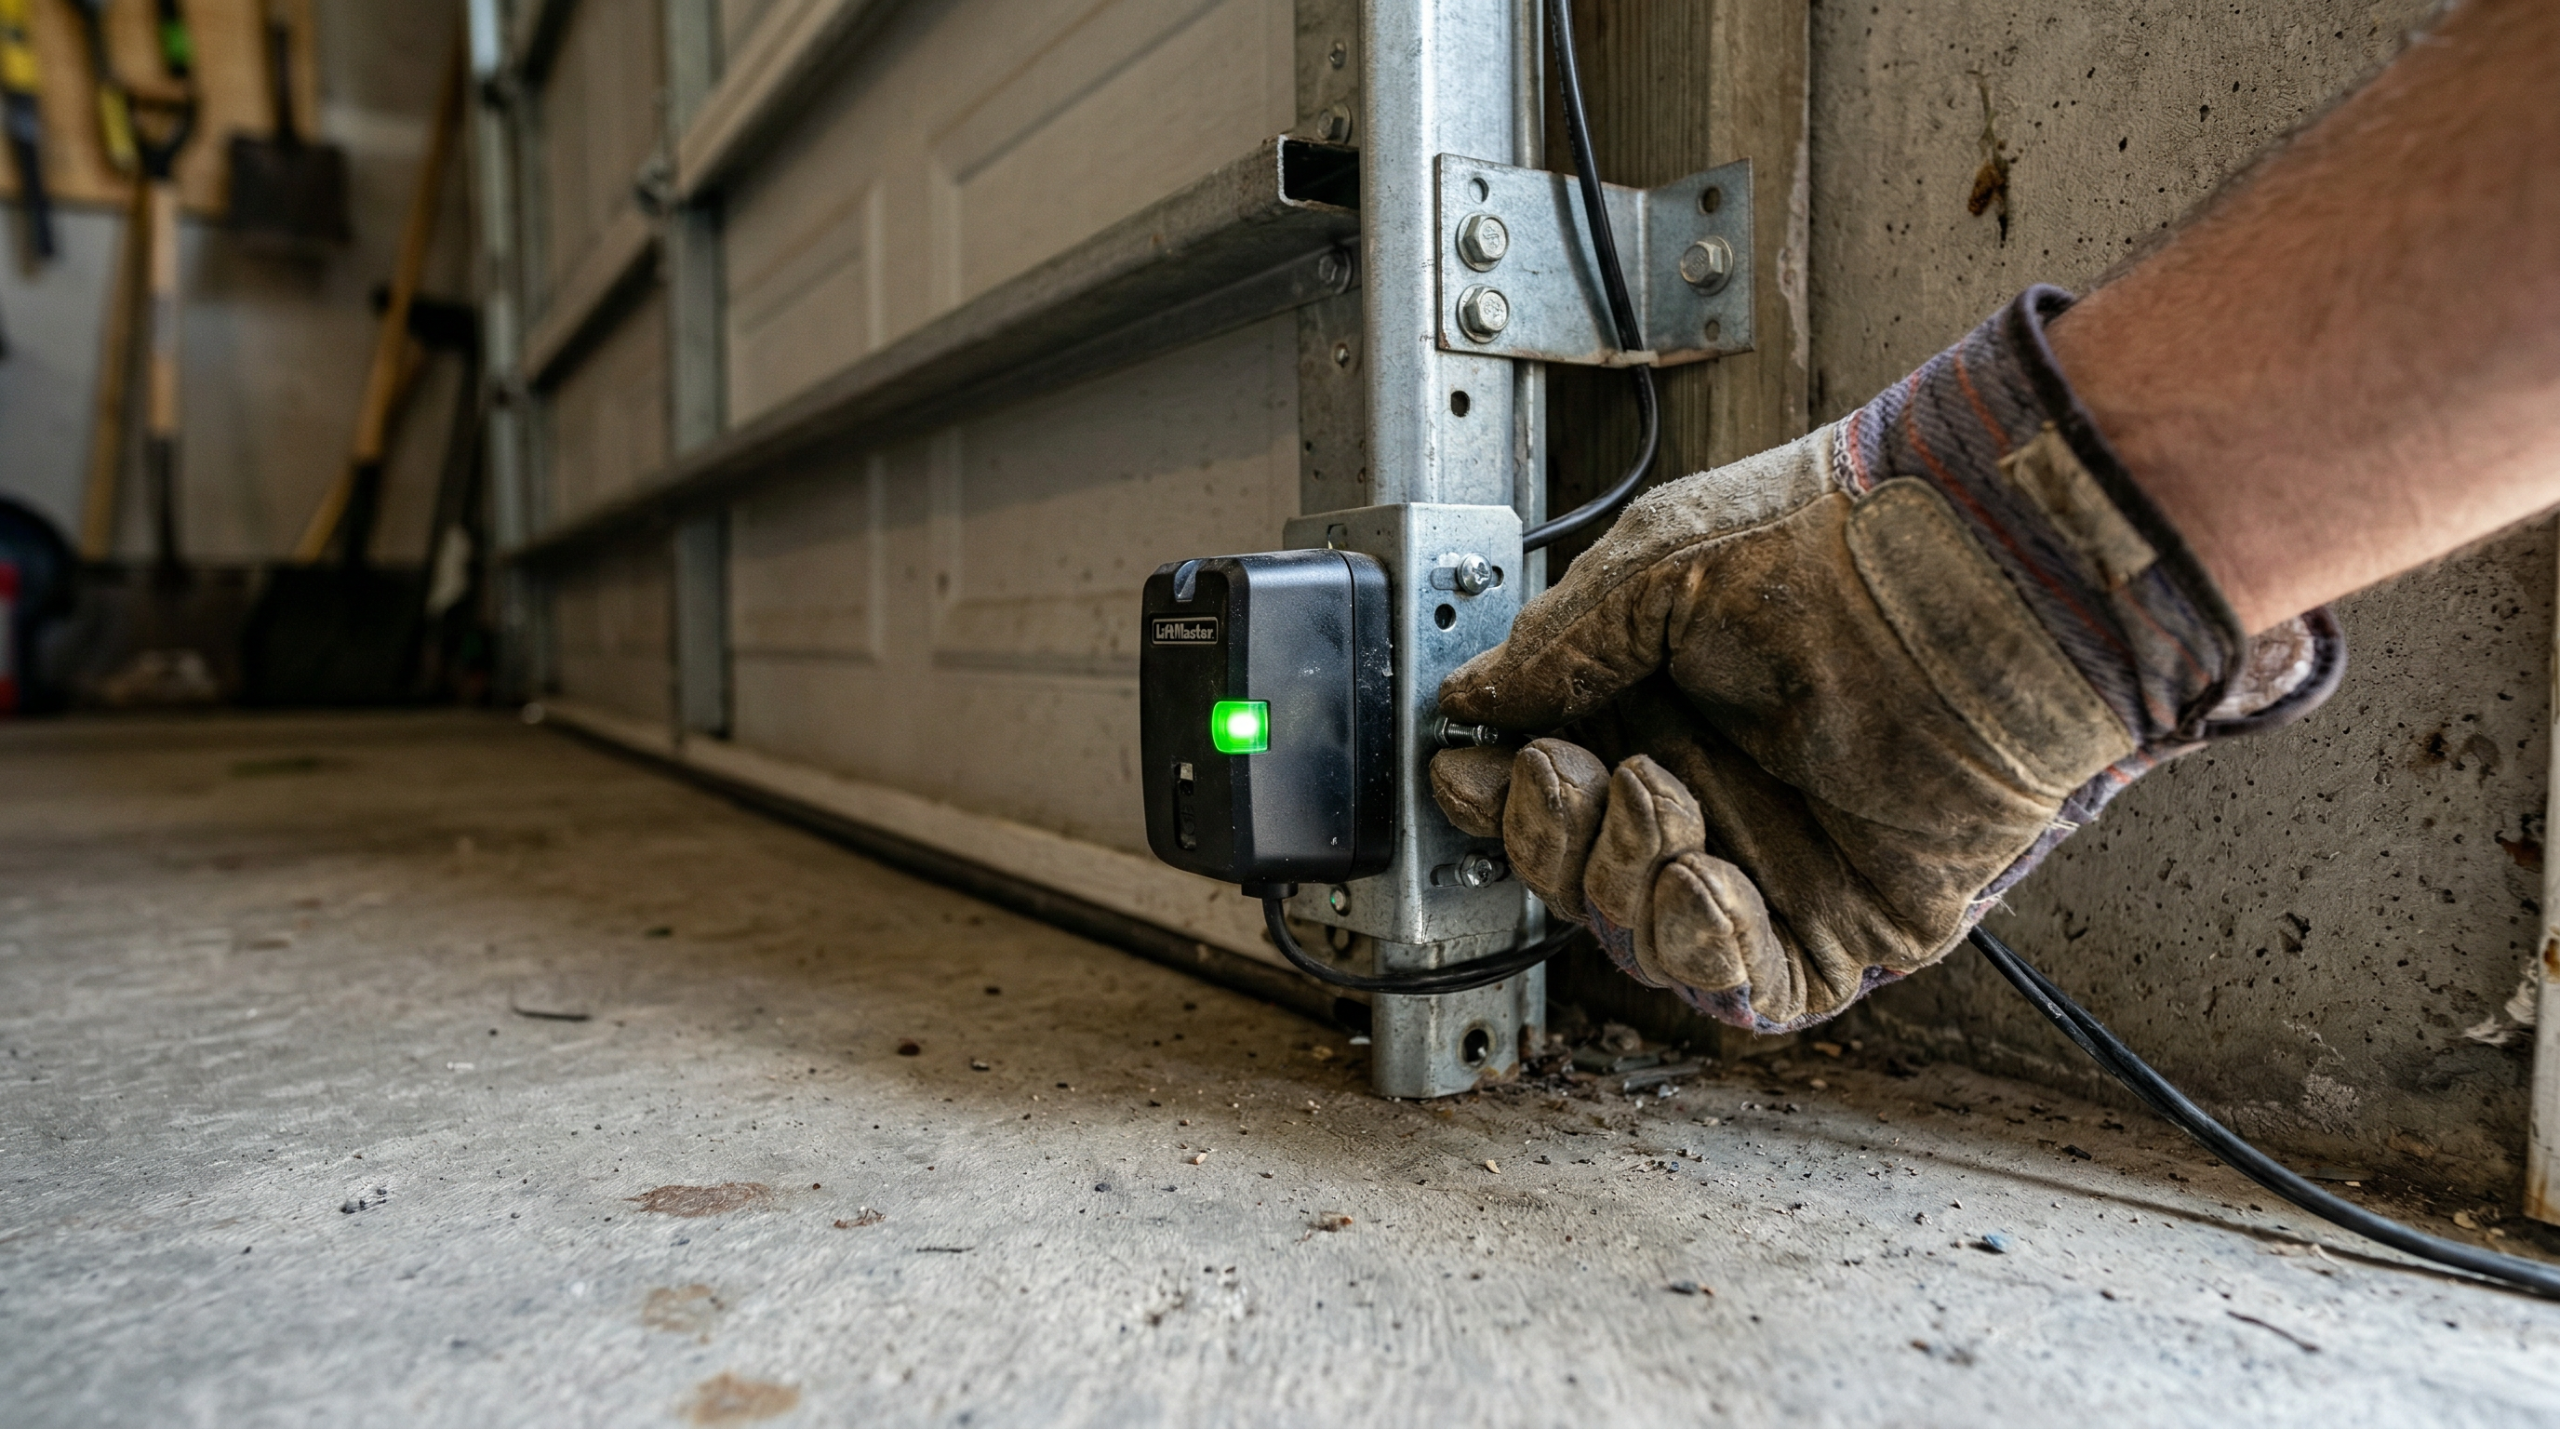
The reprogramming process involves the “Learn” button on the opener unit. On most LiftMaster, Chamberlain, and Genie models, the Learn button is located on the back or side of the motor head, sometimes behind a light cover panel. Press and release the Learn button. Its indicator LED lights up for approximately 30 seconds. Within those 30 seconds, press and hold the button on your remote until the opener’s LED blinks or the unit clicks, confirming it accepted the new code.
For HomeLink-equipped vehicles (built into the visor, rearview mirror, or overhead console), follow the same process but use the HomeLink pairing instructions in your vehicle’s manual. Clearing old HomeLink codes before reprogramming prevents conflicts from stored signals.
Check for Lock Mode and Vacation Switch
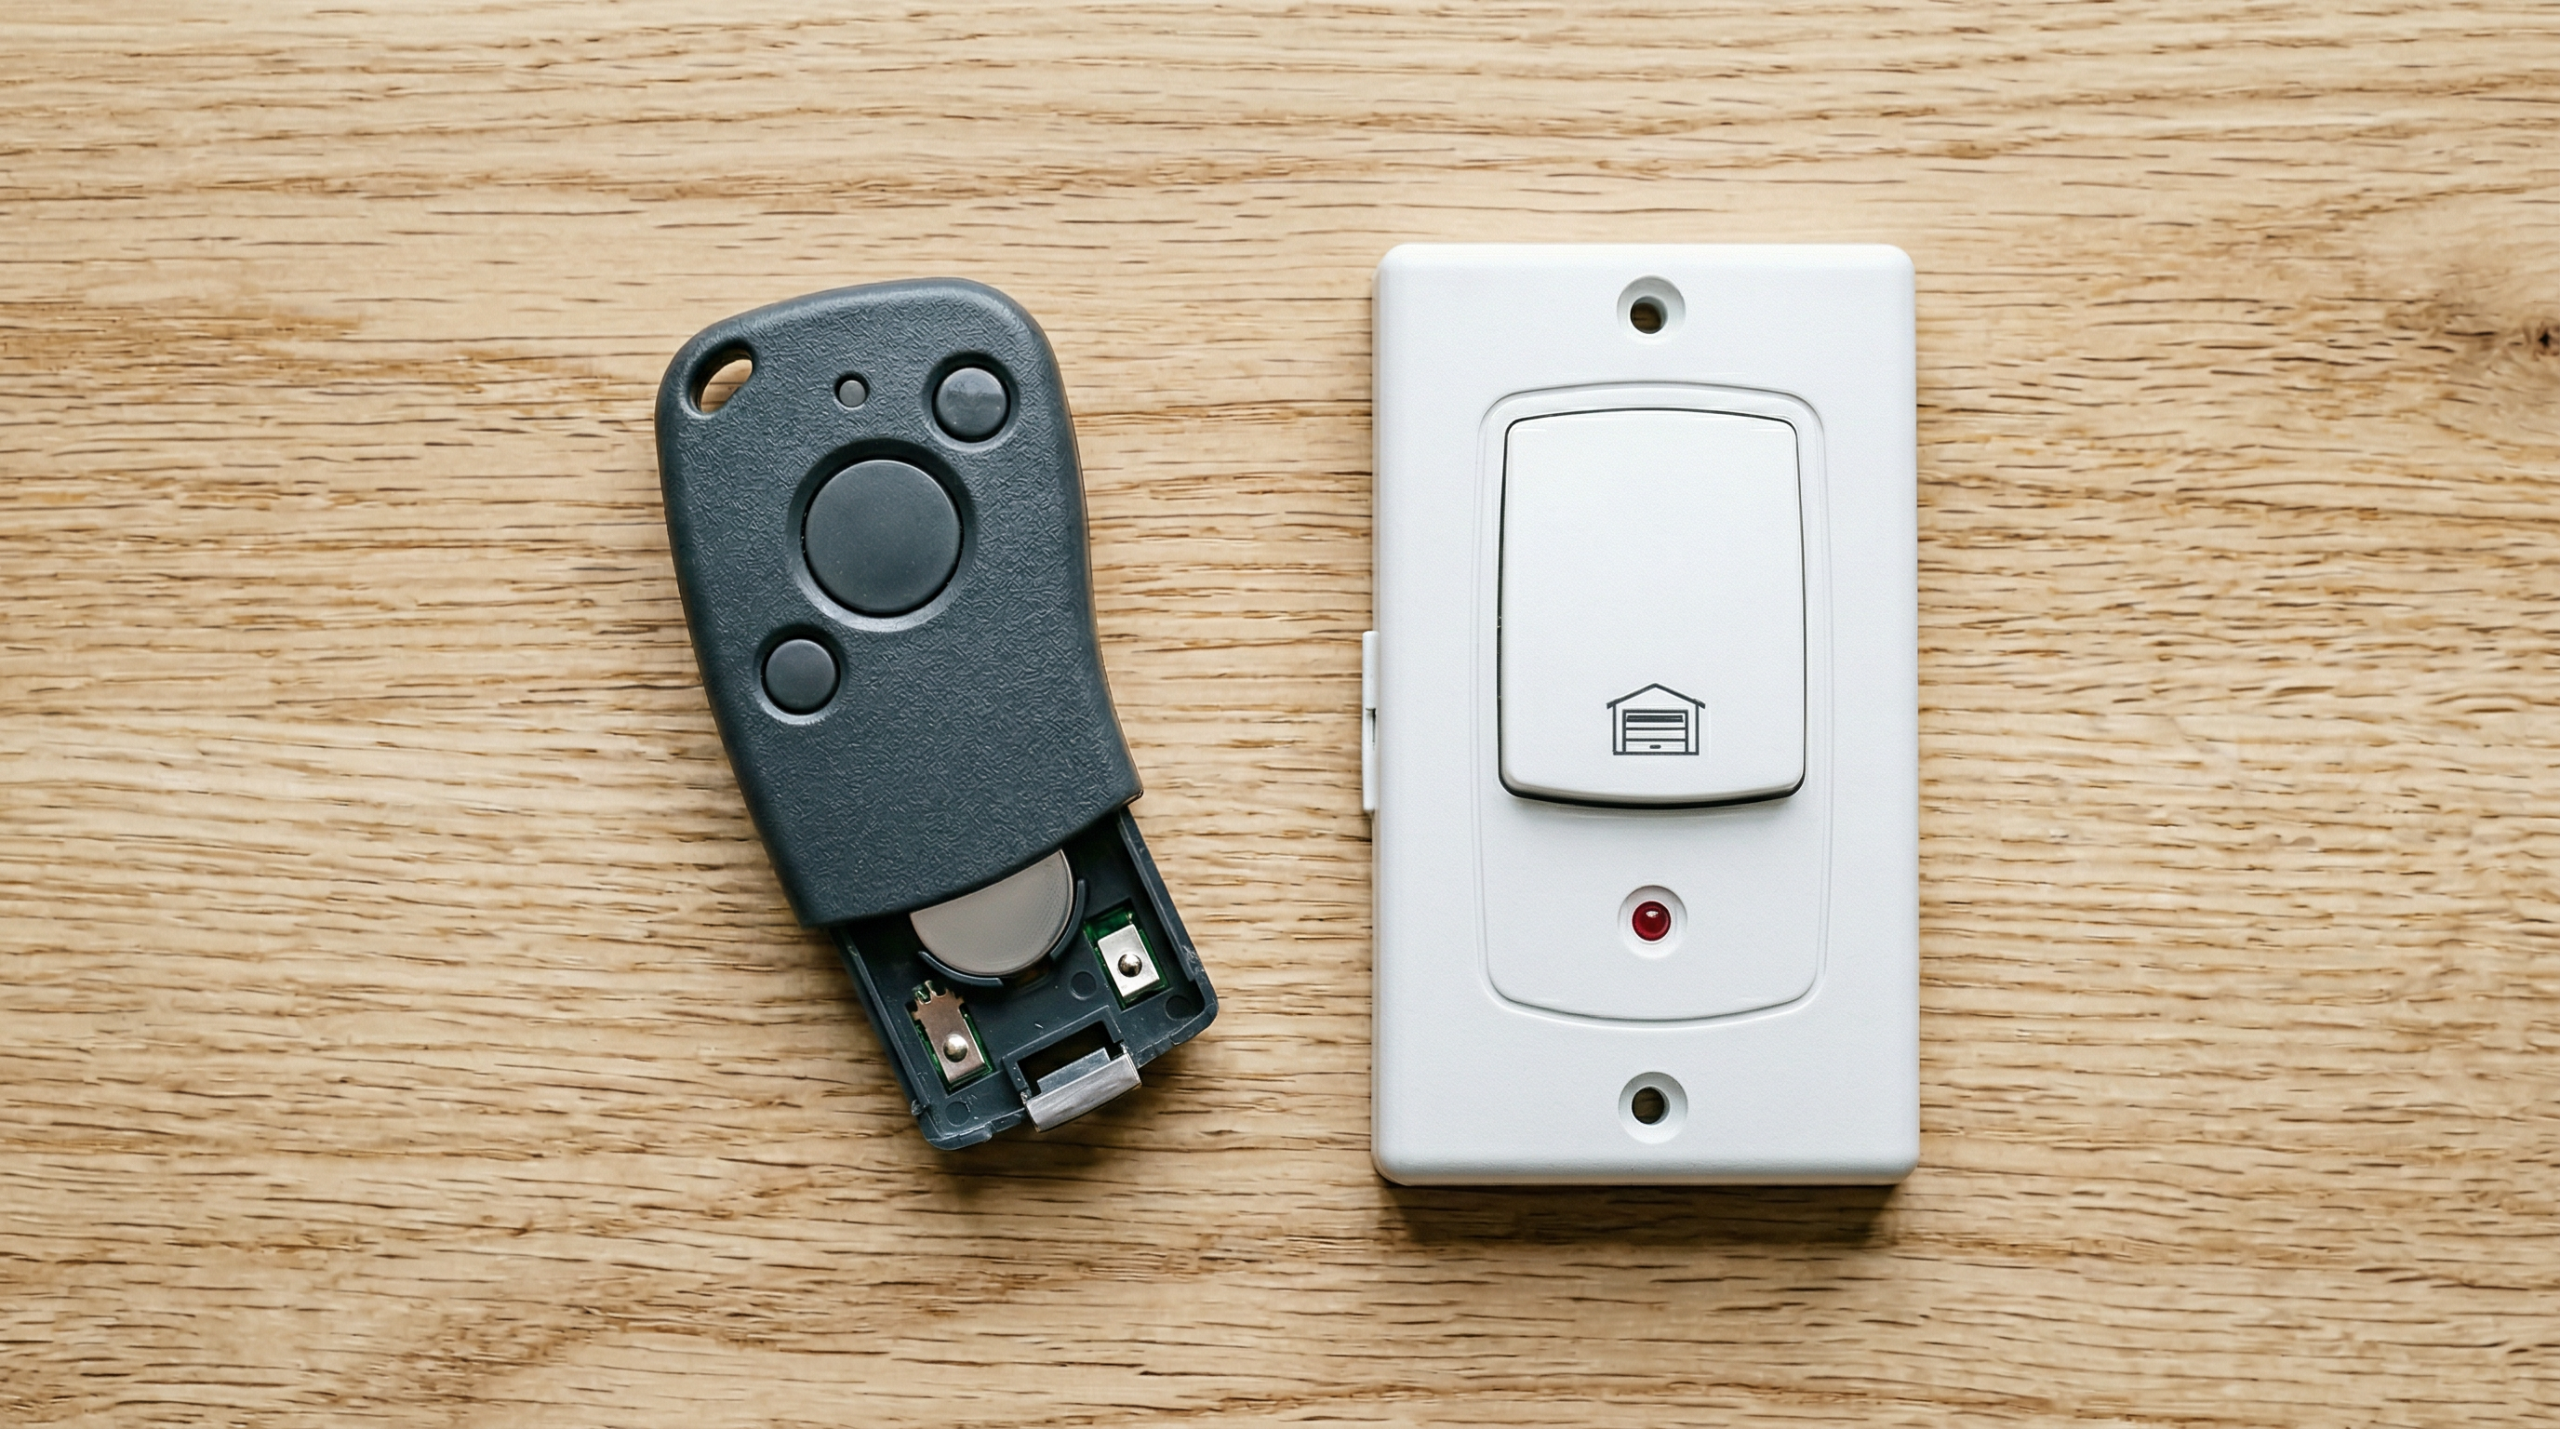
Many homeowners find their opener has a lock mode they did not know existed. On most wall button panels, holding the lock button for 2 seconds activates a vacation or security lock disabling all remote commands. The motor unit stays powered (the wall button still works), but every remote signal gets ignored.
Look for a padlock icon or “Lock” label on your wall button panel. If the LED next to it is lit, lock mode is active. Press and hold the button for 2 seconds to deactivate it, then test your remote.
Some older units have a physical toggle switch mounted on the motor head labeled “Vacation Switch” or “Lock.” It serves the same purpose. Check the motor unit directly if your wall panel shows no lock button.
This step takes 30 seconds and is worth checking before any other diagnostic, since accidentally engaging lock mode during a power surge or while cleaning the wall panel is more common than most people expect.
Inspect the Drive System
The drive system is what physically moves the door, and each drive type produces distinctive symptoms when it begins to fail. Identifying your drive type takes 10 seconds of looking at the opener unit.
A chain drive uses a metal roller chain similar to a bicycle chain running along a metal rail. It is the loudest drive type and the most common in residential openers installed before 2010. When the chain skips or the sprocket wears, the opener motor runs but the door moves only partway or jerks. A loose chain sagging more than 1/2 inch below the rail needs tightening with the adjustment bolt at the front of the rail.
In contrast, a belt drive uses a rubber or fiberglass-reinforced belt, producing noticeably less noise than a chain. Belt-drive failures typically present as slipping: the motor runs, the belt moves, but the door barely lifts. A frayed or cracked belt needs replacement rather than adjustment.
Meanwhile, a screw drive uses a threaded steel rod to move the trolley carriage. It requires the least maintenance of the three types but is sensitive to lubrication. When the lubricant inside the rail dries out, the trolley binds mid-travel and the opener produces a grinding sound. Applying a manufacturer-approved lithium-based grease to the screw rod (not silicone spray, which attracts dust) usually resolves this within one or two cycles.
Also check the trolley carriage itself. The red emergency release cord, when pulled, disconnects the door from the drive. If someone pulled it during a power outage and never re-engaged the trolley, the motor runs freely with no load on the door. Push the door manually until the carriage snaps back into the drive track to re-engage it.
LED Bulb Interference
This is one of the most overlooked causes of a garage door opener not working intermittently, and competitors rarely cover it. Dimmable LED bulbs (including many standard A19 bulbs sold as “garage-rated”) emit radio frequency interference in the 315 MHz and 390 MHz range used by most opener receivers. The interference cuts the effective remote range from 20 to 30 feet down to 3 to 5 feet, or blocks the signal entirely when the light is on.
To test for LED interference, turn off the garage lights and try the remote from your normal distance. If the opener responds with the lights off but fails with them on, LED bulb interference is the cause.
The fix is straightforward: replace the bulbs in the opener unit with incandescent or specifically rated “garage door opener compatible” LED bulbs. Genie, LiftMaster, and Chamberlain each sell proprietary LED bulbs engineered to suppress RF interference; these run between $8 and $15 per bulb and eliminate the problem permanently. Standard LED bulbs from a big-box store, even ones labeled “garage-safe,” often still produce interference because the suppression spec is not standardized across manufacturers.
A 5 GHz Wi-Fi router installed in or near the garage causes similar interference. If your garage has a router or mesh node, try temporarily unplugging it and testing the remote. When range improves, relocating the router or switching its broadcast channel resolves the conflict.
Reset Your Garage Door Opener
When a garage door opener not working turns out to have no obvious mechanical or sensor fault, a full reset often resolves the issue. A garage door opener reset clears stored error states, recalibrates travel limits, and re-establishes communication between the motor unit and its accessories. Performing a reset takes under 5 minutes and resolves problems no other step addresses.
There are two levels of reset: a power cycle and a full factory reset.
For a power cycle, unplug the opener from the ceiling outlet. Wait 30 seconds. Plug it back in. This clears temporary logic errors the same way restarting a router clears network glitches.
For a full garage door opener reset, locate the Learn button on the motor head. Press and hold it for approximately 6 seconds until the LED beside it goes out. This erases all programmed remotes and keypads from the unit’s memory. After the reset, reprogram each remote by pressing Learn once and then pressing the remote button within 30 seconds.
The exact Learn button location and hold time varies by brand:
- LiftMaster / Chamberlain: Yellow, orange, or purple Learn button on the back panel. Hold 6 seconds to clear.
- Genie: Red or purple Learn button on the motor head. Hold 10 seconds for full reset.
- Craftsman: Same board as LiftMaster (Craftsman branded by Chamberlain). Yellow Learn button, 6 seconds.
- Linear / Multicode: Square programming button. Hold 3 seconds to enter programming, or 10 seconds to clear all codes.
After a full reset, re-add your remotes, reprogram any keypads, and reconfigure travel limits if the door does not fully open or close at the correct positions.
Decode Blinking Error Lights
Modern openers communicate fault codes through LED blink sequences on the motor unit. Counting those blinks gives you a specific diagnosis without guessing. Most homeowners miss this entirely because they do not know to look for it.
The pattern works like this: the LED blinks a certain number of times, pauses, then repeats. Count the blinks in the first group; the number maps to a specific fault in the brand’s documentation.
Common LiftMaster and Chamberlain blink codes:
- 1 blink: Safety sensor obstruction or wiring fault
- 2 blinks: Safety sensor wires reversed or short circuit
- 4 blinks: Safety sensor misalignment or obstruction
- 5 blinks: RPM sensor failure (motor issue; professional repair typically needed)
- 6 blinks: Motor circuit or control board failure (professional repair typically required)
Common Genie blink codes follow a different pattern. The status LED on the front of the motor blinks continuously for normal standby. A rapid blink sequence during an attempted operation signals a fault. On standard Genie chain and belt models, 1 blink signals a sensor obstruction or unprogrammed travel limits, 2 blinks indicate continuous misalignment, 3 blinks mean the travel limits are set backwards, and 4 blinks point to reversed or shorted wall control wires. Genie’s exact codes vary by model series, so consult the manufacturer’s support page for your specific unit.
When the blink code points to sensors, return to the sensor alignment steps above. If it points to a logic board or motor fault, garage door opener repair at this level typically requires a professional or a board replacement a technically experienced DIYer handles with a multimeter and a replacement part ordered from the manufacturer.
When a Broken Spring Needs a Professional
A garage door spring broken mid-cycle produces a sound like a gunshot inside the garage. The door drops, the opener motor hums against a load it cannot overcome, and nothing you press will move the door.
Torsion springs (the horizontal coil springs mounted above the door on a metal shaft) store enough energy to counterbalance a door weighing 130 to 400 pounds. A spring slipping during winding releases this stored energy instantly, delivering force equivalent to a serious industrial accident. Professional garage door technicians use winding bars, protective glasses, and decades of hands-on practice to manage this safely. This is not a risk-versus-reward calculation where DIY makes sense.
Extension springs, which run along the horizontal tracks on each side of the door, store less energy than torsion springs but are still dangerous when broken. A snapped extension spring launches along the track with significant force.
Your role in a spring failure is to confirm the diagnosis by visually inspecting the spring from a safe distance (a gap in the coil is visible when broken), then disengage the opener motor manually using the red release cord so you do not damage the motor by running it against the load, and call a licensed garage door technician. Spring replacement costs between $150 and $350 depending on spring type and your region.
For a broader perspective on when home repair tasks cross into professional territory, the How to Repair an Air Conditioner guide covers a similar safety-first framework for HVAC systems.
Repair vs. Replace: When to Fix Your Opener and When to Buy New
A garage door opener not working due to age-related failure presents a choice: invest in garage door opener repair or replace the unit entirely. Age is the clearest factor in the repair-versus-replace decision. Garage door openers last 10 to 15 years with regular maintenance. An opener outside this range is worth replacing rather than repairing, because individual component failures often cascade: fixing the logic board this year means replacing the motor drive next year.
Use this framework to decide:
| Situation | Recommendation | Typical Cost |
|---|---|---|
| Unit under 8 years old, single component failure | Repair | $50–$200 |
| Unit 8–12 years old, motor or logic board failure | Repair if part cost is under $150; otherwise replace | $100–$300 |
| Unit over 12 years old, any major failure | Replace | $250–$600 installed |
| No rolling code / no safety sensors (pre-1993) | Replace immediately for safety | $250–$600 installed |
| Frequent nuisance trips, multiple repairs in 3 years | Replace | $250–$600 installed |
| Noise complaints only (chain drive, all else working) | Lubricate; replace with belt drive when budget allows | $0–$350 |
One additional consideration: openers manufactured before 1993 do not have mandatory photo-eye safety sensors, and units before 1996 lack rolling code encryption. Both are security and safety gaps worth addressing regardless of mechanical condition.
Seasonal Maintenance Tips
Temperature extremes affect garage door openers and their mechanical components in predictable, preventable ways. A few seasonal checks each year extend the life of the system significantly.
In cold climates (below 32°F), metal components contract and lubricants thicken. The torsion spring loses some tension as the steel coil contracts, adding strain on the motor. Meanwhile, the trolley carriage on a screw-drive opener moves sluggishly through cold, thick grease. Each October, lubricate the chain or screw rail with white lithium grease, lubricate the hinges and rollers with silicone spray, and confirm the door balance manually: disconnect the opener, lift the door by hand to waist height, and release it. A balanced door stays in place. Conversely, a door dropping more than a few inches needs spring adjustment by a technician before winter loading stresses the motor further.
In hot climates (above 90°F for extended periods), heat accelerates circuit board degradation and causes rubber belts to stretch. If your garage is not air-conditioned, the interior temperature on a summer afternoon regularly exceeds 120°F. Mount a small ventilation fan near the motor head if possible, and inspect the belt or chain for visible stretch or sag every spring. The broader home systems maintenance tasks for the season are covered in the Spring Home Maintenance Checklist.
Year-round maintenance tasks to prevent most failures:
- Test the auto-reverse safety function monthly: place a 2×4 flat on the ground in the door’s path and press Close. The door must reverse within 2 seconds of contact.
- Clean and check sensor lens alignment every 6 months.
- Tighten all bolts on the rail mounting brackets annually, since vibration loosens hardware over time.
- Replace remote batteries every 2 years, even if they appear functional.
- Inspect the weather seal at the door bottom annually for cracking or compression loss.
Final Verdict
A garage door opener not working almost always has a straightforward cause: dead batteries, a tripped outlet, misaligned sensors, or an engaged lock mode. Work through this guide’s sections in order, testing after each step, and you will identify the fault before the halfway point in most cases. The sections on LED bulb interference and blinking error codes cover the diagnostic gaps which other guides skip, and those two fixes alone resolve a significant share of “unexplained” failures leading homeowners to call for service unnecessarily.
Reserve professional help for one specific situation: a garage door spring broken under load. The stored energy in a torsion spring is genuinely dangerous, and the cost of professional spring replacement is modest compared to the risk. For everything else (power supply, sensors, remotes, programming, drive lubrication, and garage door opener reset), this guide gives you the tools to handle it yourself in under an hour.
Frequently Asked Questions
Why is my garage door opener not responding to the remote?
The three most common reasons are dead batteries, a lost programming link between the remote and the opener’s receiver, and radio frequency interference from an LED bulb or nearby Wi-Fi device. Replace the batteries first. If the opener still does not respond, reprogram the remote using the Learn button on the motor unit. However, if range is dramatically shorter than normal, test with the garage lights switched off to rule out LED interference.
How do I reset my garage door opener?
If your garage door opener not working situation shows no power fault and no sensor issue, a reset is the right next step. A basic power cycle (unplug the opener for 30 seconds, then plug it back in) clears most temporary faults. For a full factory-level garage door opener reset, press and hold the Learn button on the motor head for 6 seconds (LiftMaster/Chamberlain) or 10 seconds (Genie) until the status LED goes out. This erases all paired remotes. Reprogram each remote afterward by pressing Learn once, then pressing the remote button within 30 seconds.
Why does my garage door opener hum but not open?
A humming motor with no door movement points to two likely causes. First, check whether the disconnect trolley has been pulled (look for a hanging red cord, then re-engage the carriage manually). Second, and more seriously, a garage door spring broken under load puts more weight on the door than the motor overcomes, producing exactly this symptom. Inspect the torsion spring above the door from a safe distance. A visible gap in the coil confirms a broken spring, which requires professional replacement.
How do I know if my garage door sensors are misaligned?
Check the LED on the receiving sensor (usually green), located no more than 6 inches above the floor on the side opposite the sending sensor. A solid green LED means the sensors are aligned. In contrast, a blinking or unlit green LED confirms garage door sensor alignment has been lost. Loosen the bracket, pivot the sensor slowly until the LED goes solid, then retighten. The door will not close while the sensors are misaligned. This is an intentional safety behavior, not a malfunction.
Does a bad LED light bulb cause my garage door opener to stop working?
Yes. Dimmable LED bulbs emit radio frequency interference in the 315 MHz and 390 MHz bands used by most opener receivers. When the garage light is on, this interference reduces remote range from 20 to 30 feet down to 3 to 5 feet, or blocks the signal entirely. To test, turn the garage lights off and try the remote from your normal distance. If it works, swap the bulbs for incandescent or opener-compatible LEDs from the opener’s manufacturer. Standard LED bulbs, even ones labeled “garage-safe,” often do not suppress RF interference adequately.
Why does my garage door open but won’t close?
When the garage door won’t close but opens without issue, the safety sensors are almost always responsible. The photo-eye system prevents closing when it detects an obstruction or when the sensors lose alignment. Check both LEDs: the amber sending sensor should stay solid, and the green receiving sensor should also stay solid. A blinking green LED means the beam is broken. Clear any objects from the doorway, clean both sensor lenses with a dry cloth, and realign the receiving sensor until its LED holds steady.
How long do garage door openers last?
Most residential garage door openers last 10 to 15 years with routine maintenance. Units seeing four or more cycles per day (both vehicles, multiple daily trips) reach the lower end of the lifespan sooner than lightly used openers. Annual lubrication, regular sensor cleaning, and prompt attention to small issues each extend useful life. An opener approaching 12 years requiring a major repair (motor, logic board, or drive system) is generally worth replacing rather than repairing, since additional failures become likely within 2 to 3 years.
What does it mean when my garage door opener light is blinking?
Blinking LED patterns on the motor unit are error codes. Count the number of blinks in each repeating group. On LiftMaster and Chamberlain openers, 1 blink indicates a sensor fault, 2 blinks indicate reversed or shorted sensor wires, and 4 blinks indicate sensor misalignment. For Genie openers, 1 blink signals a sensor obstruction, 3 blinks indicate travel limits set backwards, and 4 blinks point to reversed wall control wires. Consult your opener’s manual or the manufacturer’s support page for the complete blink code chart for your specific model. Sensor-related codes are the most common and are addressed with the alignment steps in this guide.


Leave a Reply